

In my last blog post we looked at working with application permissions against Microsoft Graph when we work with Power Automate. In today’s post we will look at taking this further by taking the data we retrieved in a flow with a HTTP step to utilise application permissions against Graph, into a canvas app to present in a visual format. In a post coming soon, we will also look at cases when we might need to make a slightly different call to the API using a method such as POST or DELETE.
Building on an existing flow
So let’s start by taking the flow we created yesterday in the following post, and we’ll make some changes to it so that we can start to bring the data we’re collecting in the flow into a canvas app.
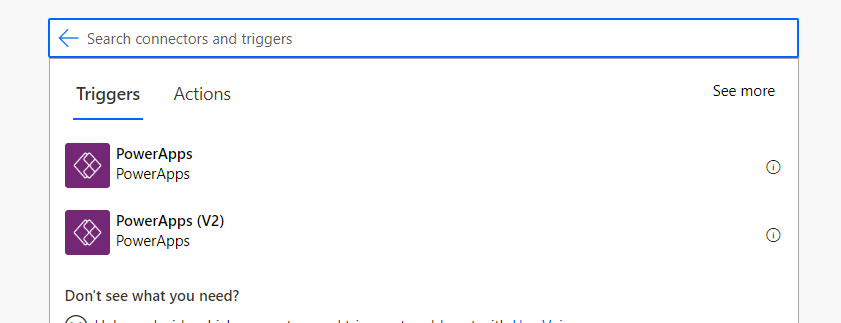
I’m going to put the flow we created yesterday back into edit mode, and I’ll start by changing the trigger on the flow from ‘Manually trigger a flow’ to the Power Apps V2 trigger.
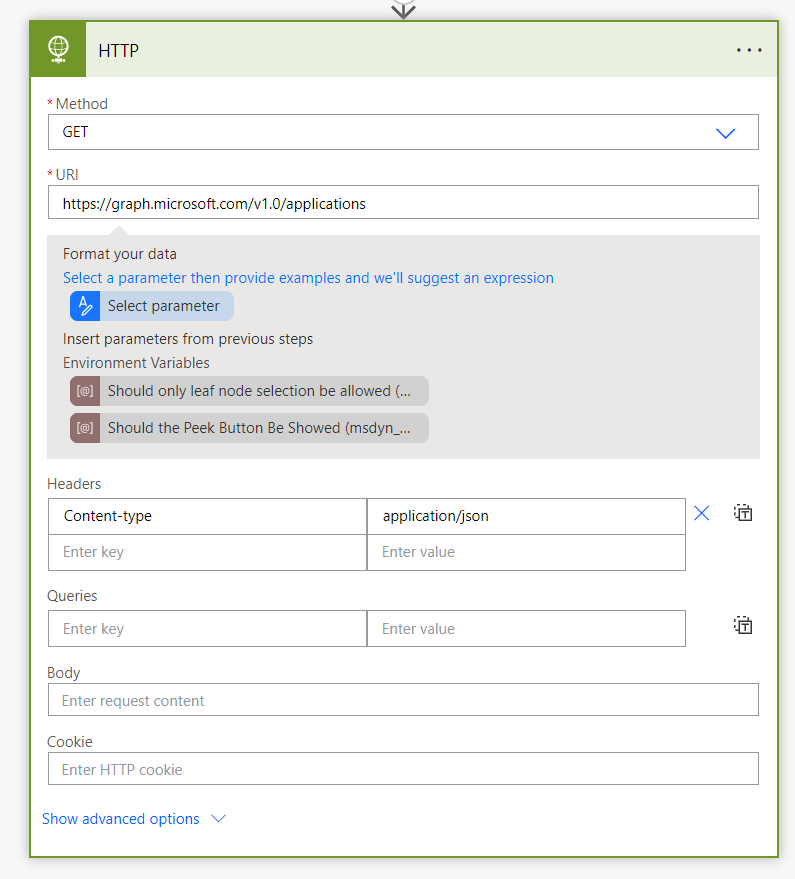
Now I’m going to change my request to graph a bit as in this use case I’d like to demonstrate working with some different data. I’d like to get all of the applications in my Azure AD, listed in a canvas app gallery. I’ll change my request URI to…
https://graph.microsoft.com/v1.0/applications
I’m now also going to add the Application.ReadWrite.All application permission to my app registration to allow me to make this request here.

I’m still using the same client ID, tenant ID and client secret on my HTTP request that I configured yesterday as I am still working with the same app registration. If you create a new app registration for this different scenario, you’ll need to change the authentication inputs on your HTTP step.
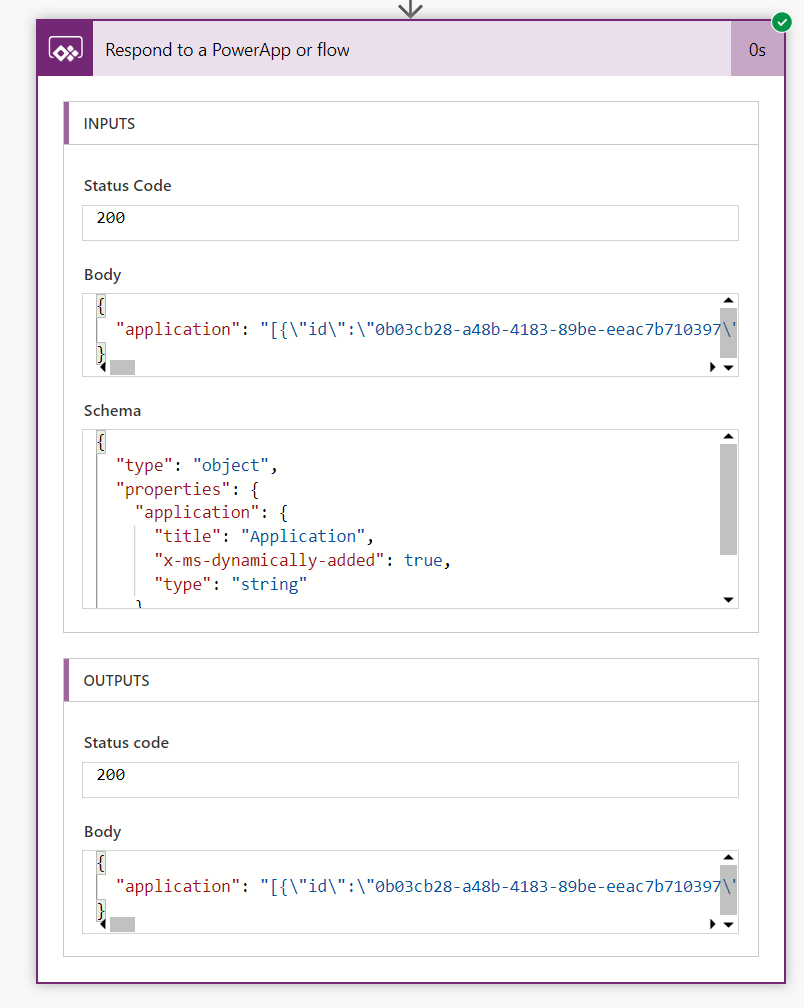
Now I’m going to add one more step, which is a response to an app at the bottom of my flow. I’m adding the ‘Respond to a PowerApp or flow’ step to my flow. In this last step I will add an output parameter which is where I’ll populate some dynamic content to pass data back to my app with.
Learn more about input and output parameters in Power Apps flows here
I’m going to give my output parameter a name of Applications and I’ll set the value with the following expression to get into the value array that will come from the body outputs of my HTTP request.
outputs('HTTP')?['body']?['value']Now testing my flow I can see that I’m getting the data I want passed into my output parameter ready to be picked up by my canvas app.
You’ll notice here we have an object with a single property which is my array as a single JSON string. We’ll handle making that an array with objects again when we get into Power Apps.
Working with ParseJSON() in Power Apps
Now we need to work on displaying our data in Power Apps. I have more content on this below, but we’ll go through it here as well for this scenario.
Moving into Power Apps, I’m going to start by creating a canvas app in the same solution that my flow is in.
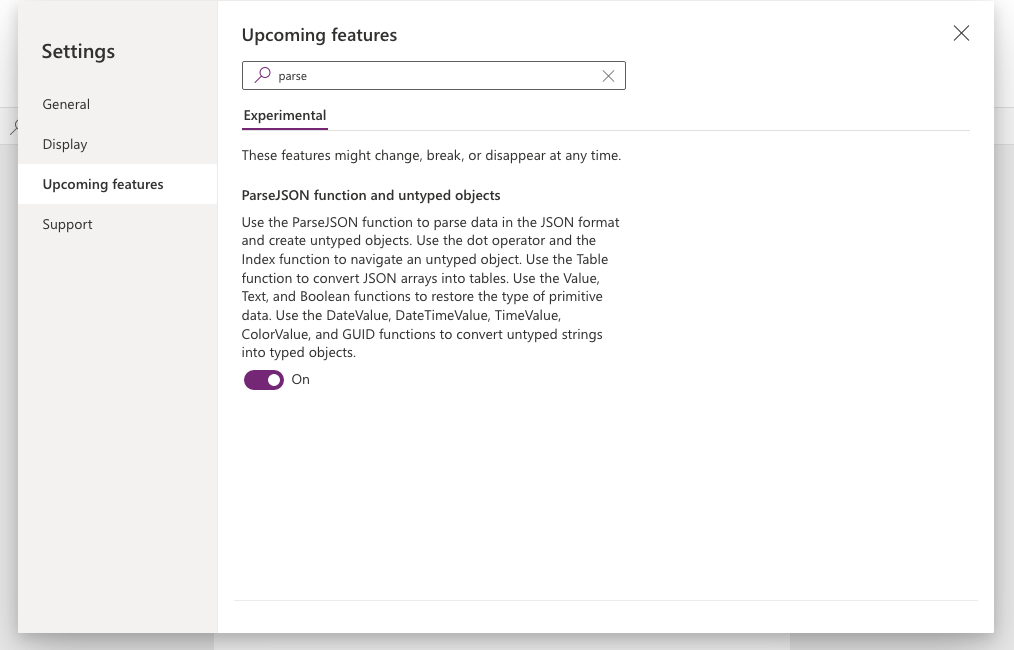
Before we get started I need to enable a feature in my app to make this work. Head to settings and enable the feature for ParseJSON function and untyped objects.
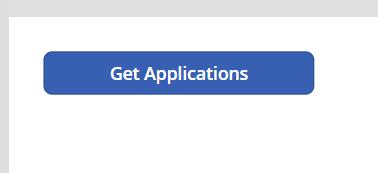
Let’s start by adding a button to our screen which we will configure to retrieve our applications when it is clicked. We could execute the Power Fx we will write somewhere such as a screen’s OnVisible property or even our App OnStart to remove the need for manual interaction to retrieve and display data, but for now I will just use a button.
I’ve added a button to my screen and I’ve set the label to “Get Applications”.
I now need to add my flow to my app to be able to call it using Power Fx. Let’s head over to the left hand bar in Power Apps and add our flow.
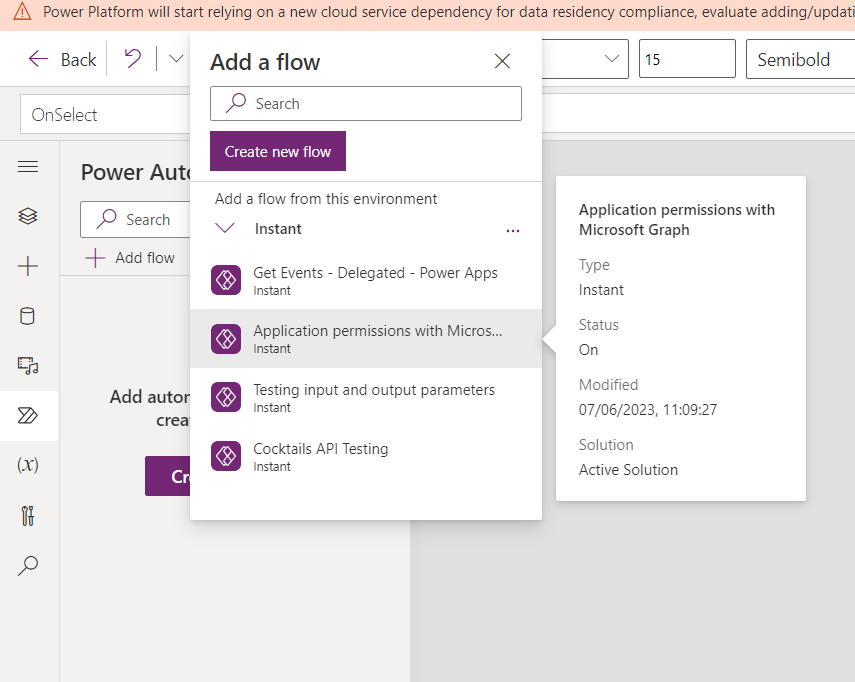
Now I can reference and call my flow in Power Fx within my app. I’m going to go back to my button and set the OnSelect property to the following.
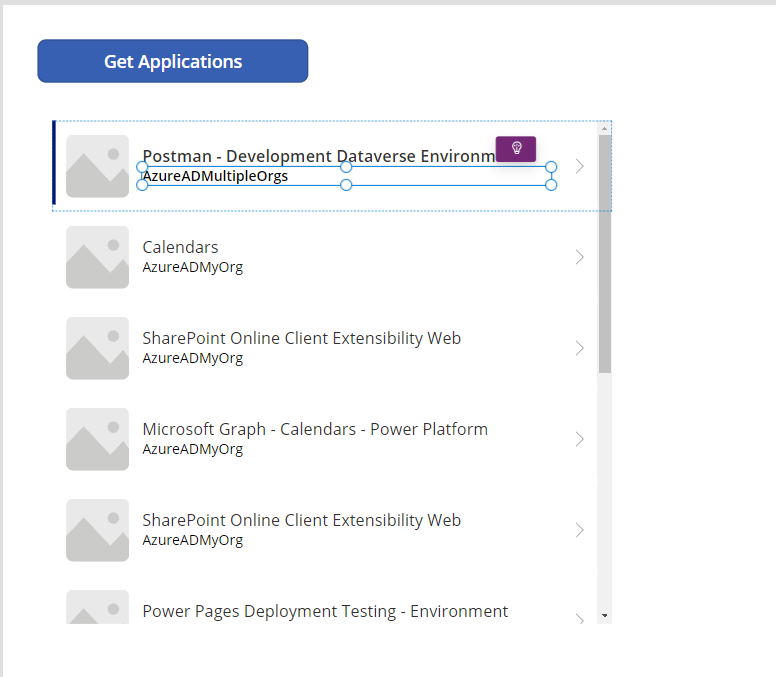
Set(gblApplications, Table(ParseJSON(ApplicationpermissionswithMicrosoftGraph.Run().application)))Next I’ll add a gallery to my application and set its Items property to…
gblApplicationsI’ll then select my button to retrieve data which will populate a number of records in my gallery. I’ll now need to do some work to display data in labels though. When working with ParseJSON I won’t be able to get field suggestions from intellisense so I’ll need to go back to my flow to find the exact field names I need to reference in my gallery.
I’m going to set the main label in my gallery to…
ThisItem.Value.displayNameThis is going to display the name of my application.
Then I’ll set the next label to the following to display the sign in audience of my application.
ThisItem.Value.signInAudienceNow we’re retrieving data from Microsoft Graph using application permissions and we are displaying it in Power Apps.
Upcoming content
In my upcoming posts we’ll look at some different requests we can make towards Microsoft Graph using application permissions and Power Apps. Specifically, we will build on this scenario and look at the ability to delete an application in our gallery with a DELETE request.
If you’re enjoying this content on Microsoft Graph and utilising the wider Microsoft Cloud ecosystem when building on the Power Platform, make sure you subscribe to my blog to get my posts directly in your inbox! 📩