


In the last few posts in this series on getting started with Microsoft Graph, and taking advantage of the wider #MicrosoftCloud #ecosystem, we’ve taken a non-technical introduction to how we can start to think differently about building with #LowCode by using contextual data created subconsciously on a day to day basis.
In this post, I’m going to give you a slightly more technical start to getting hands on with using Microsoft Graph. We’ll be taking a look at the Microsoft Graph explorer and how this is a great starting point for understanding how you can be using Graph in your solutions.
If you’re enjoying this content on Microsoft Graph, be sure to subscribe to my blog to get my daily posts on Low Code and the Microsoft Cloud in your inbox, currently continuing on this series of Microsoft Graph and taking advantage of the wider #MicrosoftCloud #ecosystem when building with #LowCode on the #PowerPlatform.
SubscribeWhat is Graph Explorer?
So effectively, Graph Explorer is a bit of a supercharged playground for us to use to get to grips with the single Microsoft Graph API endpoint, https://graph.microsoft.com
Using the Graph Explorer, we’re able to use either sample data provided by Microsoft, or authenticate against our own tenant providing we have permissions to, and we’re able to use either sample queries provided, or our own, to call the API, test it out, and see responses returned right within the playground.
To get started with using the Microsoft Graph explorer head to…
Graph Explorer | Try Microsoft Graph APIs – Microsoft Graph
Working with sample data and queries
So for the first time when you go to Microsoft Graph, you probably won’t be authenticated unless your credentials have been cached from using another Microsoft 365 service. You’ll be greeted with the following screen, where sample queries are available in the left hand side and a playground is available from there to the right.
We’re able to start to select sample queries in the left hand bar which will then populate in the request URL bar with the correct method and version ready for you to simply select run query and see the data come back from the Microsoft Cloud.
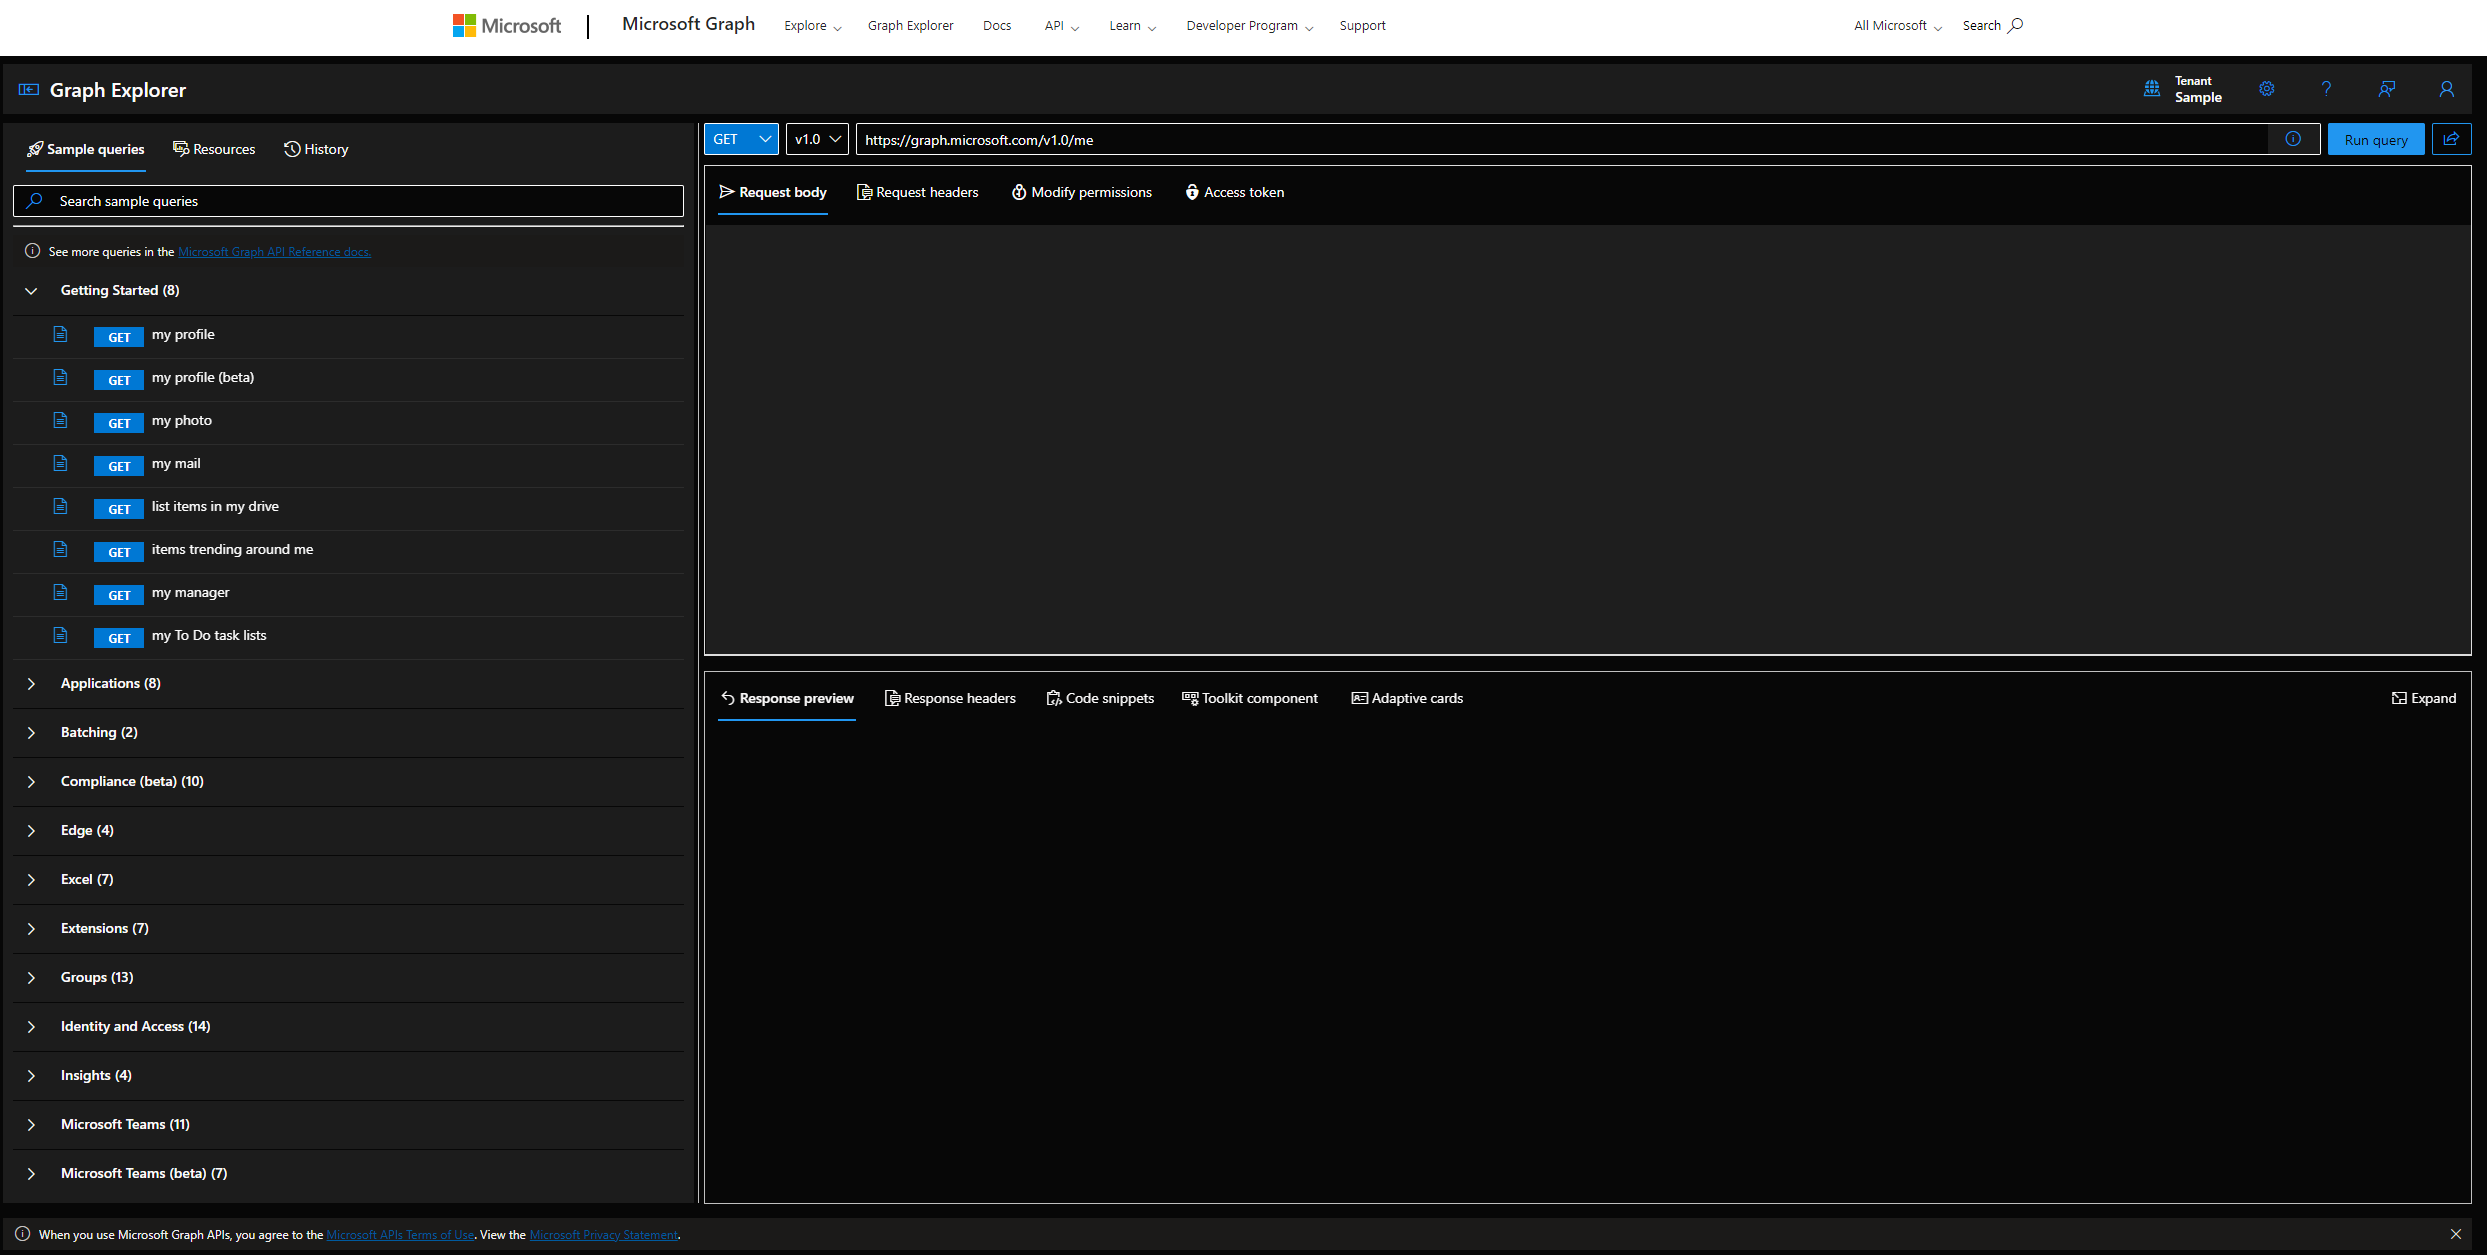
I’m going to start by selecting the first query we can call graph with in the getting started section of the sample queries which is a GET call to retrieve details on my profile.

Now the request URL bar has been populated with what I need to get back the details on my profile. I have the method of my call as well which in this case is GET which means we are calling the API to retrieve data from it.
Now if I select the run query button I’ll get a response back from the API with my details!
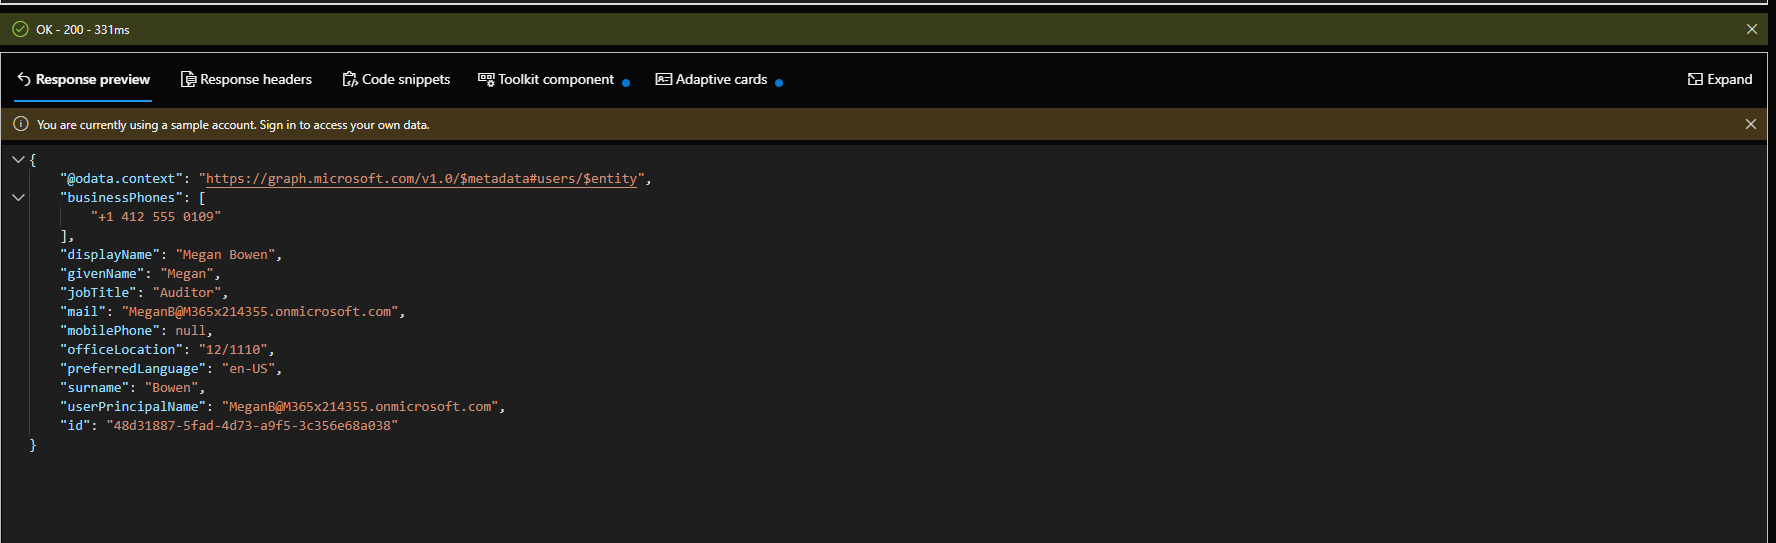
There we go! You can now see that I’ve got my sample data coming back from the request.
Continue to test this out using different sample queries from the left hand pane.
Get more information
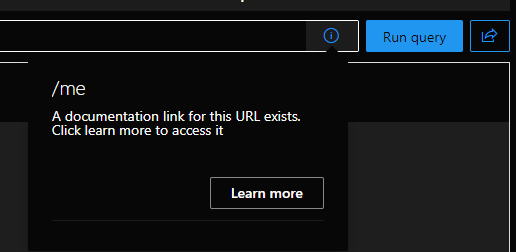
Once you’ve filled in the request URL bar with a query to run, if you want more information on the data you’re getting to with the Graph API, you might be able to get hold of this if there is corresponding documentation for that part of the endpoint at Microsoft Learn.
If there is corresponding documentation for the query you’ve inputted you’ll be able to select the i next to the query and get to this documentation at Microsoft Learn directly.
Work with any query and intellisense
Now if there aren’t sample queries that work with what you’re trying to achieve, you can refer to the documentation on the Microsoft Graph API to see what is possible and then simply start creating these requests using the inputs at Graph Explorer including the request URL, request body, headers, and permissions if you’re using your own authenticated credentials.
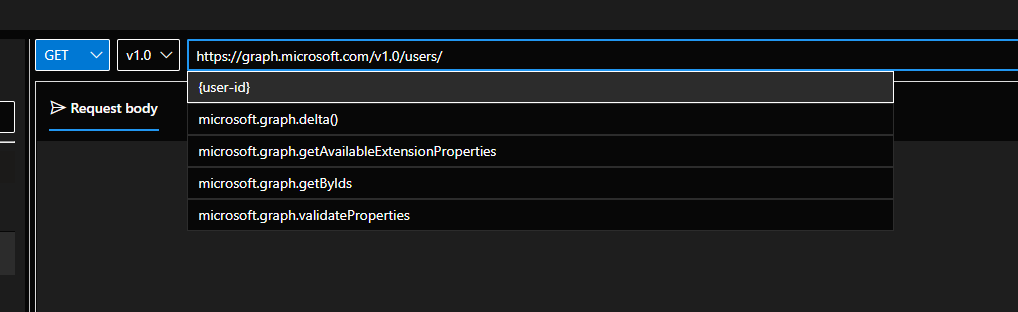
You’ll notice when typing into the request URL that intellisense will suggest options as to what you can achieve with the query you’re composing.
For example if I enter https://graph.microsoft.com/v1.0/users into the request URL bar, intellisense will tell me what I can access out of the users object and further filter down on utilising these options. So next I could use a user ID to filter down to a distinct user. If I then added an additional forward slash, intellisense would tell me everything I could get out of the API about a distinct user.
You can use this approach with any of the requests you need to make towards Microsoft Graph.
Overview
Hopefully this gave you a good introduction to getting started with Microsoft Graph by using the Graph Explorer. If you have any questions around this topic, be sure to put them in the comments below, or get in touch with me via the chat on my blog.
Make sure to subscribe to my blog if you’re enjoying this series on Microsoft Graph, by heading to the footer of this site.