

There are a number of reasons we might need to use Azure AD to register an app with API permissions to use in our Power Platform solutions. For example, when we create a Power Pages website, this is actually done for us to allow for the external access to our Dataverse data! In this blog post, we’ll take a look at how to register an app in Azure Active Directory, apply API permissions and generate a secret to access our app from flows and other places.
Registering the app
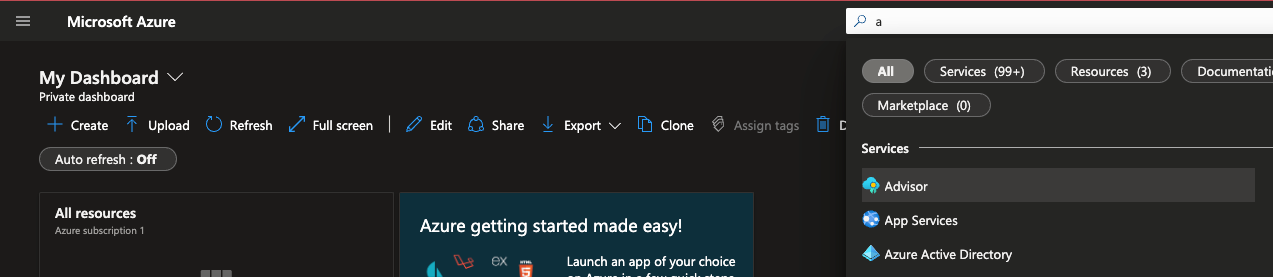
To register an app in Azure AD to gain access to a number of Microsoft 365 and Azure related APIs including Microsoft Graph we need to start by going to portal.azure.com then we need to navigate to Azure Active Directory. You can find this by using the search bar and AAD will appear under services.
We now simply need to navigate to ‘App registrations’ in the left hand navigation bar.
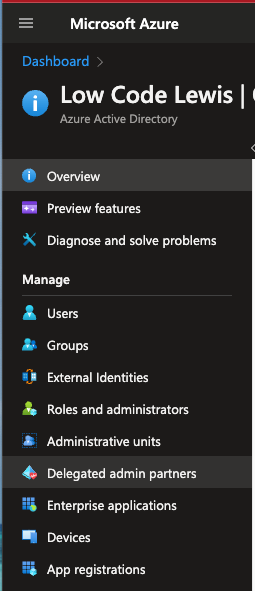
Then select ‘New registration’ to create an app in Azure AD.

Now give your app a name and decide who should be able to access the application and its API permissions. Here we say whether we want only users in the currently AAD directory to be able to access the application, accounts in any Azure AD directory, any Microsoft accounts at all including work and personal accounts, or just personal Microsoft accounts.
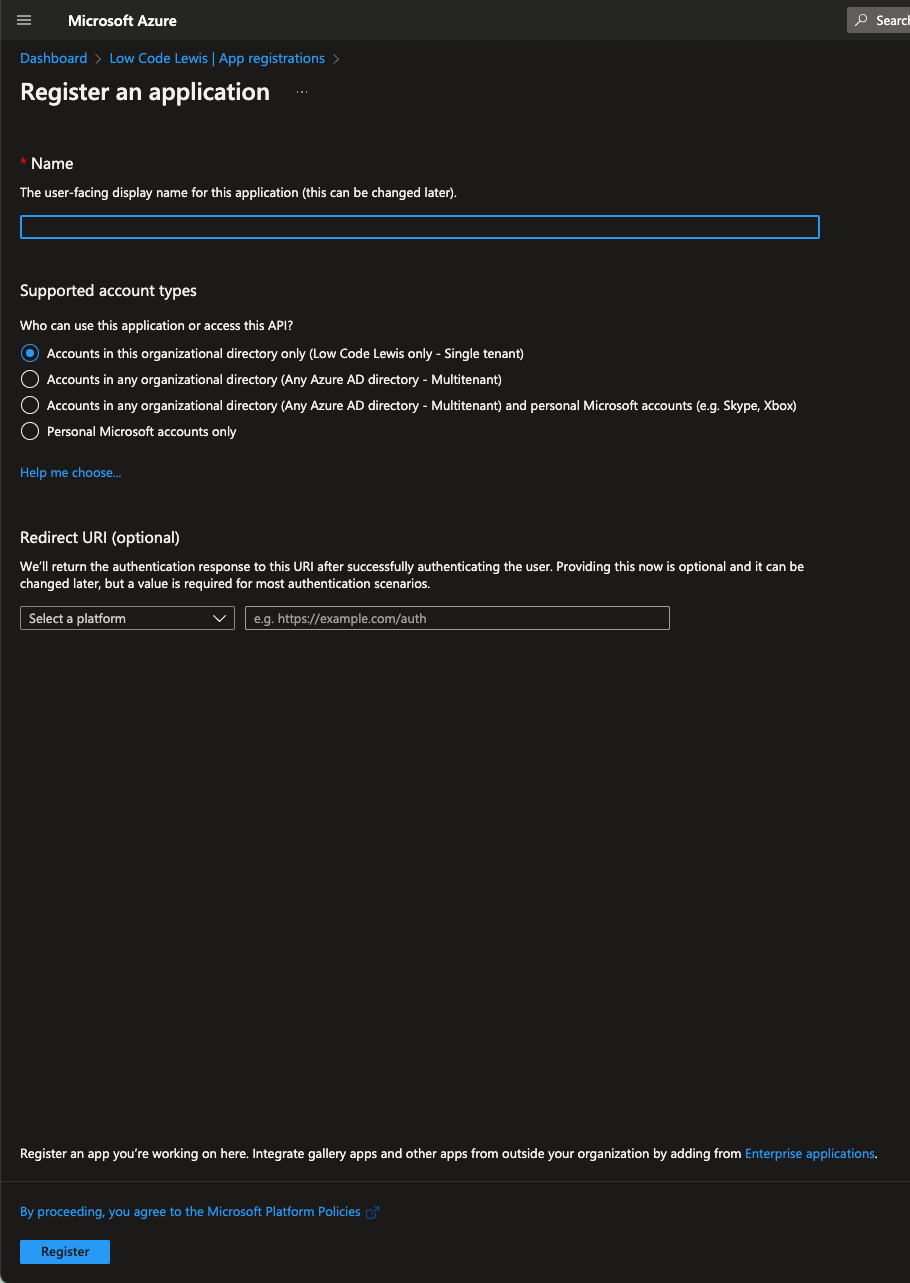
Once you’ve done all of that simply select ‘Register’.
Adding API Permissions
Now we can do the part that gives our app registration some purpose, to allow us to access various data from a Power Platform solution such as inside of a Power Automate flow using a HTTP request to call an API.
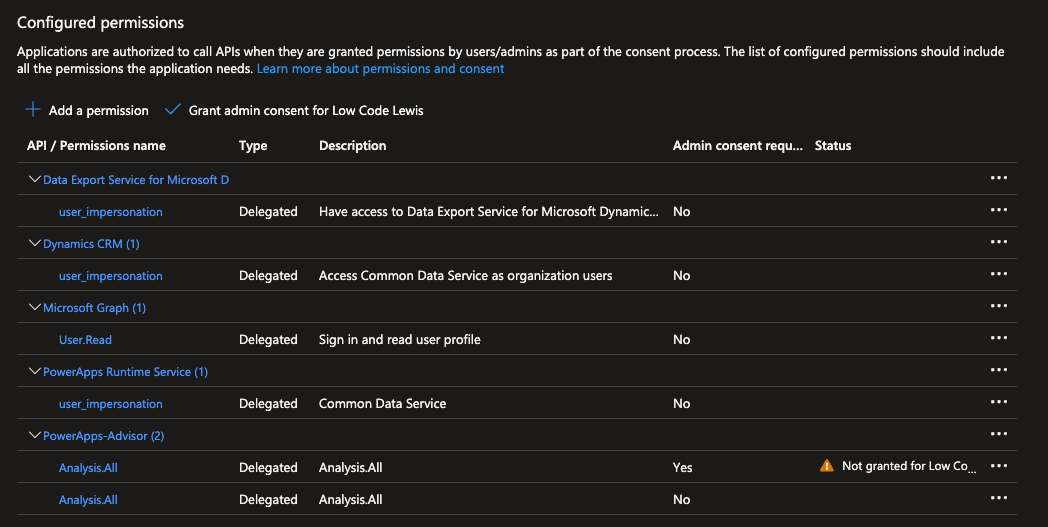
Head to the API permissions tab in the left hand navigation and now we can start to add permissions against the APIs that we want to be able to call. Once you’ve done this ensure that you select ‘grant admin consent for [tenant name]’
Authentication with secret
Following this, to be able to authenticate against an API to call that API, if we have the permissions added to this app, we can simply use a client secret to authenticate against this app and get to our API when we call it. To create a secret simply follow these steps…
Select certificates & secrets in the left hand navigation and then select new client secret under the client secrets tab.
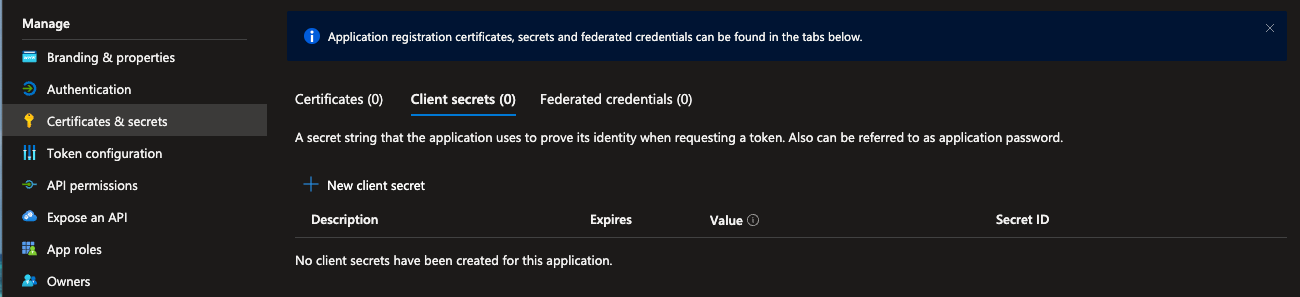
Then give it a description and a time frame for the secret to expire for security purposes.

Now simply select ‘Add’ and enjoy using the secret along with the application (client) id and the tenant id to be able to authenticate against APIs where they have permissions added on this app!
If you need more help understanding using app registrations to authenticate when making API calls in your Power Platform solutions, pop a comment down below!