

Do you find your productivity not so high when having to go through a number of records in a model-driven app or Dynamics 365 app where you have to select them and then go back to the view, and select another etc… 🤔
In this blog post, I’ll show you how to add a button to the ribbon of a table which will allow users to open records in a side pane and stack them up, then allowing them to switch between whatever they’ve added to the sidepane.
Writing a JavaScript function
So for this, we will write a JavaScript function which will run when we select our ribbon button. Use the code below and pay attention to the comments to understand what each part does.
//A function for showing a side pane which is populated with a record view of a contact.

function showSidePane(FirstSelectedItemId) {
    //Create the side pane with the correct icon, title etc.
    Xrm.App.sidePanes.createPane({
        title: "Contact",
        imageSrc: "WebResources/adx_contacts.svg",
        hideHeader: true,
        canClose: true,
        width: 600
    }).then((pane) => {
        //Within the side pane, populate the space with a record view of a contact
        pane.navigate({
            pageType: "entityrecord",
            entityName: "contact",
            entityId: FirstSelectedItemId,
        })
    });
}
Within the code above there are some things you may need to replace depending on your requirements. You may want to replace the table you’d like to use this on. Change the entityName property for this. You may also want to change the title and the icon of the created side pane if you are using a different table.
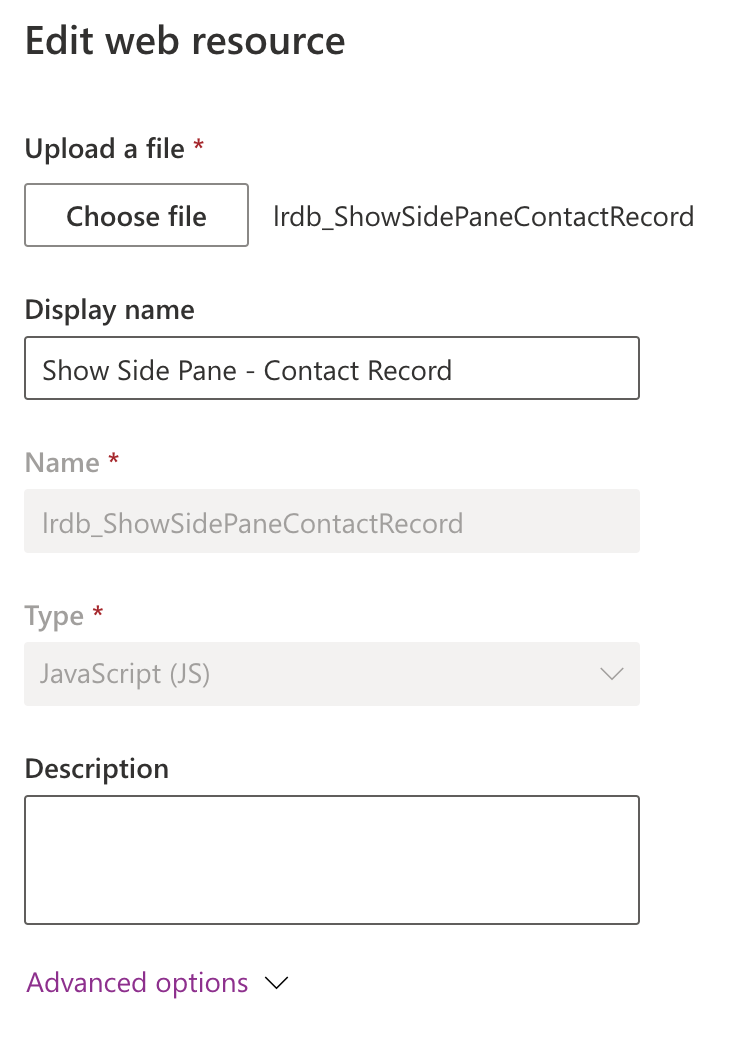
Upload as a web resource
Now, head to a solution you are going to do your customisation in, and upload your JavaScript library containing this function as a web resource.
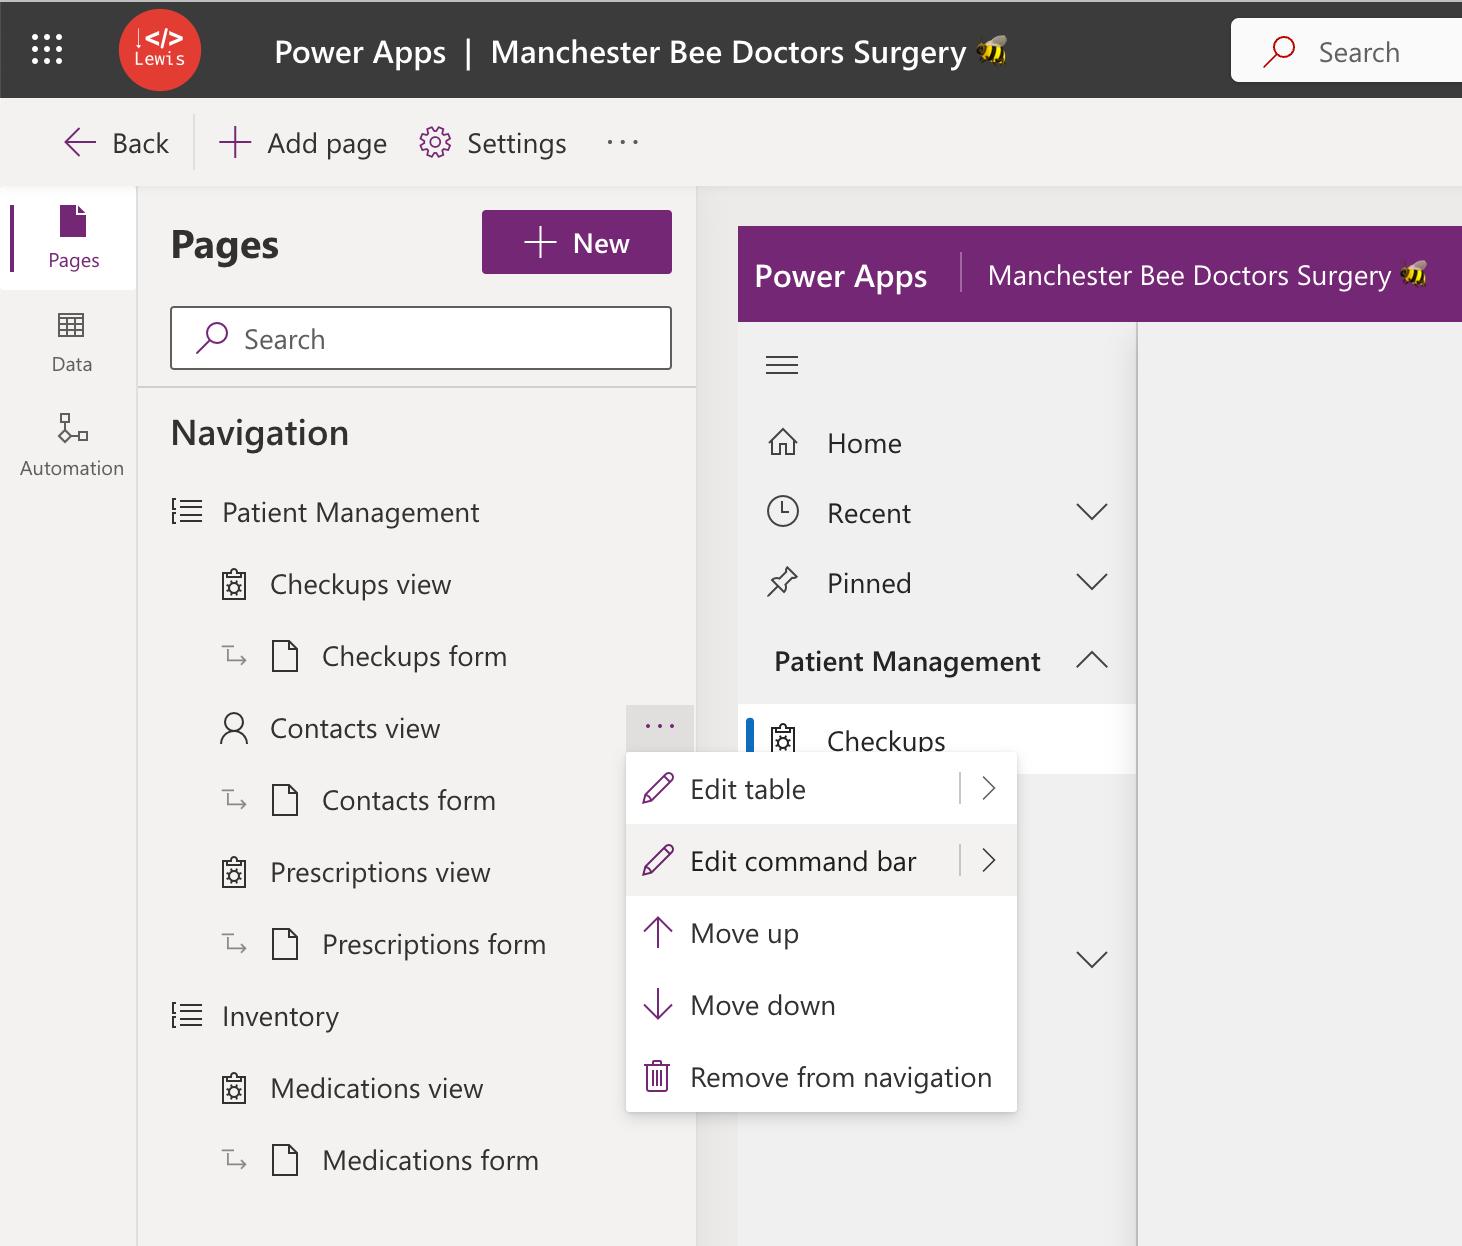
Add a button to the ribbon
Now, the only thing left to do is to add a button to the ribbon in our app which will run our JavaScript function when it’s selected. Start by editing the model-driven app you’d like to apply this customisation to. In the left hand navigation find the table you want, select the three dots and select ‘Edit command bar’.
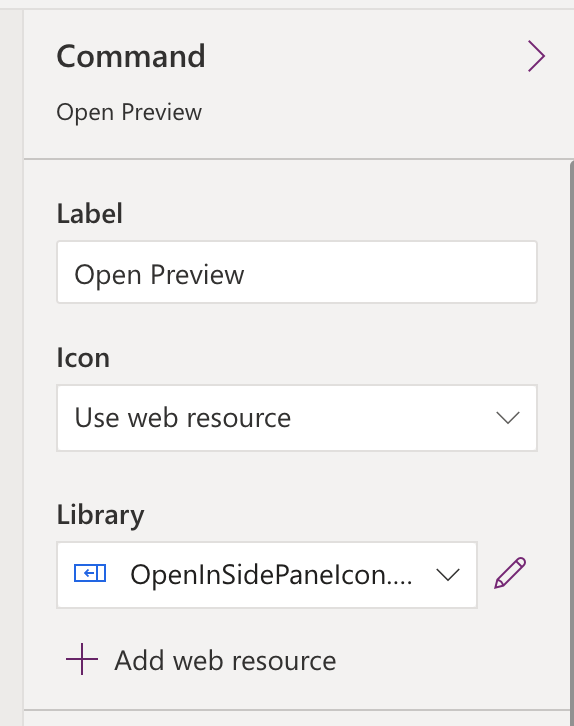
Now, add a command to your command bar and give it a label. I’m then using one of the out the box web resources for my button. You can pick one which works.
Now, for the action. Select the ‘Run JavaScript’ option. Then select your web resource which is the JavaScript library you uploaded to Dataverse. Finally populate the name of the function you want to execute which if you’ve used the same code as me is showSidePane.
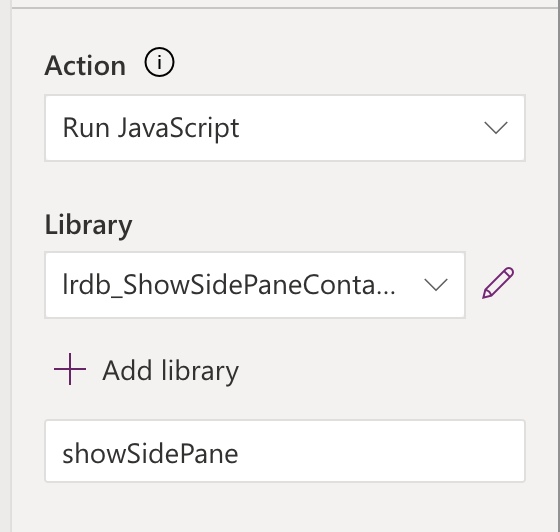
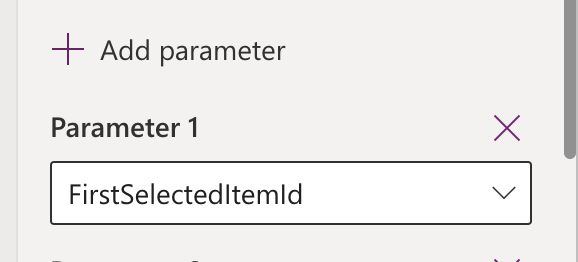
We’re almost done but we still need to pass some data into our JavaScript function which is our selected record GUID. Add a parameter and choose the FirstSelectedItemId out the box parameter.
Now save and publish your changes.
Testing it out
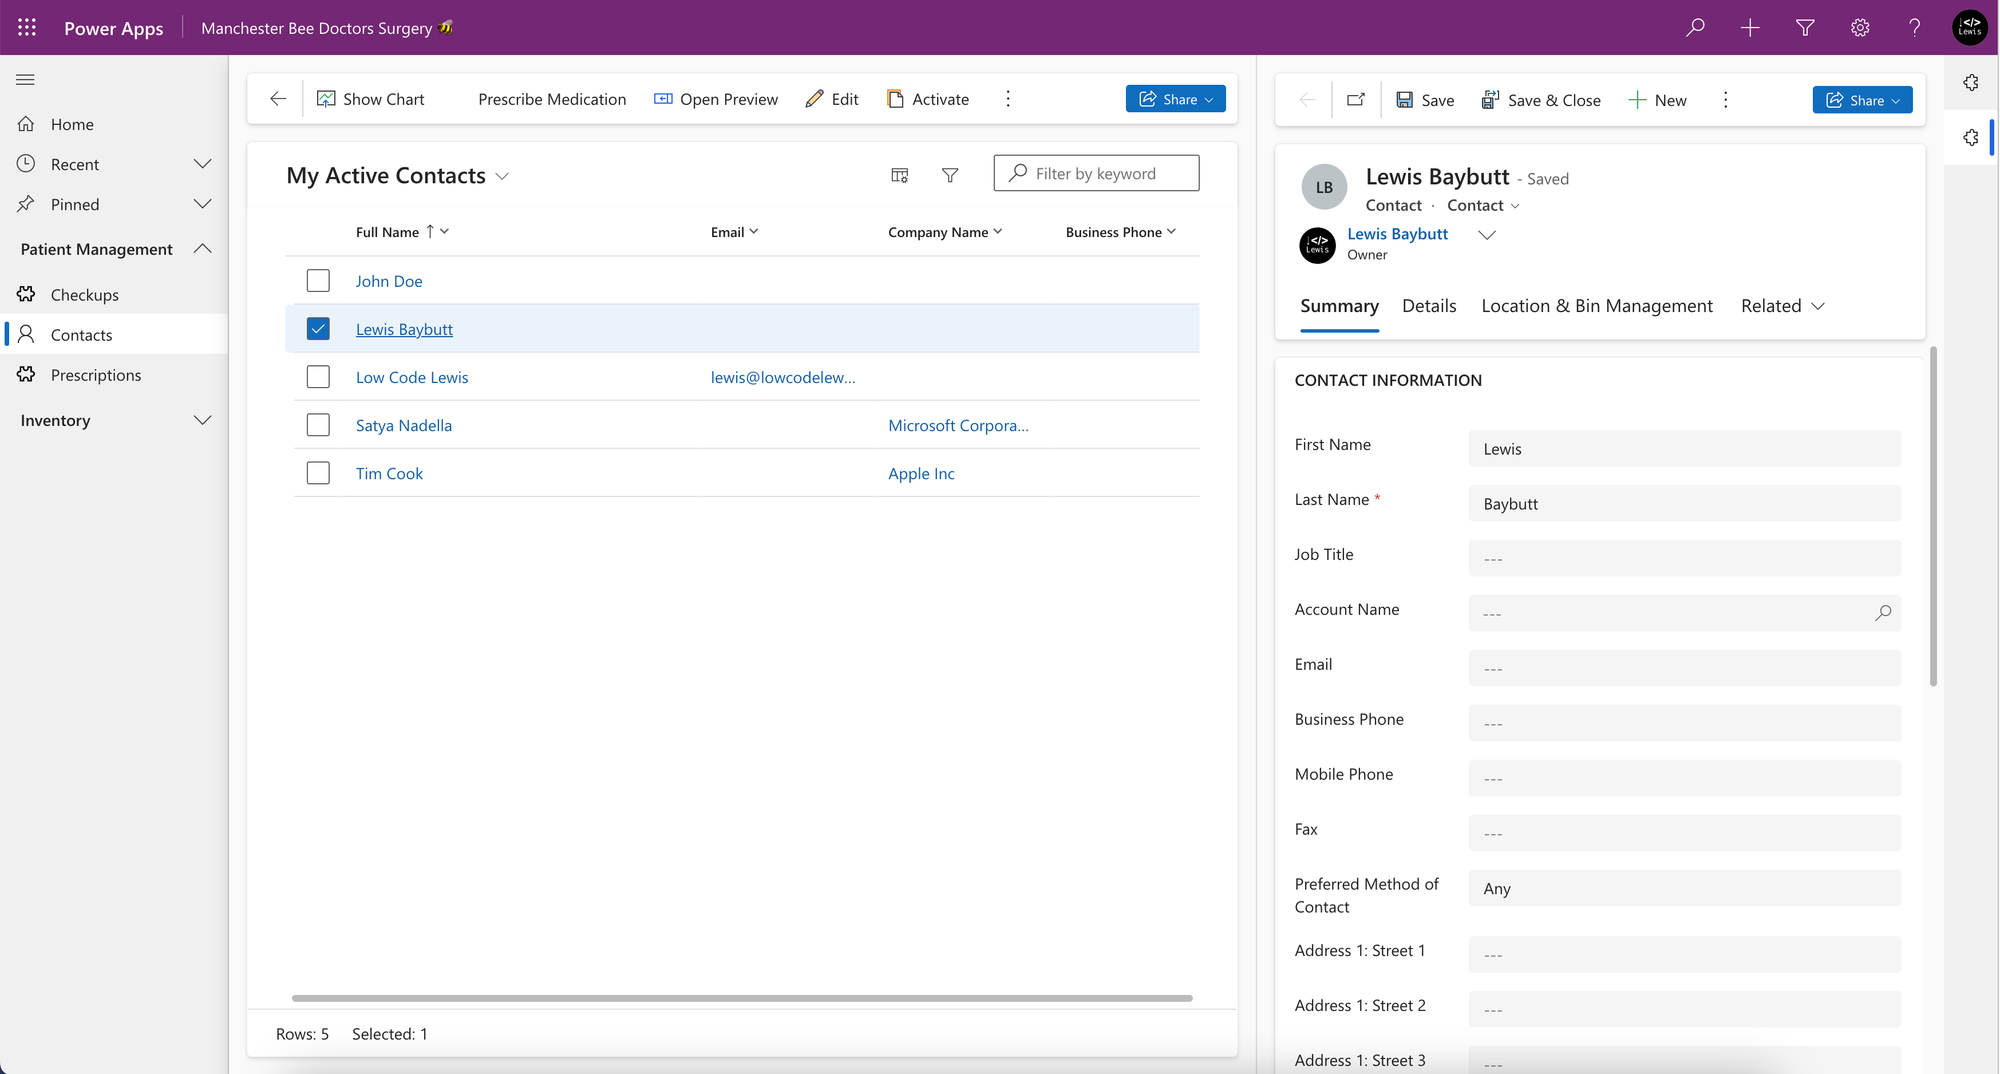
Now let’s test this out! I’m going to play my app and head to the contacts table.
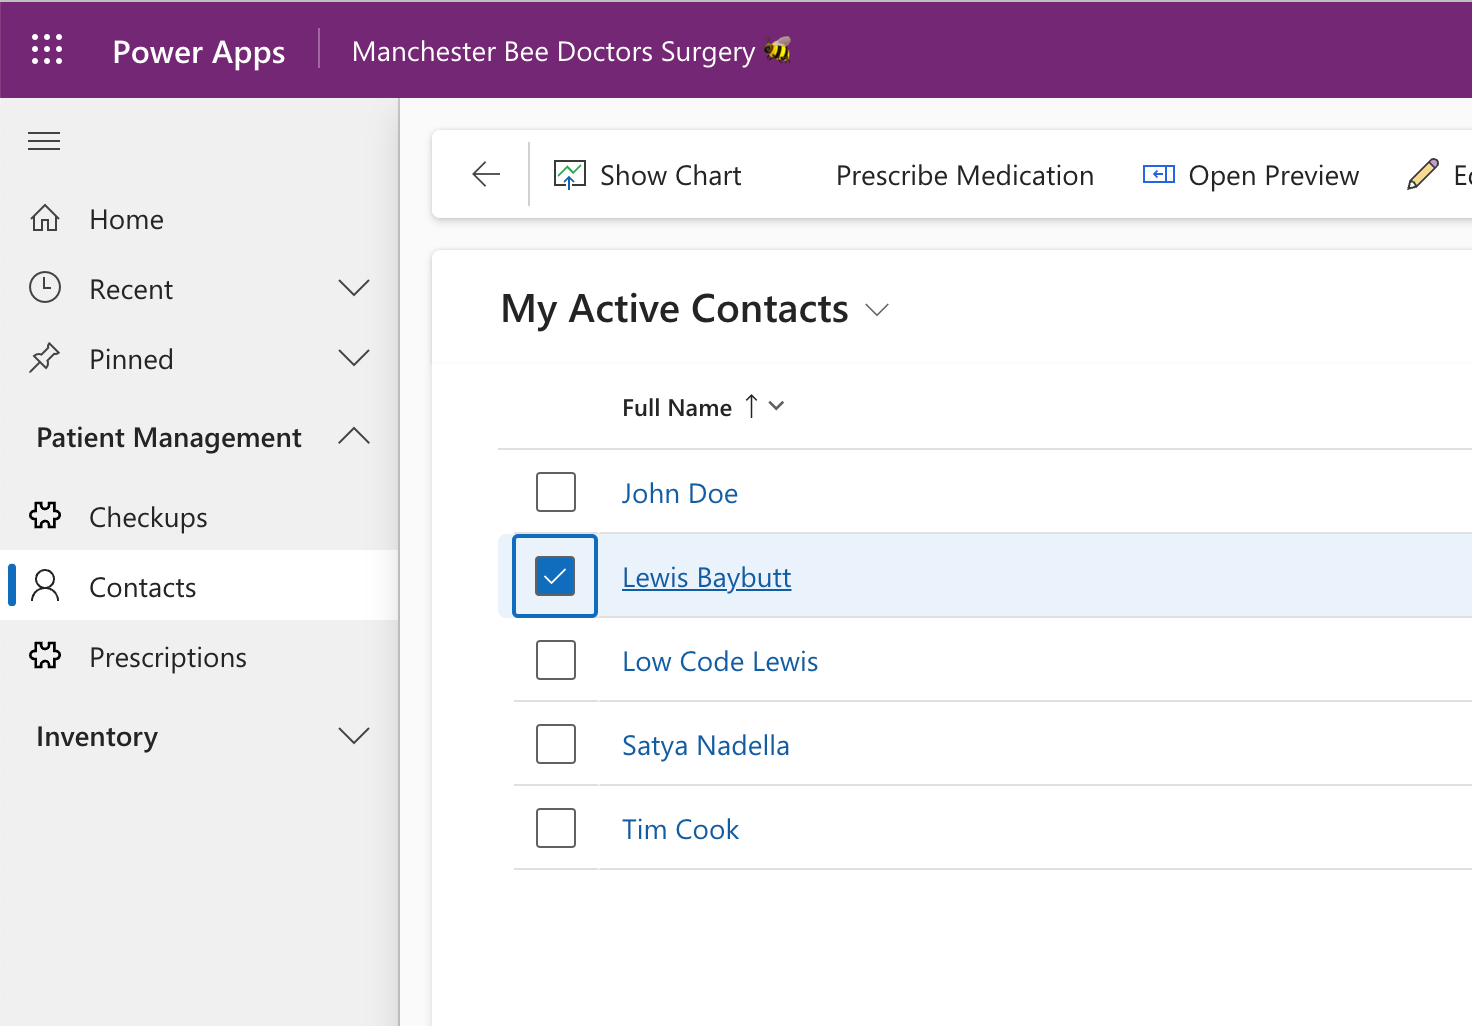
Now you can see that when I select a contact, I have my custom ‘Open Preview’ button. When I select this, I get a preview of the record open in a sidepane.
Did you like this post? 💖
If you liked this post, be sure to check out a few other articles on my blog. If you still enjoy the content, subscribe to get Power Platform & Dynamics 365 related articles in your inbox from me for free!
Subscribe