

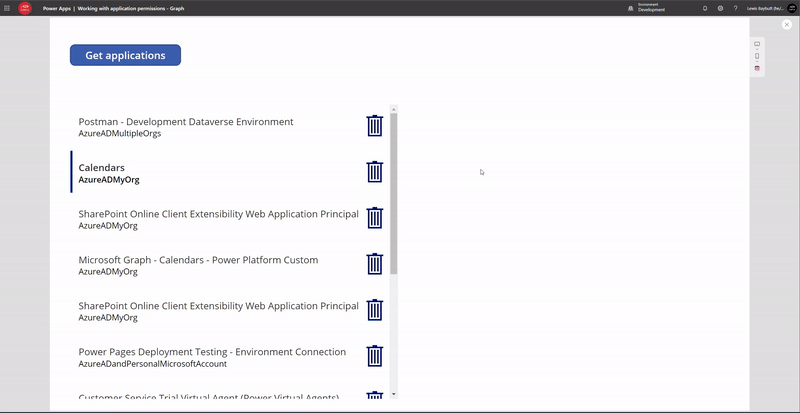
In yesterday’s blog post, we looked at how we can start to work with application permissions against Microsoft Graph when we’re in Power Apps. Our end result was a button that when clicked populated a gallery of the applications we have in our Azure Active Directory tenant.
In today’s post, we will take a further look at how we can make requests to Microsoft Graph from Power Apps, utilising the DELETE method. This will hopefully give you an idea of how you can make requests based on a single record we retrieved using the GET call.
Enjoying this content?
Are you enjoying this content on Microsoft Graph and utilising the wider Microsoft Cloud ecosystem on my blog? Make sure you’ve subscribed to get my articles directly in your inbox 📩
SubscribeAdding ability to delete an application
So let’s first take a look at how we can add the ability to delete one of the applications that has become listed in our gallery. We will be attempting to delete the app from Azure Active Directory here. In my gallery I’m going to start by rearranging a few things to make it look a bit better, and I’ll include a delete icon that should be selectable.
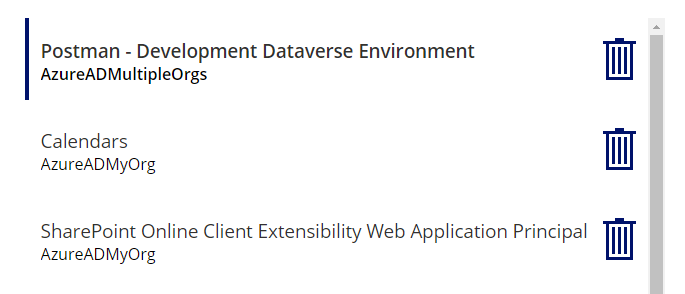
So, now that I have my trash can icon in my gallery, I’m going to build the functionality to make a DELETE request to the Microsoft Graph API to delete the specified application.
Building a DELETE flow
We’re going to select the Power Automate tab in Power Apps and create a new flow. We’ll need to start by adding one input. You’ll need to replace the flow trigger with the V2 Power Apps trigger to do this.
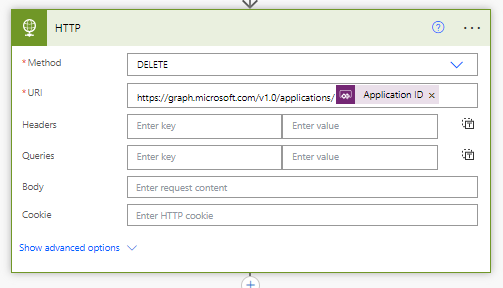
I’m going to add an input for application ID. I’ll then add a HTTP step to my flow where we’re going to create our request towards Graph. Copy all of the authentication inputs you used from your flow in yesterday’s post, where we did the GET request to retrieve applications.
Now in my request I’m going to use the DELETE method, and then I’ll make the request URL the following.
https://graph.microsoft.com/v1.0/applications/ApplicationIDInputParameter
After the last forward slash at the end of the request URL add the dynamic content for the input parameter we created earlier for application ID.
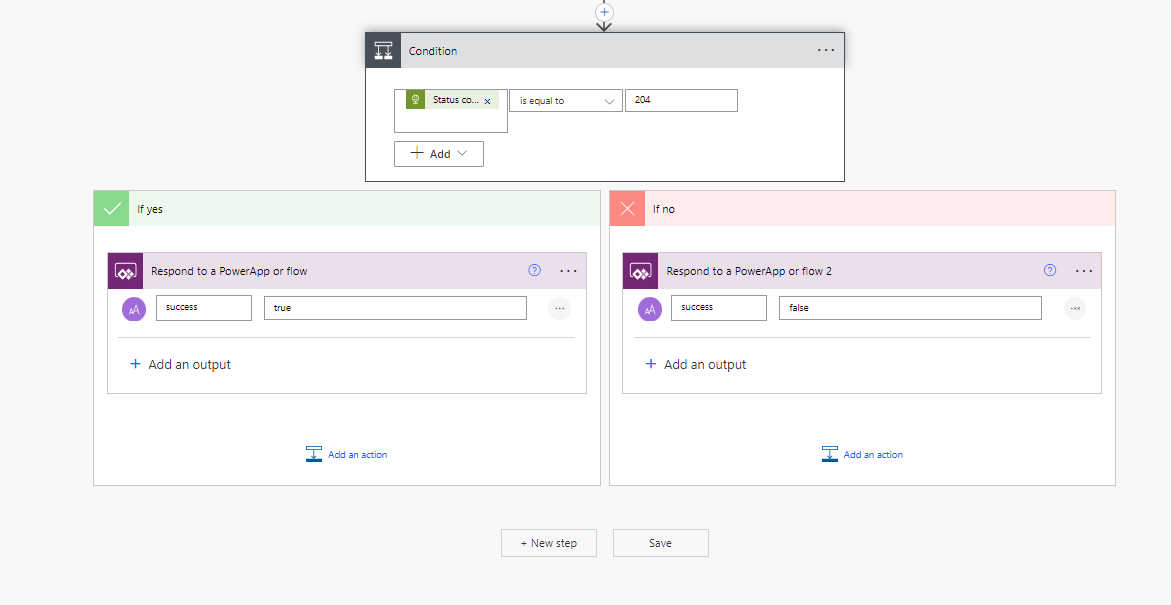
Now after my HTTP step I’m going to add a condition to respond back to my app based on whether the API call was successful with a 204 status code. You can also use the inbuilt Power Automate run after functionality here for similar error handling. We will use a success property to return a response to our application with a true or false value.
Making the delete icon work
Now we’re going to come back to Power Apps and select our delete icon in the template of our gallery. I’ll navigate to the OnSelect property of the icon to edit the Power Fx formula here.
I’m going to set the formula as follows.
If(
    DeleteApplication.Run(ThisItem.Value.id).success = "true",
    Notify(
        "Your application was deleted successfully.",
        NotificationType.Success,
        10000
    ),
    Notify(
        "Something went wrong, please try again.",
        NotificationType.Error,
        10000
    )
)
Now when I click the trash icon the application gets deleted from Azure Active Directory
Summary
Hopefully this post and my last gave you a good introduction to working with application permissions against Microsoft Graph from Power Apps. In my last post we went over retrieving data using a GET request from Power Apps to Microsoft Graph, and in this post we looked at making a request around a single record using the DELETE method towards Microsoft Graph. It is a similar approach when making requests with methods such as POST.
If you didn’t understand something in this post, or you have something specific you’d like me to cover in my series on Microsoft Graph, let me know in the comments below on this post.
If you’re enjoying this content on Microsoft Graph and want my articles on Low Code directly in your inbox on a daily basis, make sure you subscribe in the footer of this page. 📩😎