

When it comes to comes to managing a contact centre, there’s a number of different types of data customers may send agents, or that perhaps an agent may wrongly even request from a customer whilst using the toolset provided. In Dynamics 365 Omnichannel for Customer Service, there’s capability to prevent incidents of the wrong data being made visible in a conversation between an agent and customer.
In this blog post, I’ll share how you can use the masking tools within Omnichannel for Customer Service to ensure customers or agents aren’t able to see or share specific formats of data such as social security number, email and more!
Customer Service Admin Center
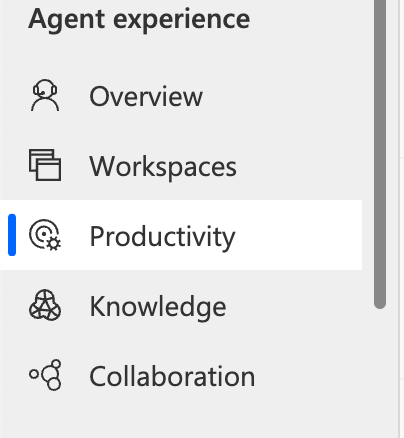
First we will head to the customer service admin center to configure the options we need to, to ensure this works, and we don’t enable the sharing of confidential data. Start by heading to productivity under agent experience.
Now select data masking found at the bottom of the features. Select manage on the feature.

Configuring data masking
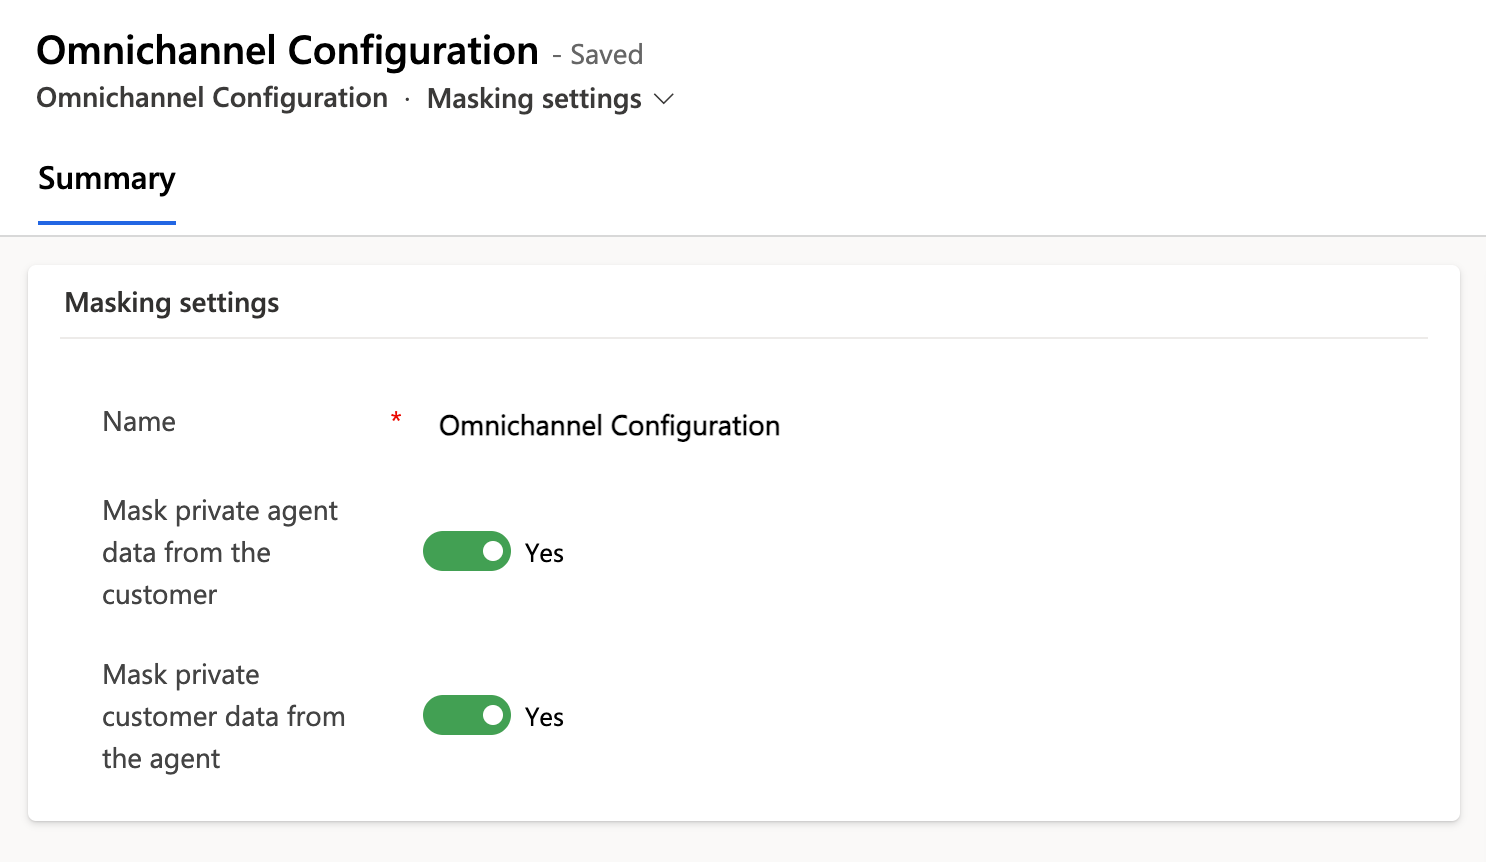
Now we have two options for masking data in Omnichannel. We can mask private agent data from the customer whereby anything sent to the customer from the agent which matches a certain format will be masked and hidden. On the flip side, we can also enable the masking of private data which matches a certain format from the customer to the agent.
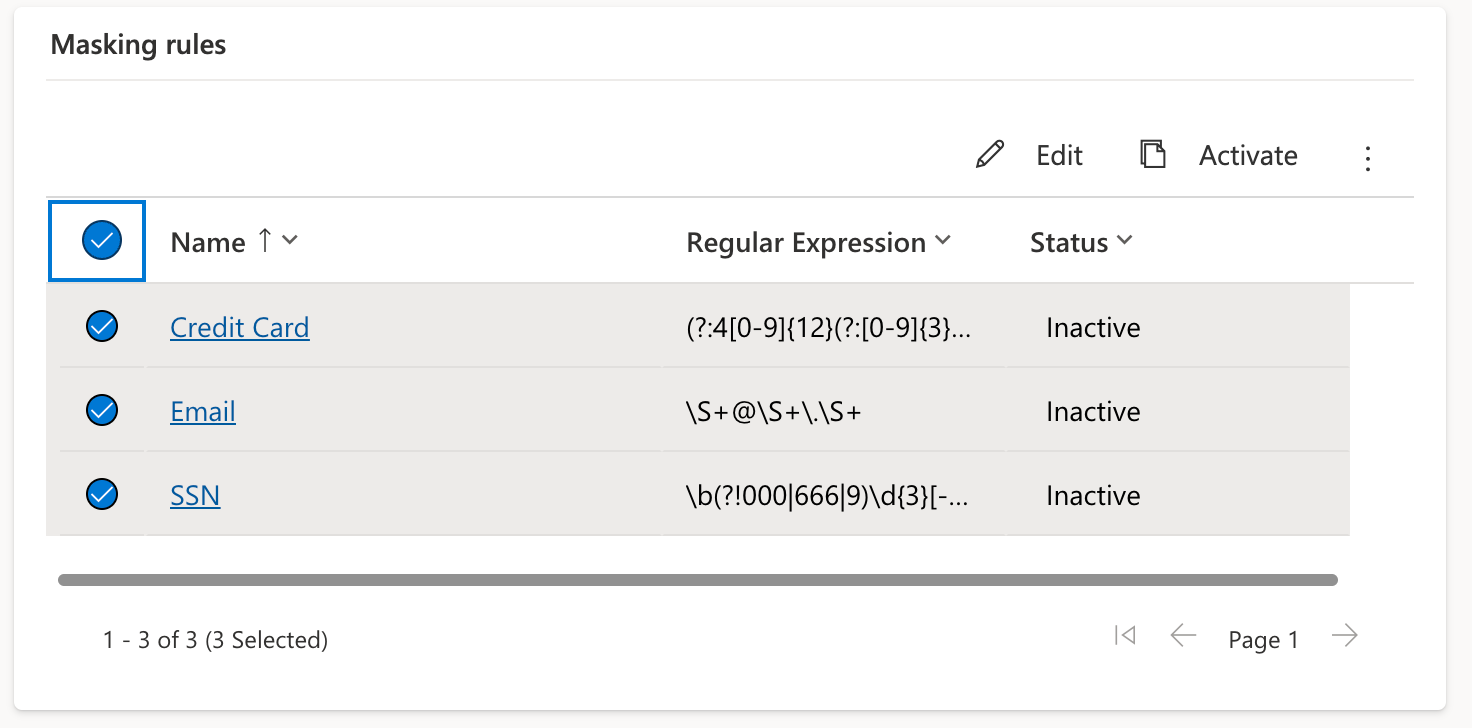
Now we’ll need to configure the formats which should be masked. Out the box there are a number of formats already created which are set as inactive. To enable the masking of email, SSN, or credit card, you can simply activate these records.
To do this, select the masking rules or formats you wish to start hiding in conversations, and then select activate.
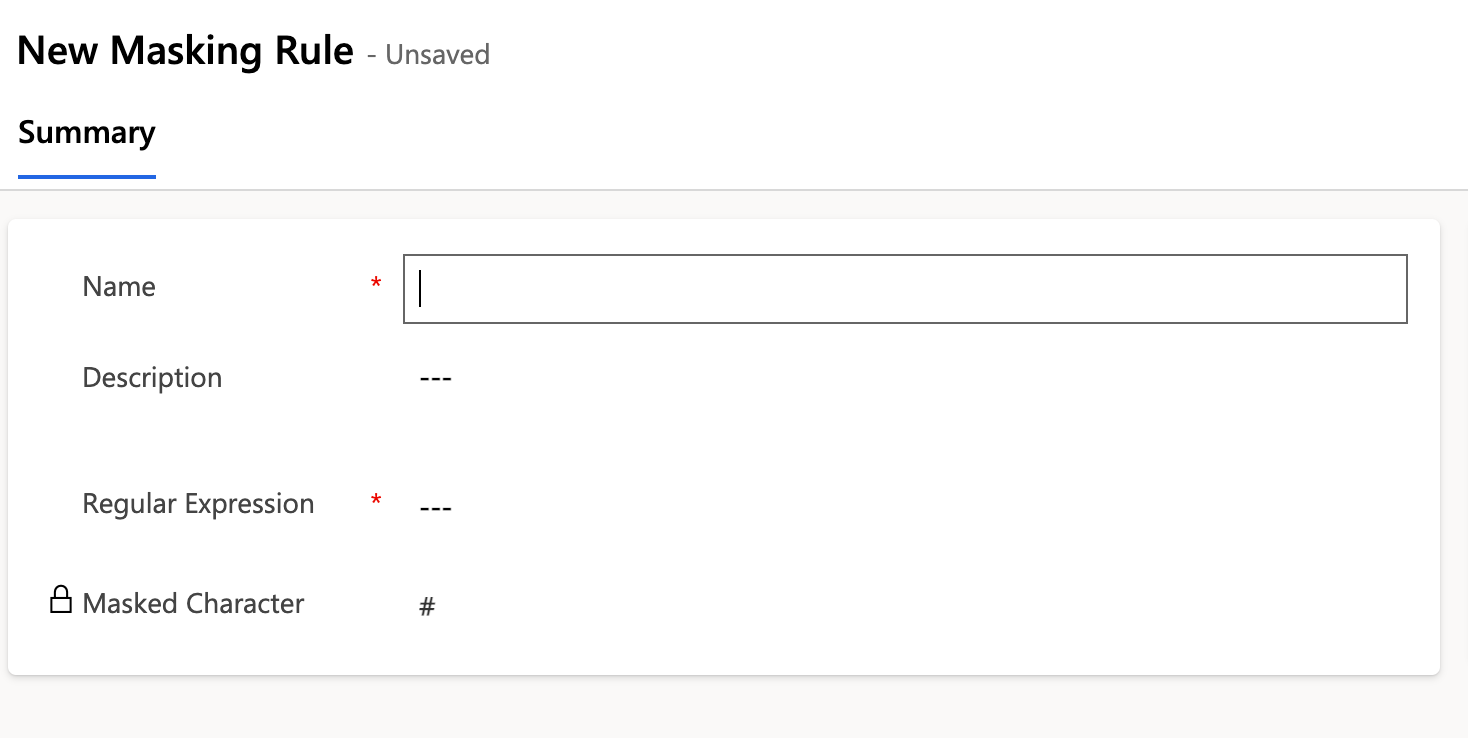
To create a new format which isn’t already present, simply select new masking rule without one of the existing ones already selected in the grid.
Now we’ll need to populate the form with a name for the rule, and a description of what we’re hiding. Then we simply have to supply a regular expression for the type or format of data that should be hidden and save the record. Now this data will start to be hidden in conversations in Omnichannel for the configuration rules we set up as to which data should be masked i.e. from customer to agent, or from agent to customer, or even both.
Testing it out!
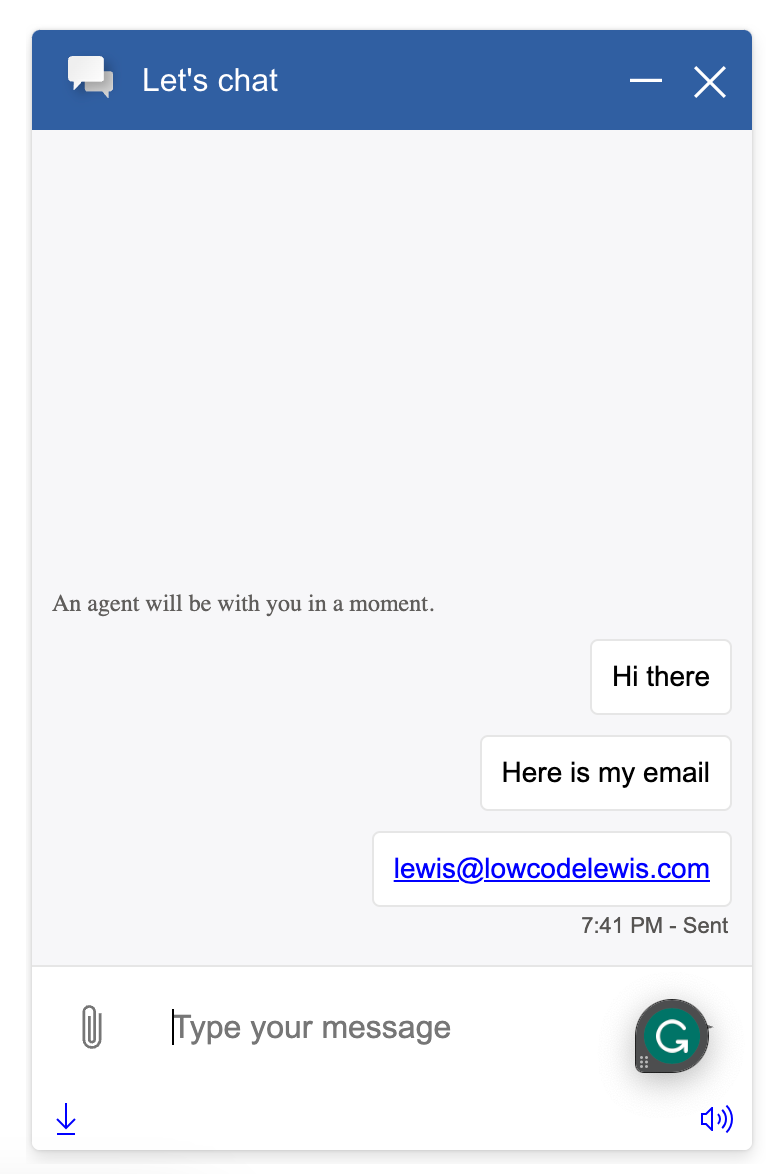
Now let’s take a look at how this works in a live chat scenario. I’m going to start a conversation to be pushed to Omnichannel and I’ll send the agent an email address. We’ll see from the agents point of view, how the incoming data is masked.
Now lets see the chat from the agents point of view once accepted.
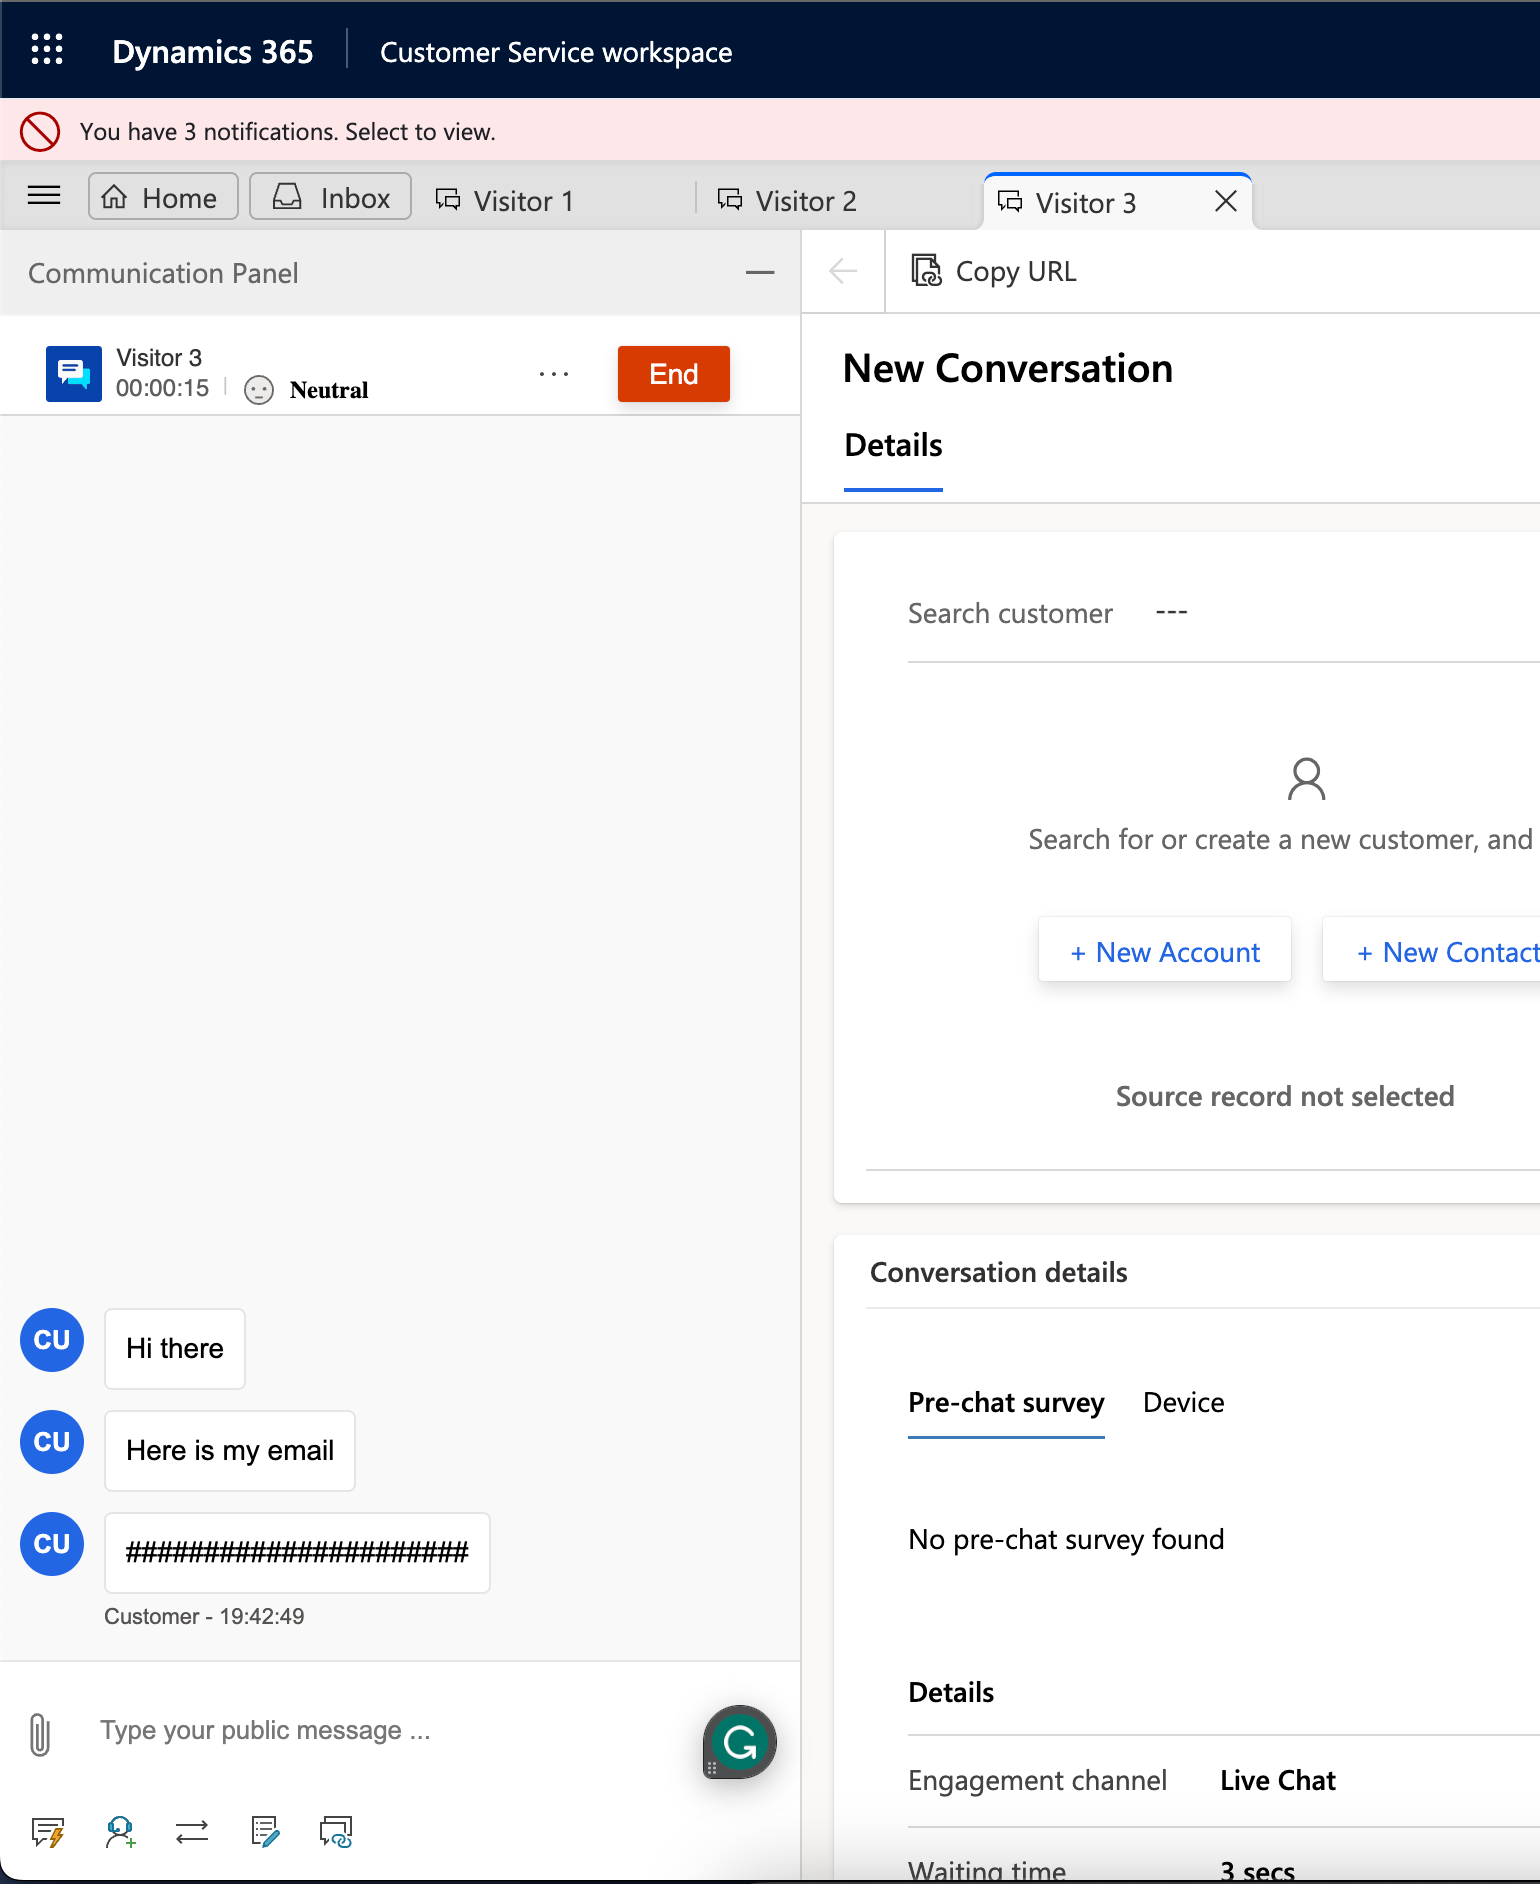
And there you have the email address being masked in the chat from the agents perspective! Simple!
Did you like this content? 💖
Did you like this content? Check out some of the other posts on my blog, and if you like those too, be sure to subscribe to get my posts directly in your inbox for free!
Subscribe