

Have you ever needed to build in levels of permissions, perhaps though security roles or another method, into one of your canvas apps so that a certain group of people can only access basic features within your app, yet a smaller group of people may access a wider and full set of features?
There’s lots of ways of doing this! More commonly I see people reference users that have been written into a table. This is a method I’ve previously used loads in the past. I’ve also used methods such as leveraging SharePoint groups or Microsoft 365 groups to determine permissions in an app.
But, what if we wanted to keep things within the Power Platform and leverage the security features that come with Dataverse out of the box? We can do that! In this blog post, I’m going to show you how to surface the security roles assigned to a user within a canvas app to then use and make conditional decisions from.
Like this content? Make sure you subscribe below to get daily tips and tricks in your inbox for working with Microsoft 365, Power Platform, Dynamics 365 and more of the Microsoft Cloud Ecosystem!
SubscribeCreating a security role
Okay, so the first thing I’m going to do to leverage security roles within my canvas app to determine the areas in my app people have access to, is create a security role.
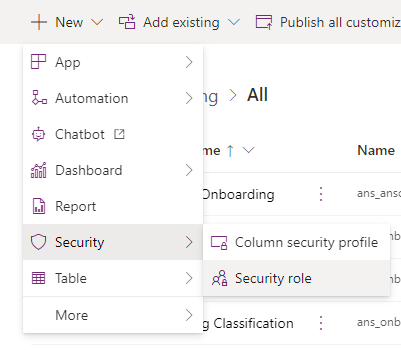
I’m going to come into my solution that I’m working within and select new, then security followed by security role.
You might have seen some updates to the way we edit security roles recently. At the moment, when creating or editing a security role from a solution, you’ll notice we still go back to the classic view for editing security roles. You’ll also find that at the time of publication of this blog post, the new view for security roles is in public preview.
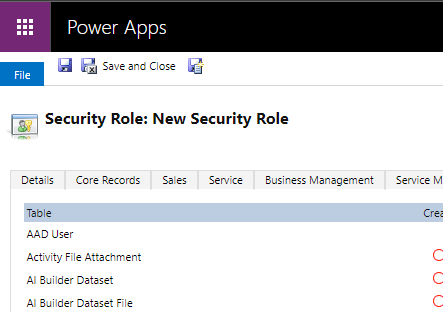
Anyway I’m going to give my security role a name, and head to custom entities to give the permissions I need to. I’ve only used custom entities or ‘tables’ in my solution hence why I’m using those in my security role.
Once you’ve assigned permissions, and determined the tables users with this security role will have access to and at what levels, select save and close.
Now you can see I’ve got my security role created in my solution.

Picking up security roles for a user in canvas apps
So the next thing I need to be able to do is identify the security roles a user has applied to them from a canvas app. To test this out before we actually write it into the OnStart of our app to be able to reference later, I’m simply going to add a temporary screen to my app, and add a vertical gallery to the screen.
Now in the Items property of my gallery, I’m going to use the following formula to return the security roles the person logged into my app, has applied to them.
LookUp(Users,Lower('Primary Email') = Lower(User().Email)).'Security Roles (systemuserroles_association)'Using this formula in my Items property will now return all of the security roles applied to the person currently signed in to my application.
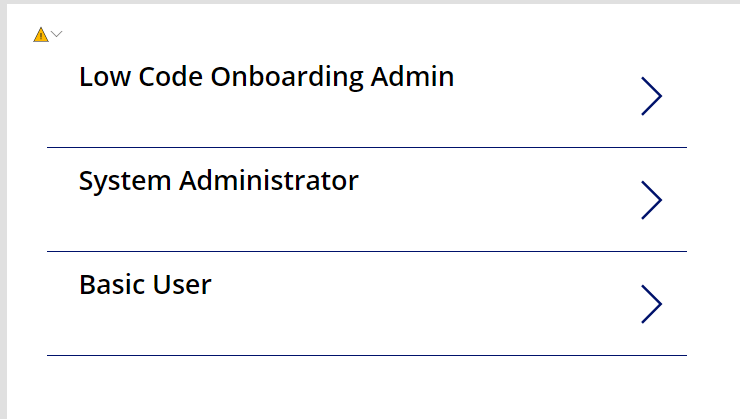
There we go! Now I’m returning an array of the security roles assigned to the person logged into my application in a canvas app. So now I’m going to use this same logic to create a collection in the OnStart property of my app, I’m then going to identify whether the user has my Low Code Onboarding Admin role applied, and if they do, I’ll set an admin global variable to true and use this to make conditional changes across my application so hide and show different things based on whether the person signed in has this security role.
Adding to the OnStart
So the next thing we’re going to do is head to our app OnStart property and we’ll use the same logic as before to create a collection of security roles that the person signed into our application has assigned to them.
I’m going to do that using the following formula.
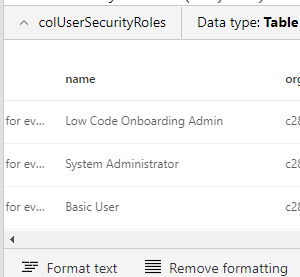
ClearCollect(colUserSecurityRoles,LookUp(Users,Lower('Primary Email') = Lower(User().Email)).'Security Roles (systemuserroles_association)');Now after running my OnStart I can see that my collection has my security roles in it.
Now I’m going to use some further logic to find out whether my collection has the role I’m looking for in it. In my case I’m looking for the ‘Low Code Onboarding Admin’ role.
I’ll use this formula next in my app OnStart.
//Identify whether the current person has the Low Code Onboarding Admin Security Role
If(
    Not(
        IsBlank(
            LookUp(
                colUserSecurityRoles,
                Name = "Low Code Onboarding Admin"
            )
        )
    ),
    Set(
        gblAdmin,
        true
    ),
    Set(
        gblAdmin,
        false
    )
);
Now you can see that my gblAdmin global variable is set to true based on me having the Low Code Onboarding Admin security role applied to myself.
Now in places in my app I’ll be able to reference the gblAdmin global variable to make conditional changes to different things such as gallery filters, visibility of controls and more.
Hiding and showing a button based on a security role
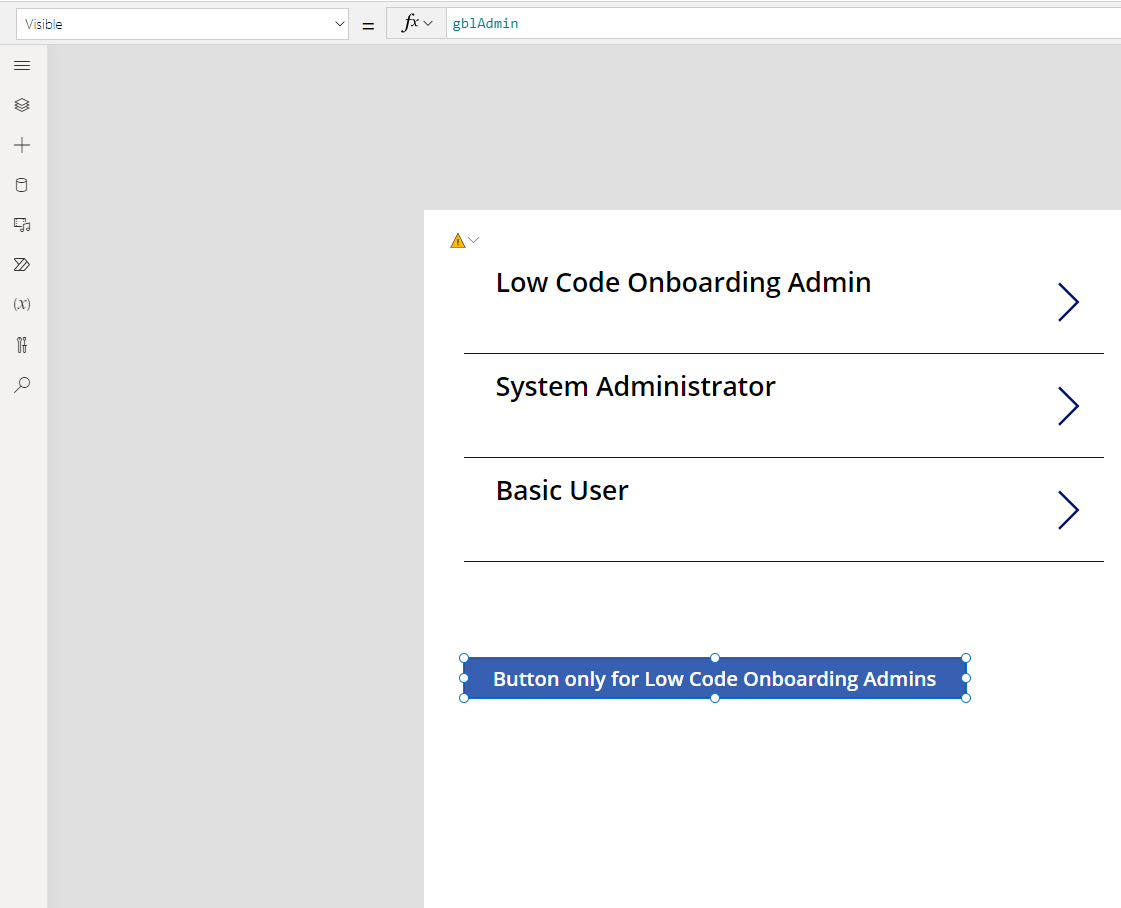
Now that I have my global variable gblAdmin being set based on me being in a specific security role or not, I can do things like hide and show a button in my application and have that determined by me being in the security role I’ve used.
All I now need to do is simply set the visibility property of the button I want to hide if I’m not in the specified security role, to gblAdmin.
Overview
There you have it! We’ve created a security role, learnt how to surface the security roles a person has assigned to them in a canvas app, we’ve learnt how to identify whether a person has a specific role assigned to them or not, and finally we looked at making conditional changes to our application based on a user having a specific role assigned to them or not.
If you didn’t understand something in this blog post, or need more help with something further, let me know in the comments below.