

In this post we’ll take a first look at getting started with Power Apps Cards! Following on from a recent theme of my ‘make a cocktail finding app’ series. In this post we’ll aim to achieve a Power Apps Cards and Power Automate solution whereby a flow sends a Power Apps card to me in Teams every day with a cocktail of the day!
Building the card
So first, let’s build our card in Power Apps. We will start by going to make.powerapps.com
From here we can use the left hand navigation to get to Cards. Note that this is still in preview at the time that this blog post has been published!
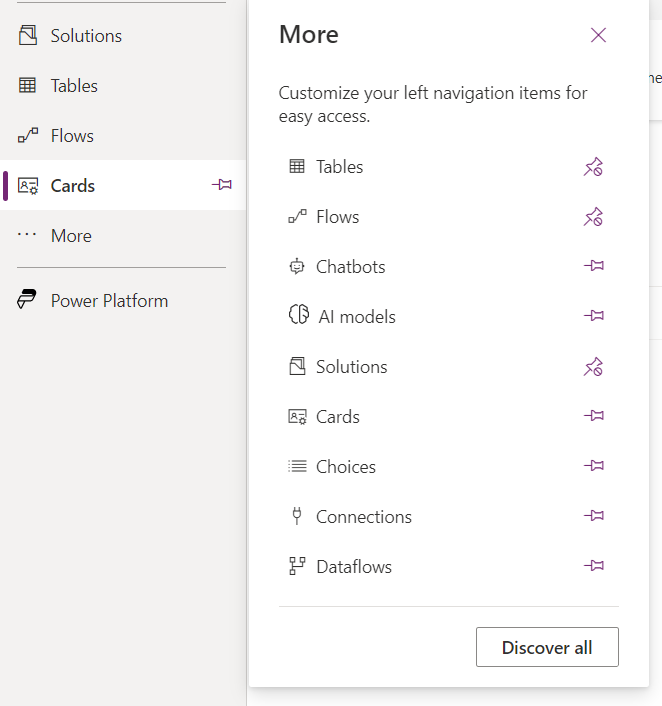
When you get to cards, select create a card. Then simply give your card a name, a description and select create to start building your card.
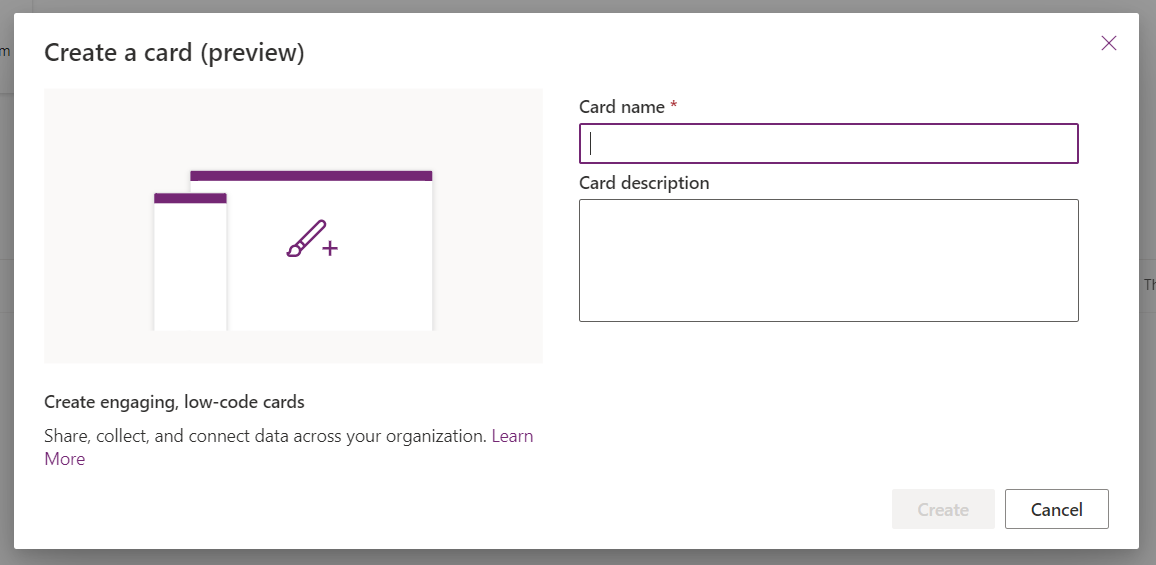
I’m going to call my card ‘Cocktail of the day!’
Okay now I’m inside the editor, I can start building my card. I’m going to start by creating some variablesso that I can input data from a flow into my card and populate display controls on my card with the info my flow has pushed into my card.
Let’s create variables for the following things…
- Cocktail name
- Glass
- Image URL
When I do this I’m selecting the checkbox for the ability to make customisations when sending a card.
Now I’m going to make some edits on the canvas to my card. Selecting the Text label, I’m going to replace the content in the text property with my variable for cocktail name.
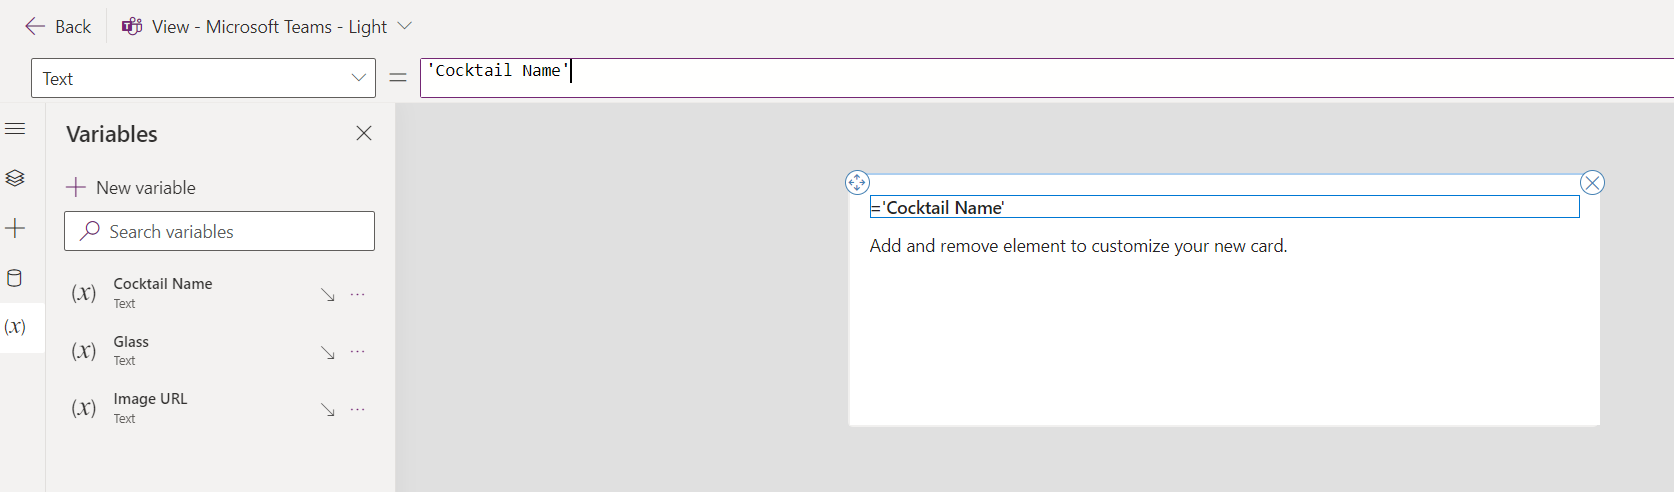
Next I’m going to change my second text label control to use the Glass variable in its text property as opposed to the current hard coded content in there.
Finally I’ll add an image control to my card and I’ll use the image URL variable in the URL property of that.
Next I’ll save my card and head over to Power Automate.
Sending the card
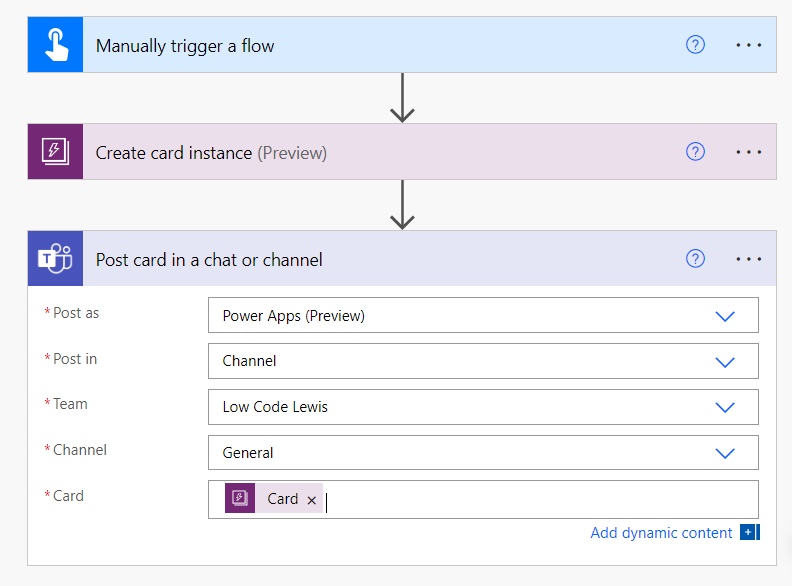
In my flow here I’m just going to get back one cocktail that I can send to myself in Teams but you can build your flow out further for it to get an array of objects back and randomly select an object to use in the card.
In my flow I’m going to add an action called ‘Create card instance’. In that action, I’ll then select the card I want to use and populate the variables in the flow step inputs.
Next I’ll add a step to Post card in a chat or channel using the Microsoft Teams connector. I’ll set ‘Post as’ to Power Apps and then I’ll select to post the card in a channel of my choice.
Then finally I’ll use the dynamic content from my card step in the card input on my post card step for Teams.
Testing
Now I’m going to test my flow and see what happens in my team!
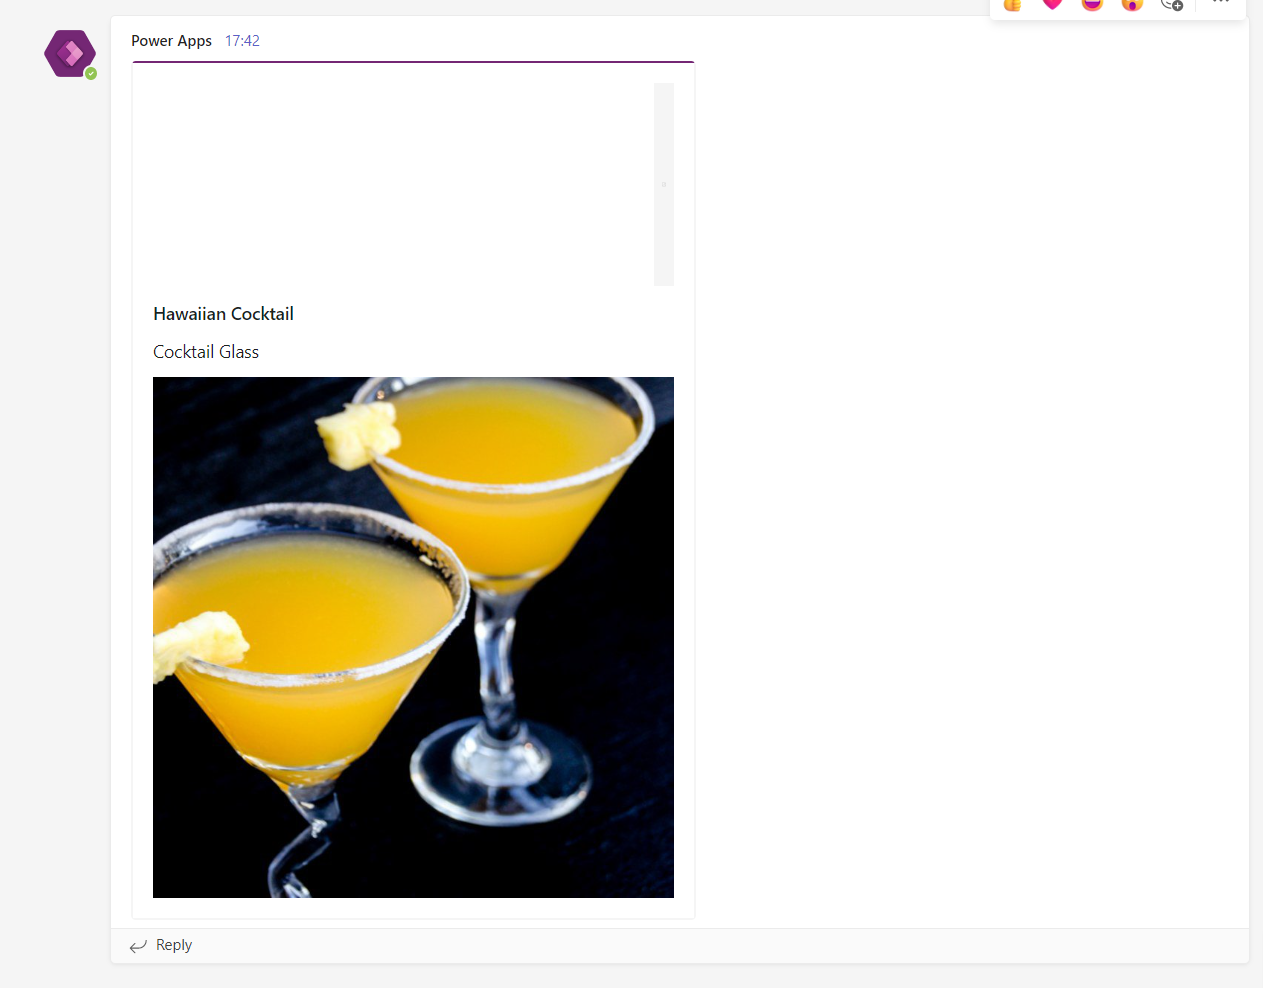
And there you have it! My card is now in Teams! I might want to change the styling a little and make it look a bit better but hopefully this gave you a good idea to getting started with Power Apps Cards!