

Want to give your users access to quick actions they can make from anywhere in your model-driven apps or Dynamics 365? Perhaps you want to be able to gather feedback from users anywhere across your environment or maybe you need to give users access to a toolbox of capabilities using custom pages as a sidebar in your applications no matter where they are!
In this blog post, I’ll show you how to edit the global ribbon for a Dynamics 365 environment using the awesome Ribbon Workbench by community hero Scott Durow!
What is the global ribbon?
Not sure what the global ribbon is in Dynamics 365 or model-driven apps? In the very top bar in a model-driven app or Dynamics 365 which can either be a default colour or company branded, we have a number of selectable icons in the top right.
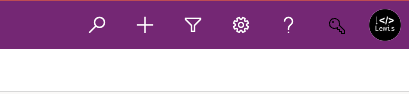
This is the global ribbon!
Prerequisites
To be able to achieve this solution, to edit the global ribbon, you’ll need to ensure you’ve got the XRM ToolBox installed on your machine (Windows only). You’ll then need to install the Ribbon Workbench tool.
Application Ribbons solution
Typically when editing ribbons using XRM ToolBox for tables we’d add the table we want to edit a ribbon for into a solution without its various form and view components, and we’d then open this solution in the ribbon workbench to edit the ribbon we need.
When it comes to editing the global ribbon, we need to do a few things differently. Start by creating a blank solution in your environment.
Then choose to add an existing object to the solution and navigate to more. Then further navigate to other and choose application ribbons.
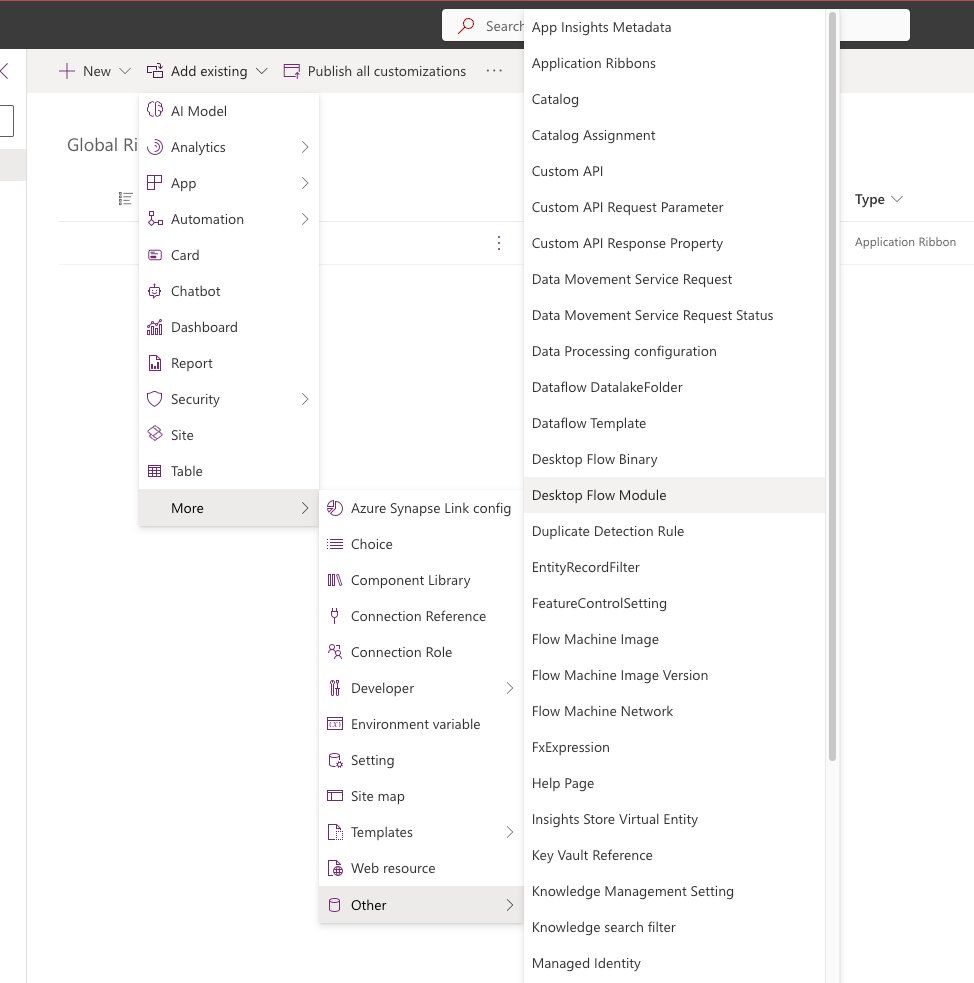
There will only be one object to choose from. Select to add the application ribbons object, which should leave your solution with just the one object in it.

Making edits in Ribbon Workbench
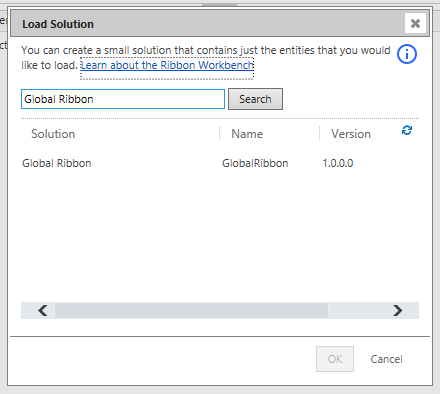
Now we can head into Ribbon Workbench to make changes to the global ribbon. Start by connecting to an organisation in XrmToolBox and then launch Ribbon Workbench. Then load the solution we just created in Power Apps.
Now we can get to work making edits ready to publish our changes! In the top slider marked ‘Home’ scroll along until you see Mscrm.GlobalTab
This is the global ribbon we need to edit to make changes to the ribbon in model-driven apps and Dynamics 365 apps in our environment.

Now simply make the changes you’d like to here the same as you would with any other ribbon, and then publish your changes!
Timeouts?
Is XrmToolBox timing out for you? For operations like solution imports, these can sometimes take a little longer than the default 2 minute timeout XrmToolBox configures. To change the limit, create your connection using the connection wizard where you’ll need to supply an environment url and timeout duration.
Result
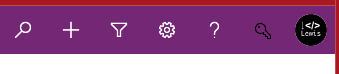
Now the icon I’ve added is just to test this out, and you’ll notice it doesn’t contrast well etc… but… as you can see I’ve been able to edit the global ribbon in my model-driven app! Simple!
Did you like this content? 💖
Did you like this content? Check out some of the other posts on my blog, and if you like those too, be sure to subscribe to get my posts directly in your inbox for free!
Subscribe