

I’m pretty excited about this blog post… where I’m going to show you the next level of deep linking in Power Apps… 👀
In this post, I’m going to show you how to use the awesome deep link functionality we all know and love, but with model driven apps within the Power Apps mobile app 😮
This means that when you open Dynamics 365 record URL’s, they won’t open in a browser, but rather they’ll go straight to the a mobile app of your choosing such as one of the Dynamics 365 apps for mobile or Power Apps for mobile say… awesome huh!
Use case
Let’s look at a use case for this, and one with a Dynamics 365 app for mobiles that supports it! Let’s say you’ve got workers out in the field, who use field service on mobile devices. This means they’ll be opening records using field service for mobile or tablet. If there are key links to tables or key records they need to see, then it’d be fantastic to have these constructed for them to open in that app that they rely on!
That’s what we’re about to figure out now…
The URL
So because we’re working with model driven apps as opposed to canvas apps we don’t need to do anything fancy with handling passed in parameters in our app. Model-driven apps handle all of those pre-understood parameters for us! Thank you Microsoft!
Let’s look at the URL…
So, all Urls to open a model-driven app in Power Apps for mobile should start with…
ms-apps://<org-url>_<app-id>?tenantId=<tenant-id>&isShortcut=true&appType=AppModule&openApp=true&restartApp=true&forceOfflineDataSync=true
We need to replace a few things in that to make things work though.
The app
The first parameter we can make a change for but don’t have to is the app that we want to open this in. At the moment its ms-apps which means we’ll be opening Power Apps. You can use the following replacements for their corresponding apps…
ms-dynamicsxrm – Dynamics 365 for mobile
ms-apps-fs – Field Service for mobile
ms-mobile-apps – native mobile apps created using Wrap
<org-url>
The next parameter we have that we need to replace in the URL above is our Dynamics 365 org url. You can get this by opening your model-driven app and copying the url up to .com
Don’t include the https://
<app-id>
The next replacement is our app ID. We can also get this by opening our model-driven app and taking a look at the url. Or you can find it in the app details.
tenantId
For this parameter we don’t want to replace the part in the url that says ‘tenantId’… we want to replace the small chunk after ‘tenantId=’ which is ‘<tenant-id>’
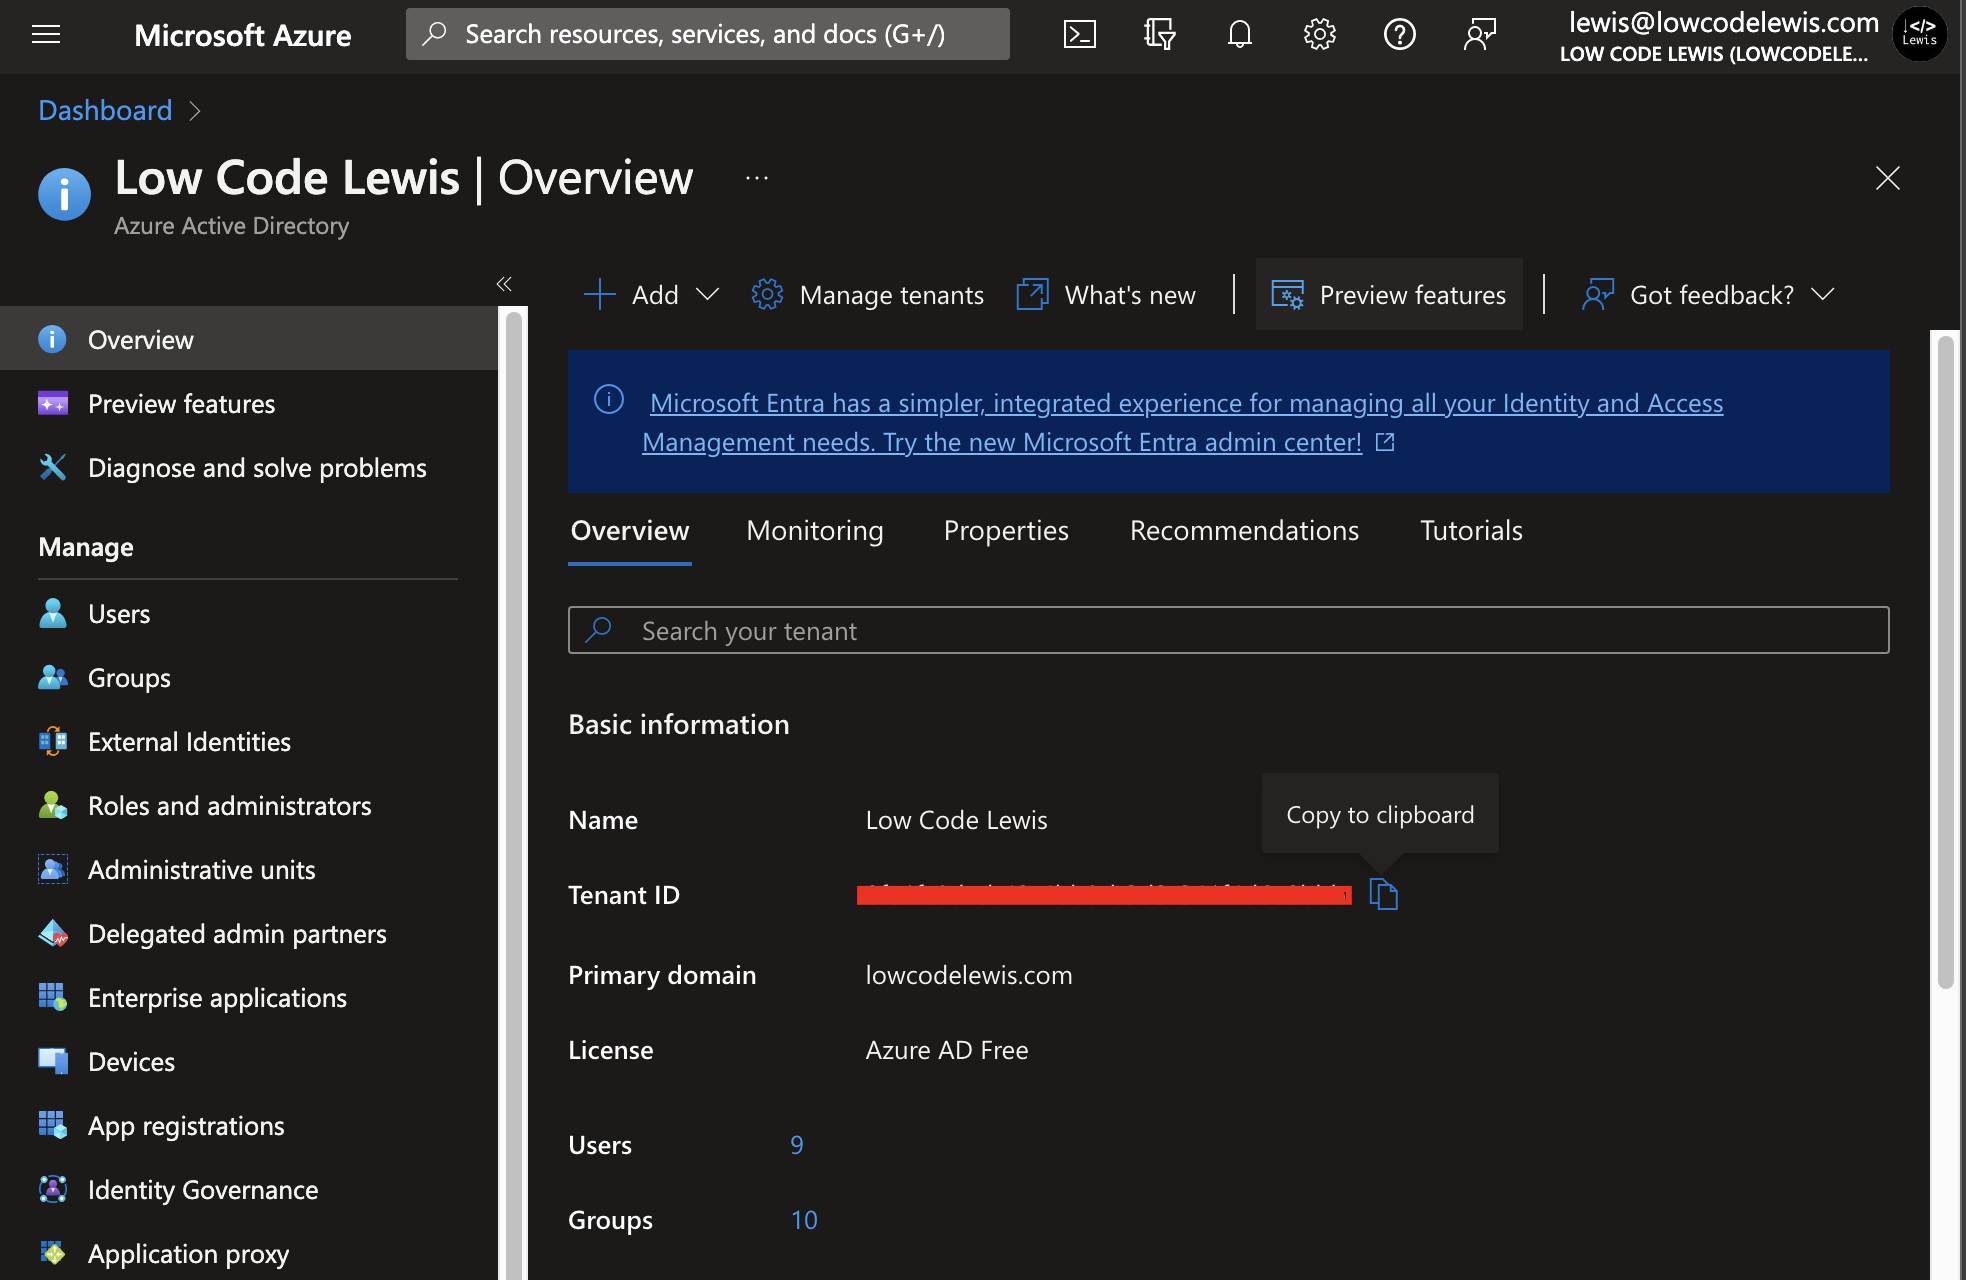
You can find your tenant id in your Azure portal within Azure Active Directory…
forceOfflineDataSync
So, the last part is an option, and we just need to change the very last part of the link which is a boolean (true/false). By making this true we’re saying that we want to force the app to get the latest online data, and by setting it to false we’re happy to get the latest data that is cached offline if we have that functionality enabled.
A working link!
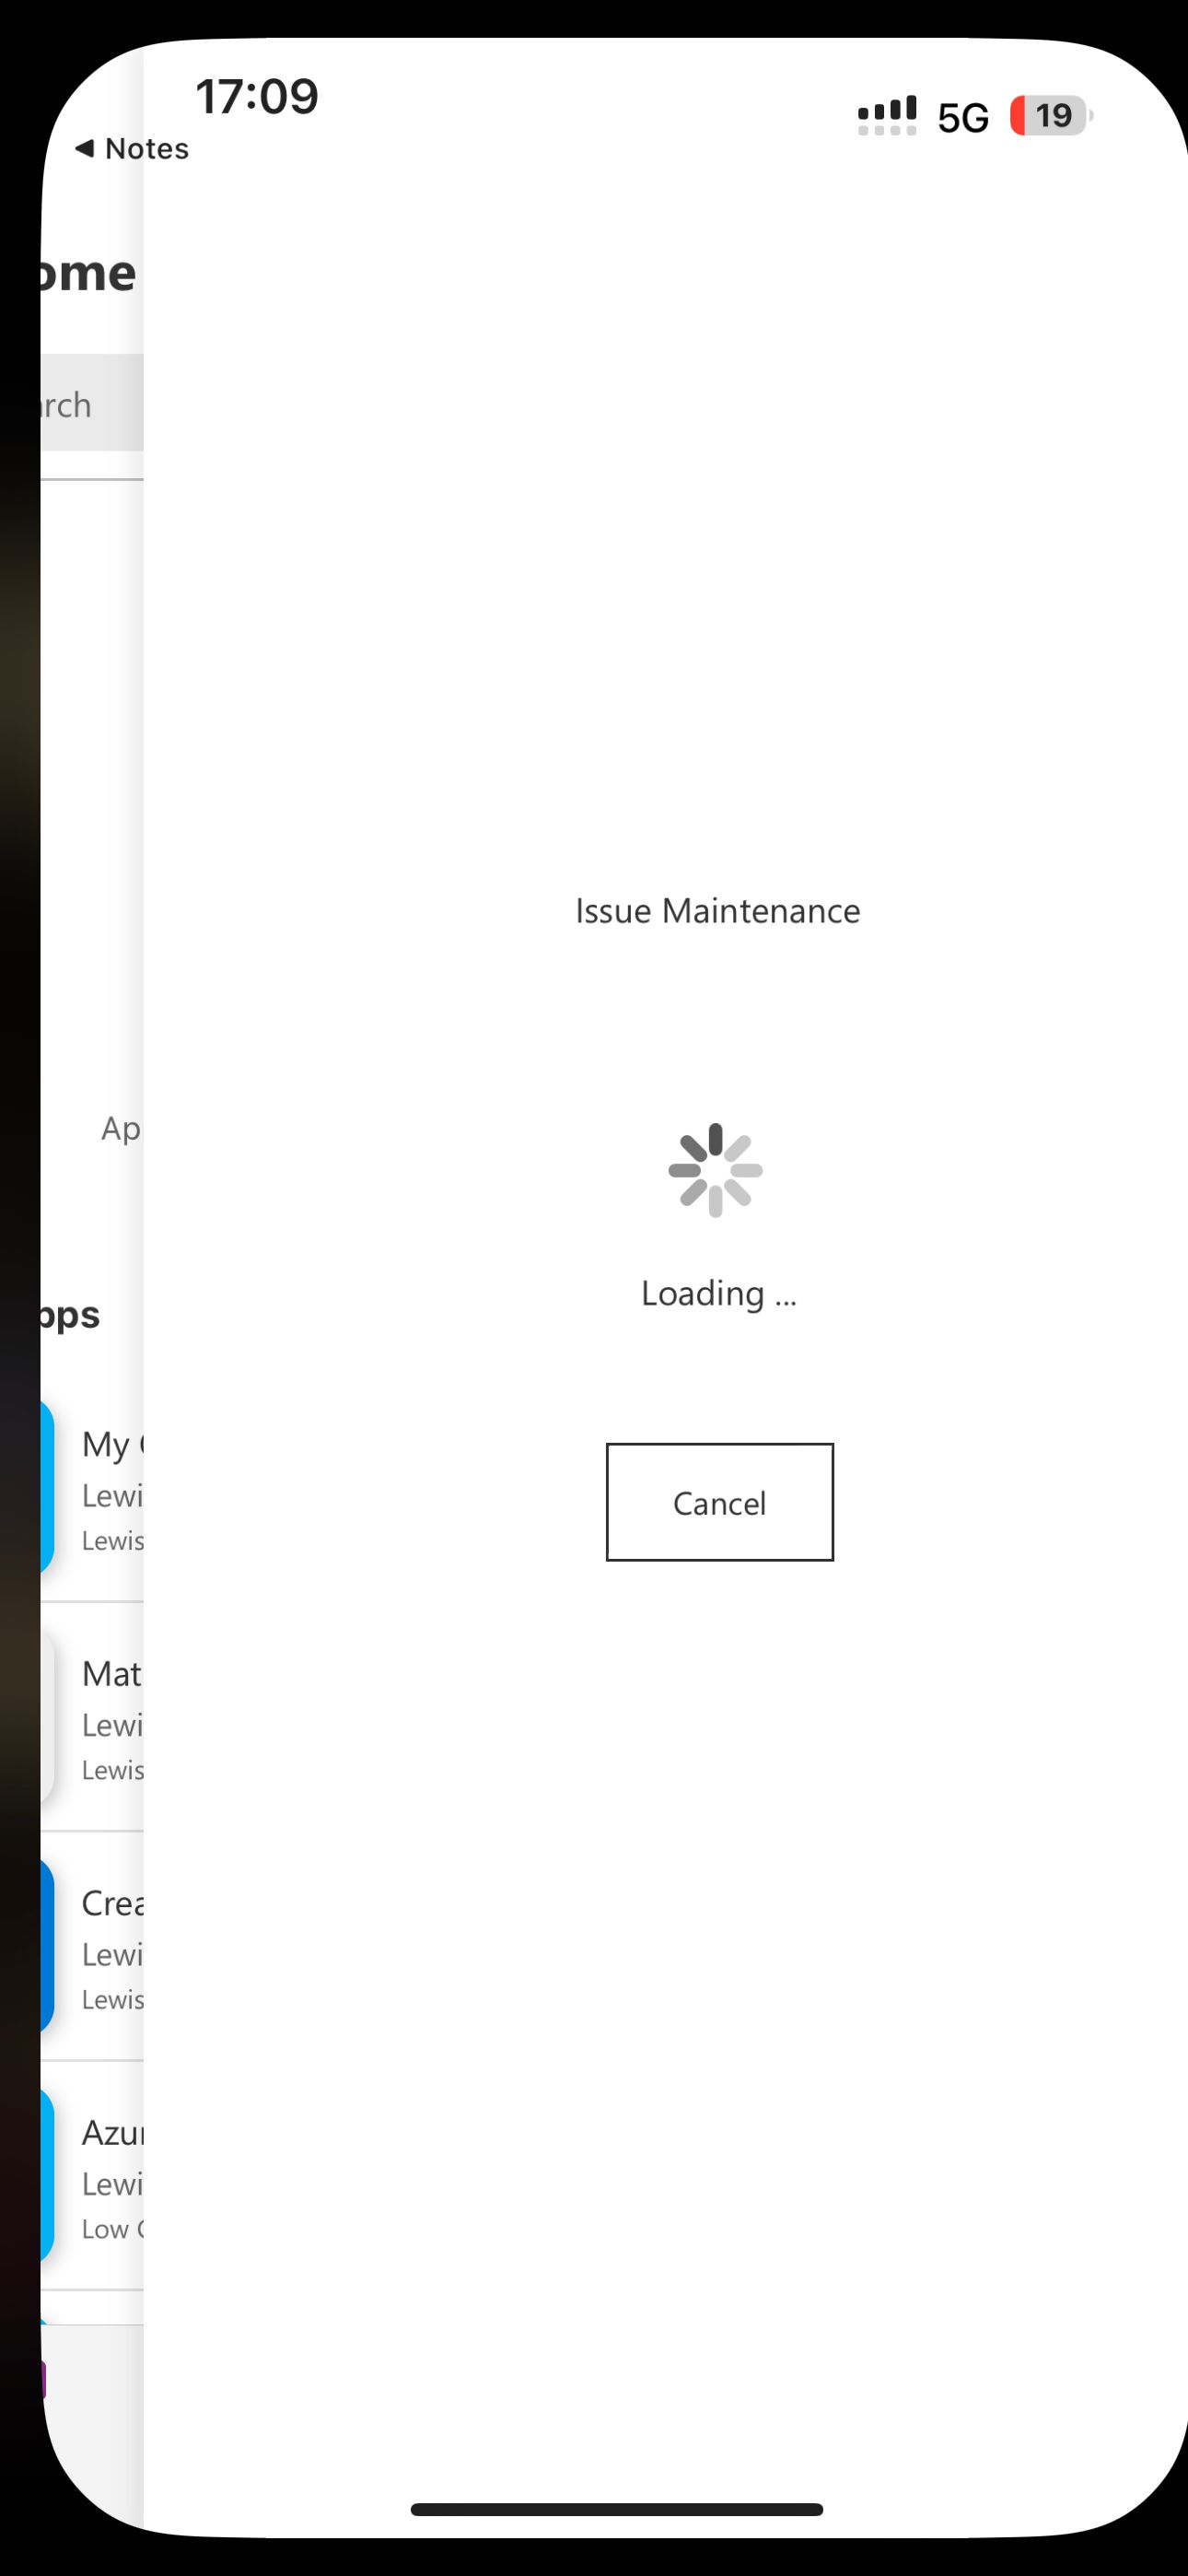
So now we have a working link! If you’ve replaced all of the parameter values above, you should be able to click your link and see your model driven app open in your chosen app on mobile depending on what you’ve got installed and how you specified your targeted app in your Url.
Getting a bit further
Okay, so that’s cool… it’s pretty similar to the first step of the more common deep links we see people talk about with Canvas Apps and commonly just for browser user (it is also possible to do this mobile trick with Canvas Apps… blog post upcoming on that 😉 ).
The next bit we want to do is actually get to a specified table view, or even perhaps a record in our app but still through the mobile app!
So, for this we have a number of further parameters we can use to get to forms, and views.
Opening a form and record
For these additional parameters, we just need to add them onto the end of our Url ensuring they come after the query point (?).
So on the end we can add ‘&’ then the parameter, then = and the value.
Here are the parameters we can use…
etn
This parameter lets us get to the table we need. So we’d need to add the following to our app url.
‘&etn=<entity-logical-name>’
Here you’ll need to replace ‘<entity-logical-name>’ with your table’s name.
pagetype
The next parameter we can use is ‘pagetype’. This indicates the type of page we want to open. In this case our aim is to get to a form, so the value should be ‘entityrecord’. You can add the following to the end of your Url.
‘&pagetype=entityrecord’
extraqs
This parameter lets us decide the form we want to use when we open a record. Say for example you’re using a solution such as Dynamics 365 Project Operations alongside Dynamics 365 Sales where project opportunities can only be edited by the Project Information form… in a case like this we’ll need to specify the form ID as the ID for the project information form.
You’ll need to add the following to your Url…
‘&extraqs=<form-id>’
Make sure you replace ‘<form-id>’ with the ID of the form you want to open. If you don’t add this parameter and a value, the default form will be used.
id
Finally we have the parameter that let’s us pass in our record id. Simply add the following to your Url replacing ‘<record-id>’ with the Id of a record.
‘&id=<record-id>’
But what about a new record?
Okay… but what if we want to just create a new record you ask? We can still specify all of the other above parameters, but to create a new record, all we need to do is leave off the id parameter! this will open the create form that we’ve specified.
Table views
Okay, so we’ve looked at how to open our app and go directly into a record when on a mobile, and we’ve looked at opening directly into a create form on mobile to add a new record to a specified table. Now what about opening directly into a table view where we’re specifying the table and the view to open…
Here are the parameters you can add onto the first Url we looked at!
etn
This parameter lets us get to the table we need. So we’d need to add the following to our app url.
‘&etn=<entity-logical-name>’
Here you’ll need to replace ‘<entity-logical-name>’ with your table’s name.
pagetype
The next parameter we can use is ‘pagetype’. This indicates the type of page we want to open. In this case our aim is to get to a list view, so the value should be ‘entitylist’. You can add the following to the end of your Url.
‘&pagetype=entitylist’
viewid
The next parameter we can use to specify the actual table view we want to use is viewid. Simply add the following to the Url to specify a view to open…
‘&viewid=<view-id>’
Make sure you replace ‘<view-id>’ with the id of the view you want to use.
Viewtype
This final parameter tells Power Apps or Dynamics 365 whether we’re opening a system view or a personal view. The chances are that if you’re needing to construct these kind of complex links for users, that you won’t be needing to use personal views here, but rather you’ll just be using system views you’ve implemented as a developer. Either way here’s the parameter and two values you can use to specify either way…
‘&Viewtype=1039’ – This is for system views
‘&Viewtype=4230’ – This is for personal views
Overview
Woah! That was a lot! Hopefully you can pick out the bits you need to create the Url’s you need for your deep links. But this’ll let you create deep links to open records, new record forms, views, or simply just apps without additional specified parameters all whilst opening them in a specified compatible mobile app of your choosing such as the Power Apps mobile app or the Dynamics 365 mobile app.
If you didn’t understand something in this post or want some more help with things on this topic, let me know in the comments below! 🙂