

Do you want users to have a little more in terms of options when they’re approving an approval sent to them via Power Automate? Well… in this blog post, I’ll show you how to do just that! We’ll take a look at how to create custom responses in approvals for users to select when building Power Automate cloud flows with approvals.
Building the flow
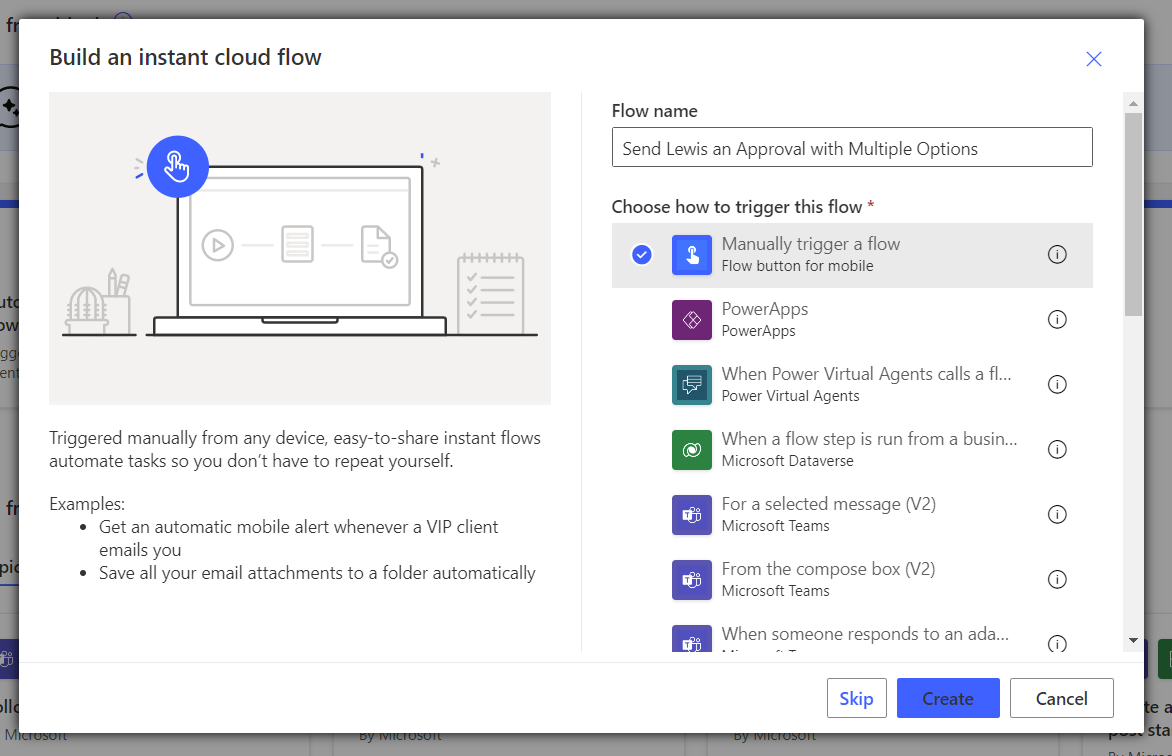
Now to test this out, I’m just going to go with a really simple flow where I push a button and Power Automate will send me a hard coded approval to action. This wouldn’t be a good use of approvals in an actual solution but, to test out this specific functionality, this is what we’ll go with for now!
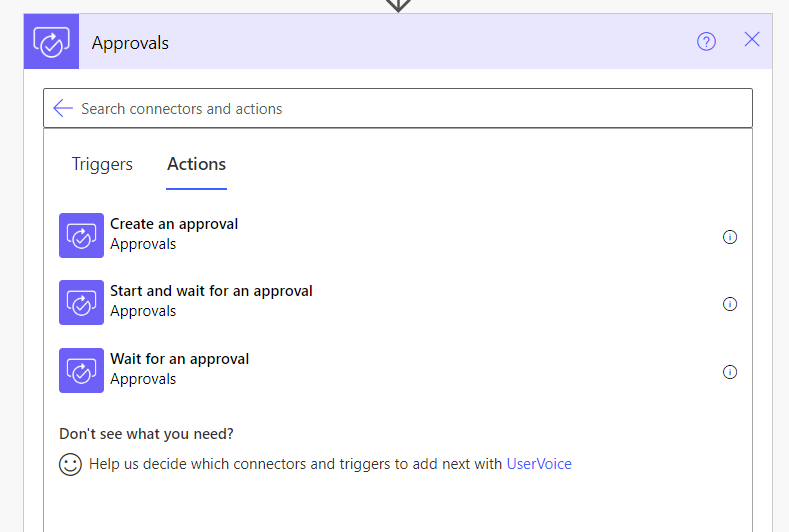
The approvals action we want to use to enable the use of custom responses is ‘Start and wait for an approval’. Let’s add this to our flow next.
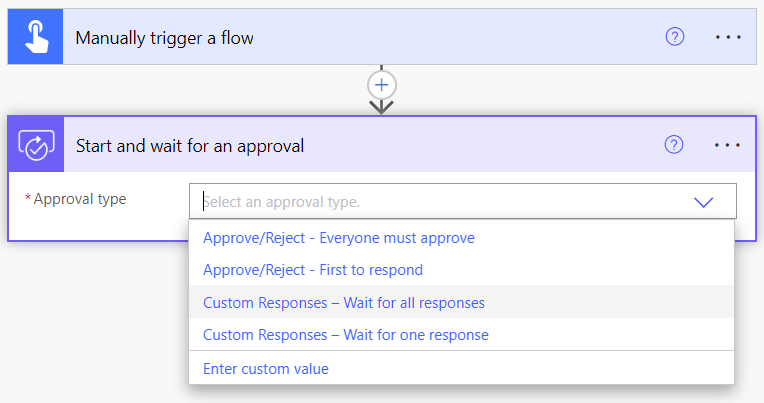
Now to use custom responses we’ll need to select one of the approval types for custom responses in the approval types parameter input.
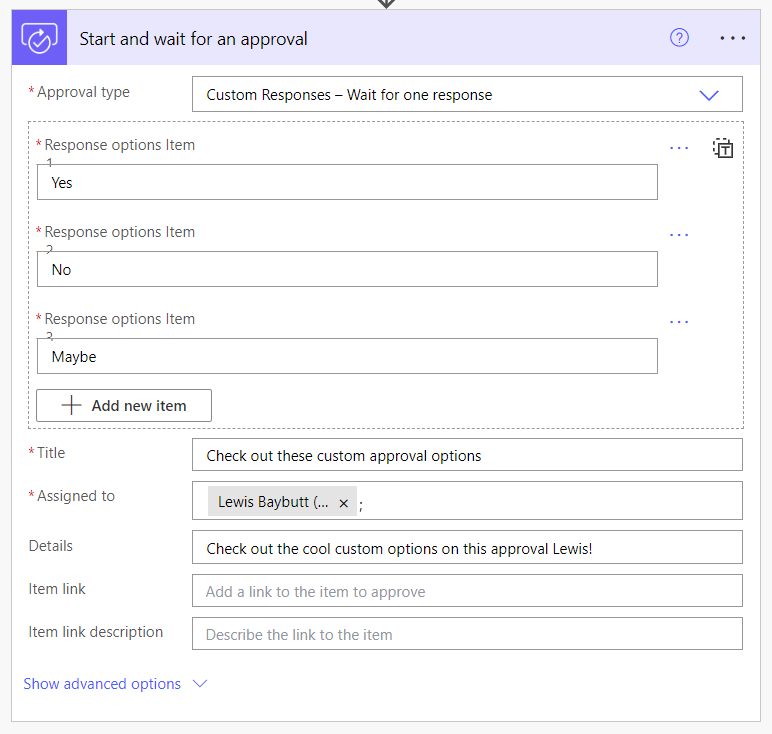
The next thing we’ll be able to do first is add our custom responses and input values for each of them as to what they should say in the approvals UI when users action an approval.
Then we’ll just fill out the rest of the approval details as we would with any other normal approval!
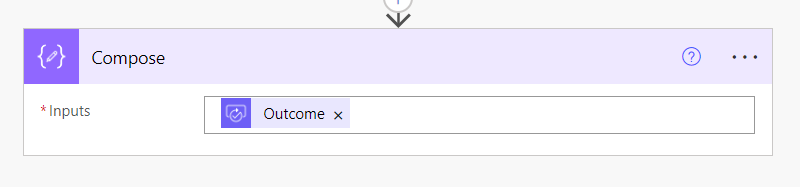
Then after this step I’m just going to add a compose step and use the outcome dynamic content to see what the data looks like that we’ll be able to use in a switch statement or a condition to take next actions in our flow.
Okay I’m going to save and test the flow and we’ll see what I get sent to me in my inbox…
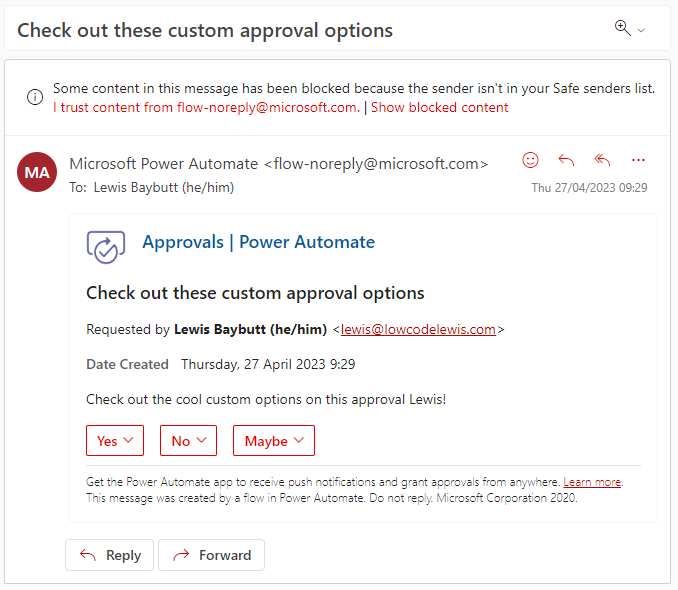
There we go! I’ve got my custom options available in my flow notification! Now I’m going to submit the approval using the maybe response and we’ll see what the outcome value populates as in my flows compose step.
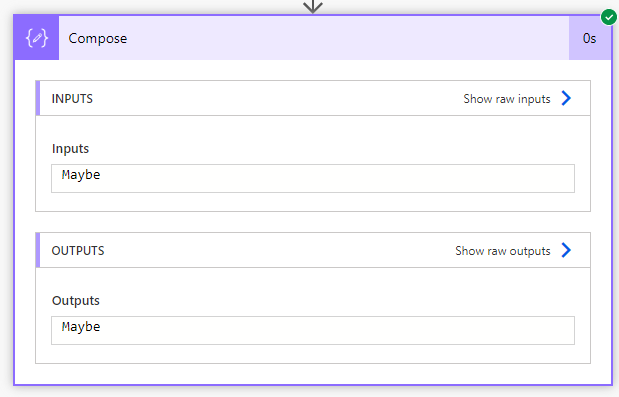
And there we go. The content is literally just the string of the response I selected. So as I selected Maybe, the outcome is “Maybe”.
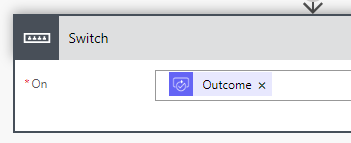
We can now use this in a switch to take different actions based on the option the person selected.
In the On value for our switch step we’ll use the outcome dynamic content from our approval.
Then for each of the cases we add, in the equals input box we’ll add the options we have for our user to pick. Then for each that they could pick we can add the appropriate actions to take if that option was selected.
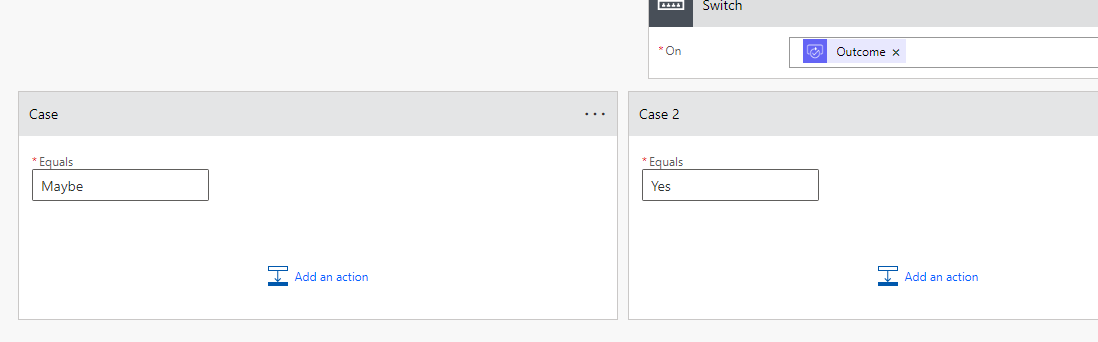
Simply add cases for each option you’ve created, then add the corresponding steps inside of those cases! Simple!