

Hello #EcosystemContext building and #MicrosoftGraph friends! 🤩 💖 💻
It’s time for part 3 of building the revision and assignments planning solution for students to save time when planning their revision tasks and homework assignments, all powered with ecosystem context and Microsoft Graph, as part of the pretty awesome series I’ve recently been posting within on my blog around using ecosystem context and Microsoft Graph to deliver solutions with better UX and impact through things such as time saving features! ⏰
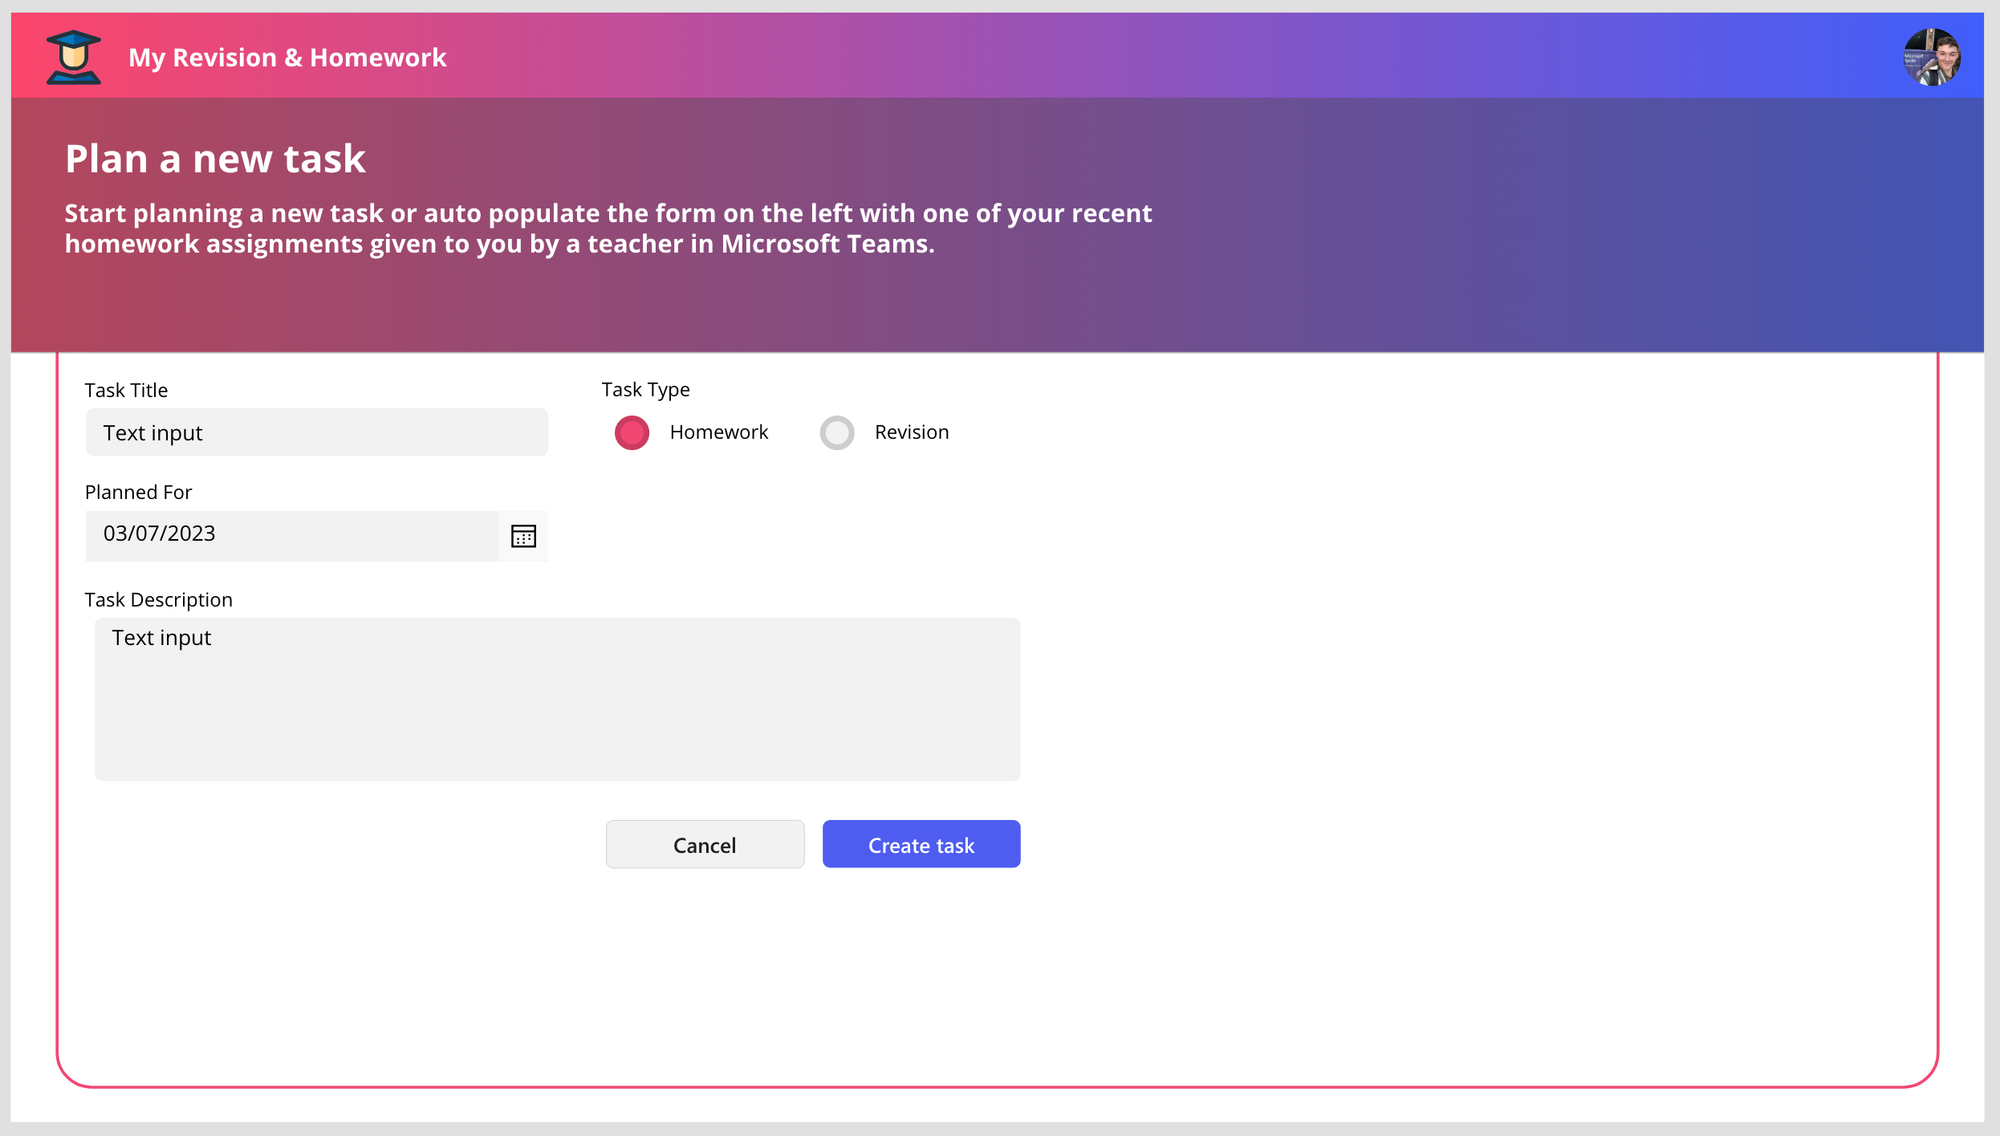
In this post, we’re going to make one of our action buttons functional and we’ll let it take us to a screen which we’ll also build out today with a form to plan a revision task into our calendar, and then tomorrow we’ll take it further so that we can also take assignments from Microsoft Teams to plan those into our schedule.
Creating the new screen
So to create the new screen I’m going to duplicate the Home Screen and rename it ‘New task screen’.
Remember to always name your screens in plain english for accessibility purposes. When a screen reader reads the screen name the person using your app is currently on, it won’t make sense to the user if your screen is named using camel case of another convention.
Accessibility Tip
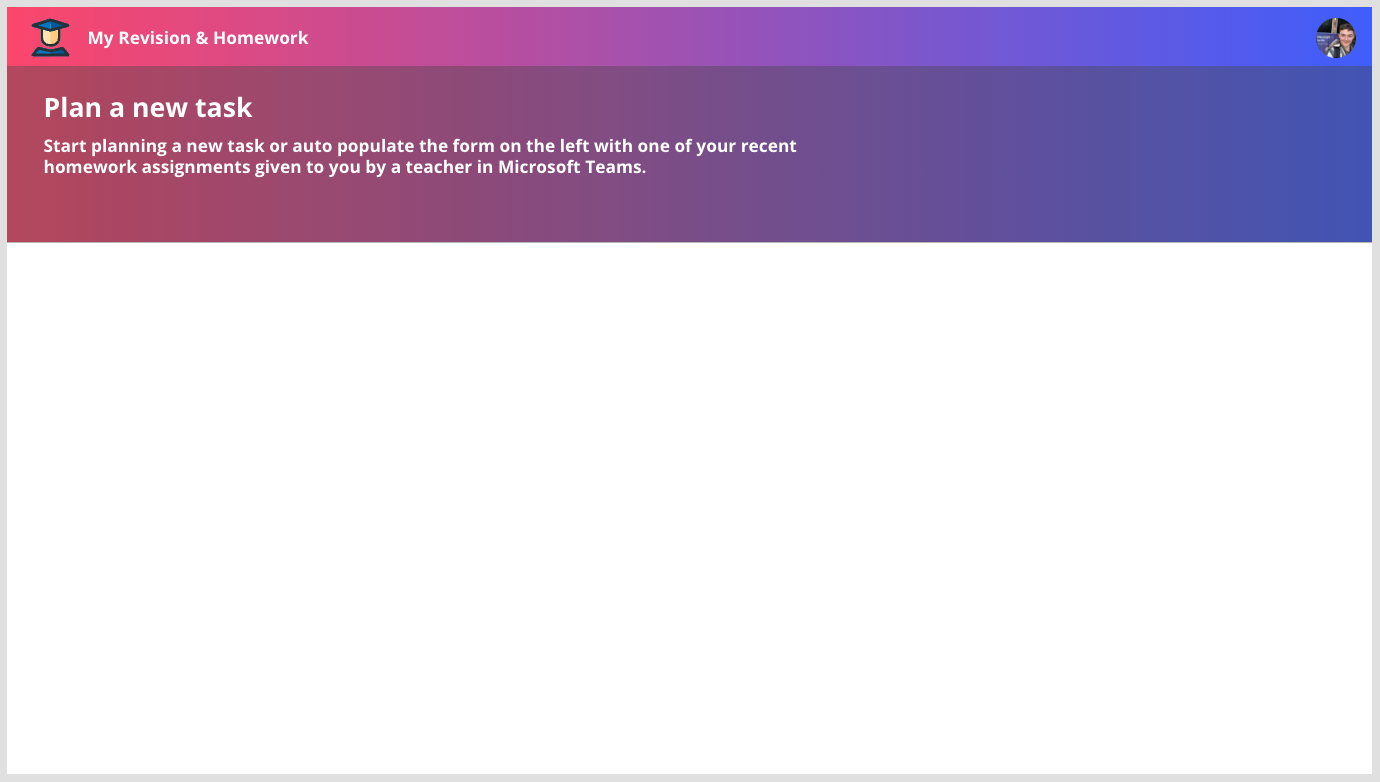
Then on the new screen I’m going to remove all of the controls under our gradient background, so removing the command bar, the details list and the button for the UI pink ribbon effect. Then I’m going to remove the books 3d image and the action buttons and I’ll take the gradient background and overlay up a bit to only cover just under a third of the screen now.
Now things should look a little like this…
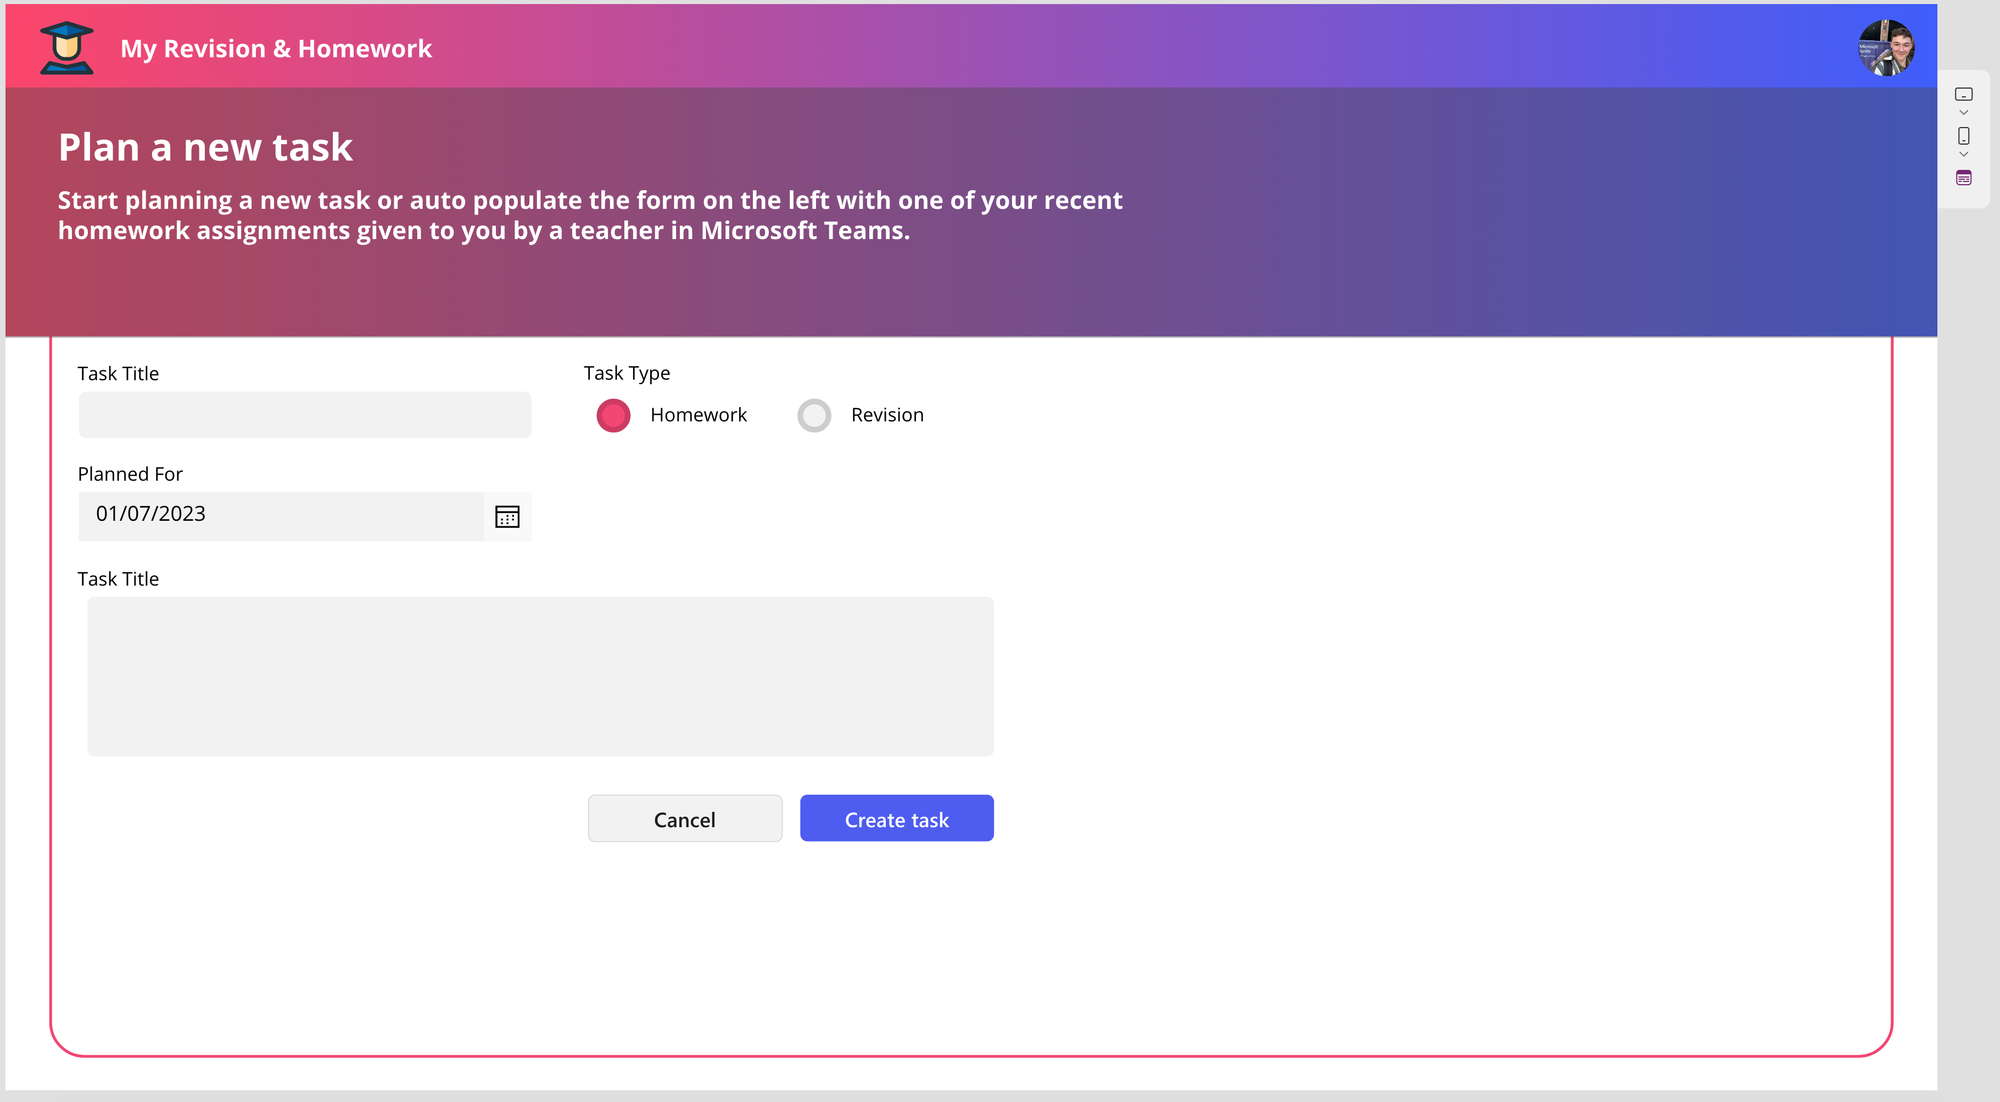
Now under the header as such I’m going to add some different components. On the left I’m going to add a form to create revision tasks or new tasks with. Then on the right tomorrow, I’m going to add a gallery which I’ll populate with Microsoft Teams assignments that can be selected to auto populate the form with the details, enabling students to plan their Microsoft Teams assignments into their schedules without having to manually copy out data from Microsoft Teams.
New Task Form
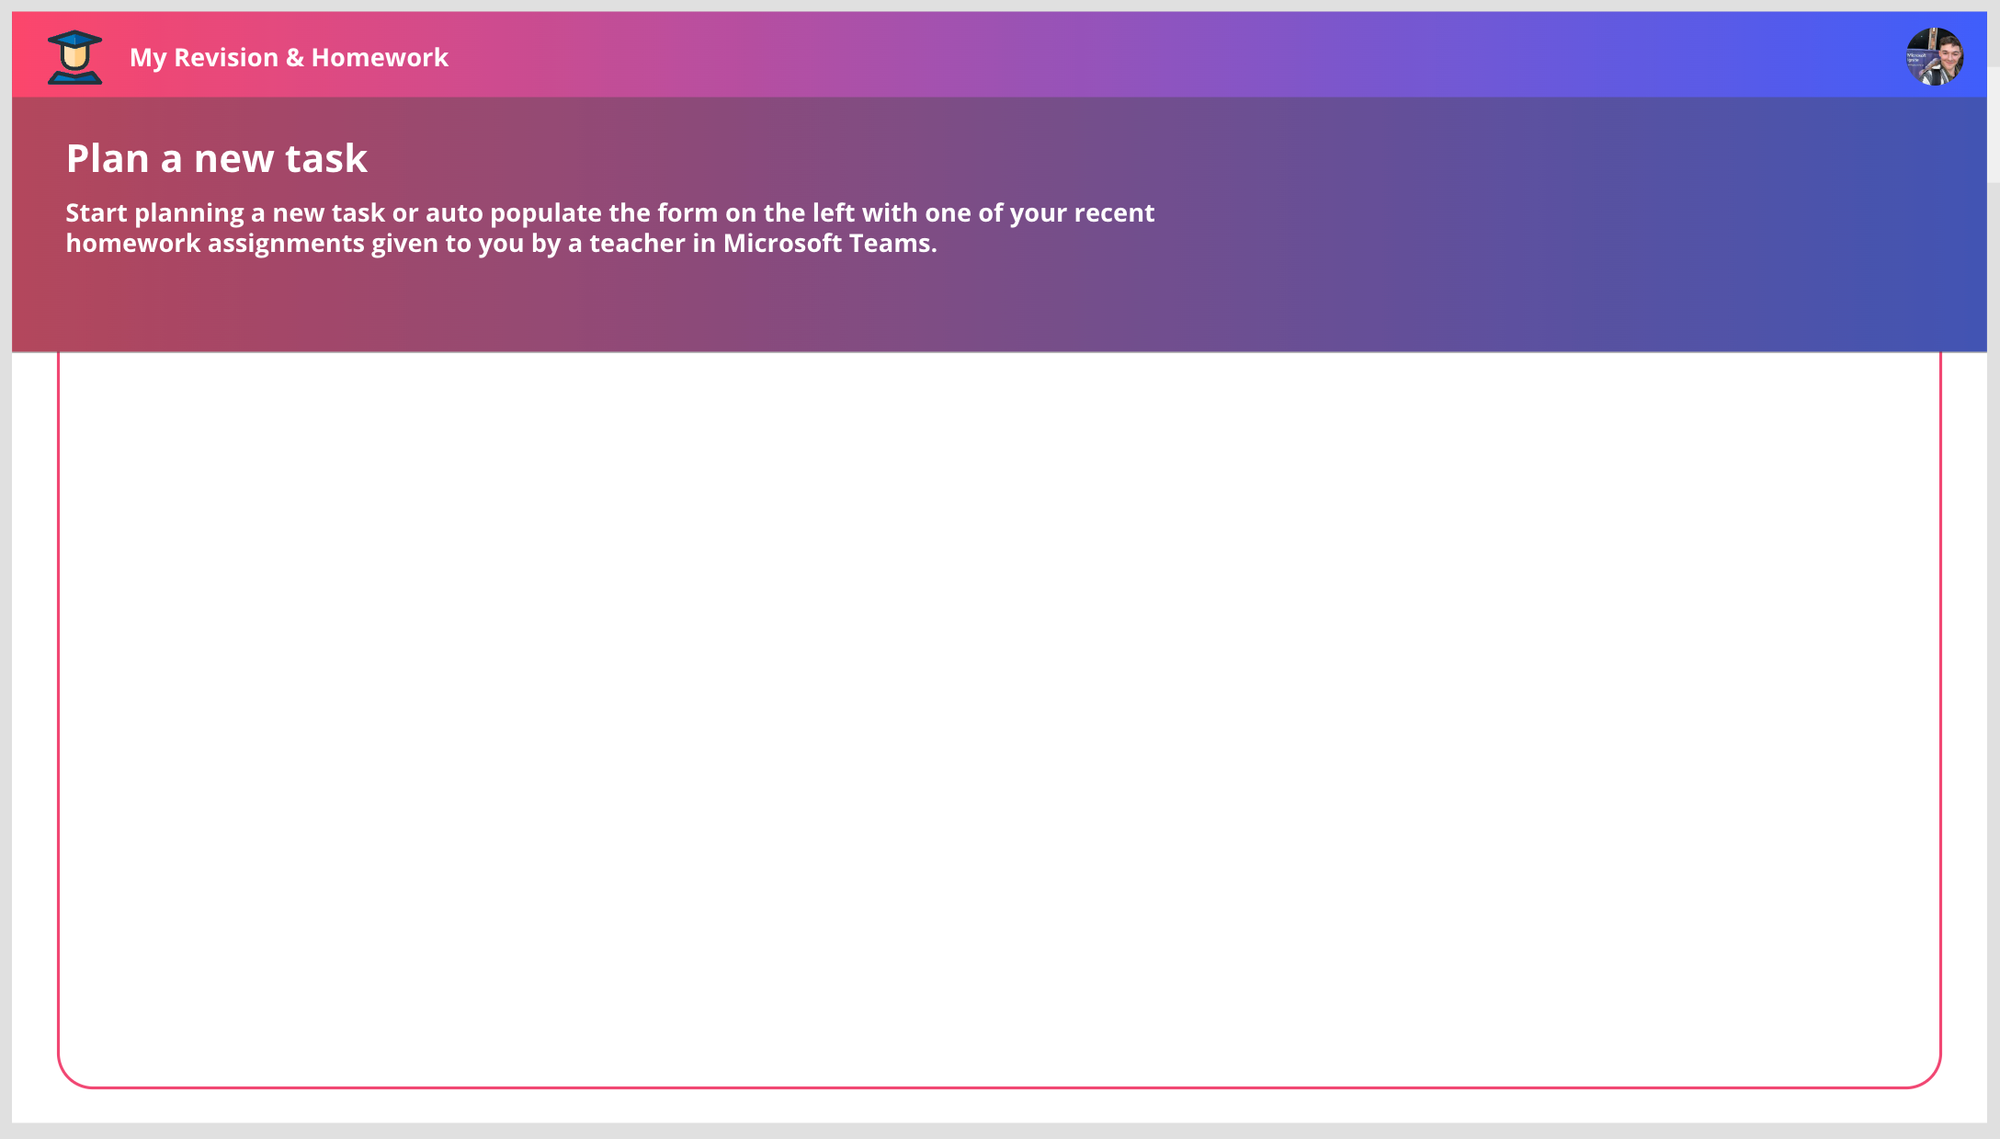
So first we will work on the new task form, which will be usable for both revision tasks and homework tasks! I’m going to make the very first thing I do adding the same pink button using the ribbon to my screen but I’ll make it a bit taller, to create the outline of space that I’ll use to place my controls within…
Perfect! Now on the left I’m going to start to construct a form using some out the box classic controls, which I’ll try to style nicely so this is still no-code! 🎨
Using classic controls, I’m almost going to try to match the look of modern controls, but I’m going to be able to take advantage of all the existing properties which modern controls (preview) are currently missing. ⚡️
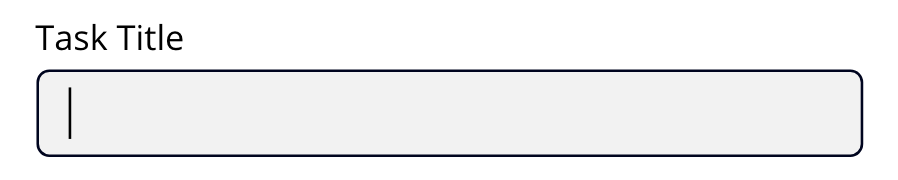
So lets take a look at what I’ve built above. To achieve the text input which looks almost like the modern control version, I’ve simply set the border to 0, not doing this for the focused border though for accessibility purposes. Then I’ve set the background to grey (“#F2F2F2”) and I’ve also done this for the hover background. Then for the focused border, I’ve set the thickness to 1 and the colour to a dark grey. When focused the input looks like this…
Not too bad! So for the task description I’ve used the same control styling I’ve just made the control bigger and set it to be a multiline text input.
For the date input I’ve done similar things as the text input changing the colour properties to remove the border and have a grey look.
Then for the radio buttons I’ve used classic button controls for this with conditional colours based on variables which change when the buttons are selected. This does take a slightly hard coded approach, but it is no-code after all. There is probably a better way of doing it, but this is easy enough for now with only two radio buttons…
Button 1 OnSelect:
Set(gblNewTaskHomeworkSelected,true);
Set(gblNewTaskRevisionSelected,false);
Button 2 OnSelect:
Set(gblNewTaskHomeworkSelected,false);
Set(gblNewTaskRevisionSelected,true);
Now in the colour properties I’m using the variables above to change the colours conditionally…
Button 1 Fill:
If(
    gblNewTaskHomeworkSelected,
    RGBA(
        241,
        71,
        115,
        1
    ),
    RGBA(
        242,
        242,
        242,
        1
    )
)
Button 1 Hover Fill:
If(
    gblNewTaskHomeworkSelected,
    ColorFade(
        RGBA(
            241,
            71,
            115,
            1
        ),
        -20%
    ),
    ColorFade(
        RGBA(
            255,
            255,
            255,
            1
        ),
        -20%
    )
)
Button 2 Fill:
If(
    gblNewTaskRevisionSelected,
    RGBA(
        241,
        71,
        115,
        1
    ),
    RGBA(
        242,
        242,
        242,
        1
    )
)
Button 2 Hover Fill:
If(
    gblNewTaskRevisionSelected,
    ColorFade(
        RGBA(
            241,
            71,
            115,
            1
        ),
        -20%
    ),
    ColorFade(
        RGBA(
            255,
            255,
            255,
            1
        ),
        -20%
    )
)
Making it functional
Now I need to make things functional! To do this I’m going to use the Office 365 Outlook connector which already has capabilities to create an event in our calendar. We don’t need to make a direct call to the Microsoft Graph API to do this, or use a custom connector. I will use the following code in my create task button’s OnSelect property:
Office365Outlook.CalendarPostItem(
    "Calendar",
    DateAdd(
        PlannedForDate.SelectedDate,
        15,
        TimeUnit.Minutes
    ),
    PlannedForDate.SelectedDate,
    SubjectInput.Text,
    {
        Body: {
            Content: TaskDescription.Text,
            ContentType: "HTML"
        },
        Categories: [{Value: If(gblNewTaskHomeworkSelected,"Homework Task","Revision Task")}]
    }
)
Cool! So now I’m able to create revision and homework tasks in my calendar from my app allowing me to schedule them properly! This will get really powerful tomorrow once I’ve got my Microsoft Teams assignments listed on the right ready to select and auto populate my revision task planner form with! 🔋
Subscribe
So! If you want to find out how to auto plan your Microsoft Teams assignments which is the next part in this solution build, make sure you subscribe to my blog to get my posts directly in your inbox! 💖
Subscribe