

In this latest blog post we’ll take a look at a slightly alternative approach to using the HTTP step in a Power Automate flow to call an API. Recently in my series on building an app to find cocktails we used this step to retrieve drinks from an API based on a query we made to find them based on a spirit.
If we’re likely to be calling this API and making the same request in lots of different flows, it might be easier to just build a custom connector and make the action available for us to use more easily! That’s what we’re going to take a look at doing in this latest blog post…
Creating a custom connector
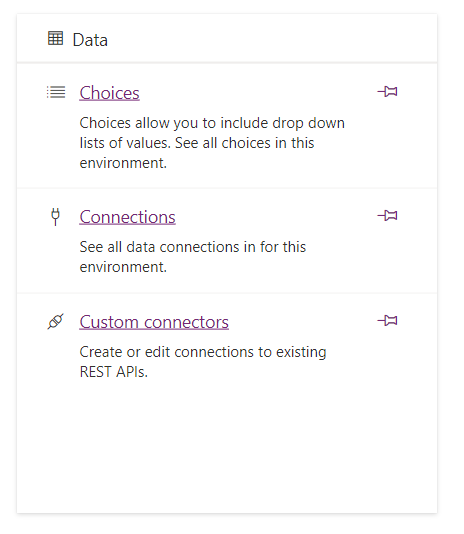
So let’s start by going to make.powerautomate.com to create a new custom connector. We’ll want to select more in the left hand menu and then select discover all.

From there we can select custom connectors…
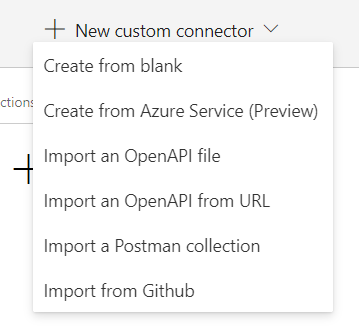
Next we’ll select new custom connector and then ‘Create from blank’ to start building our connector.
Give your connector a name and then select continue to start configuring your custom connector. To start with we’ll give our connector some basic information such as an icon, and description. Then we’ll need to provide it with a Host and Base URL. I’m working with the cocktail API I used recently in my ‘building a cocktail finding app post’ (part 1 – the API). You can find this API here…
The Cocktail DB API Documentation (thecocktaildb) | RapidAPI
You can also read the first post as part of the series on building a cocktail finding app here…
Building a cocktails finding app – Part 1 – The API – Low Code Lewis
So for me, I’m going to use the host provided by the API…

And then for the Base URL I will use /
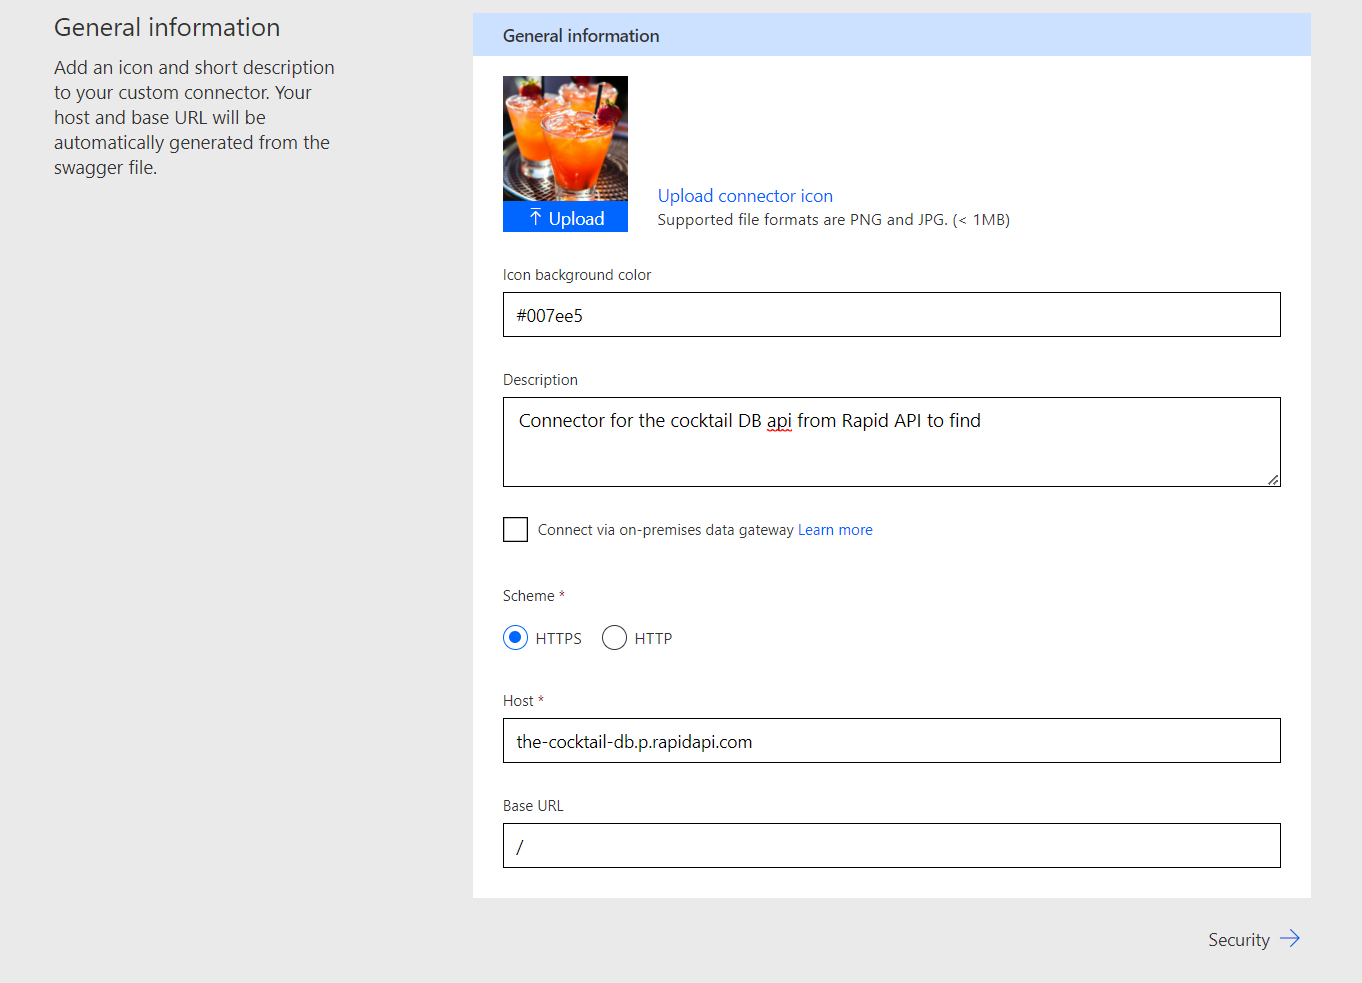
Once you’ve populated the general information of your custom connector you can select next and move to security.
Security configuration
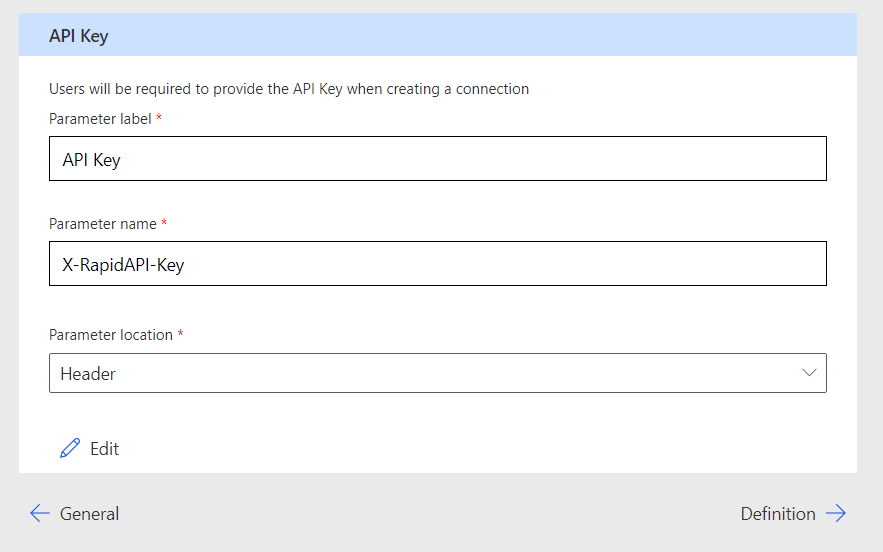
So now we need to configure our custom connector so we can authenticate against the API we’re going to make requests to. Let’s start by selecting the authentication type. In our case, RapidAPI provides us with an API key to be able to use their API for finding cocktails, so here I’m going to select API Key.
Then based on the requirements of the API which is that the API key is supplied in the headers of the request using the parameter ‘X-RapidAPI-Key’, we’ll configure the API Key settings as followed…
Parameter label – Something of your choice. I’ve gone with ‘API Key’
Parameter name – The name of the parameter as per the API documentation
Parameter location – Header
Once you’ve got that configured we can move onto the definition step to configure our connectors triggers and actions.
Definition
The next part we need to configure is our connectors definition. This is where we define the triggers and actions our connector will have.
At the moment I’m just going to create a single action in this connector. To do this we’ll select ‘New action’ under actions and we’ll start building out an action to get cocktails based on a spirit we provide the flow step with.
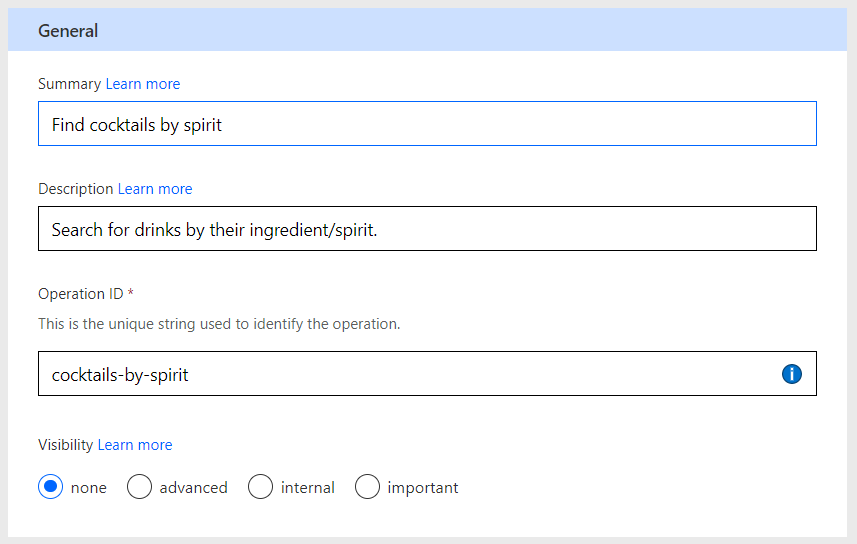
To start with we’ll give the action a summary or a ‘name’. Then we’ll give it a description and finally we’ll provide it with a unique operation ID which must be different for every action. This is used to identify the operation.
Next we’ll define the configuration of this request using a sample request we’ll provide… Start by selecting ‘import from sample’. Then I’m going to select ‘GET’ as the type of request we’ll be making and I’ll provide a request URL and headers for the request.
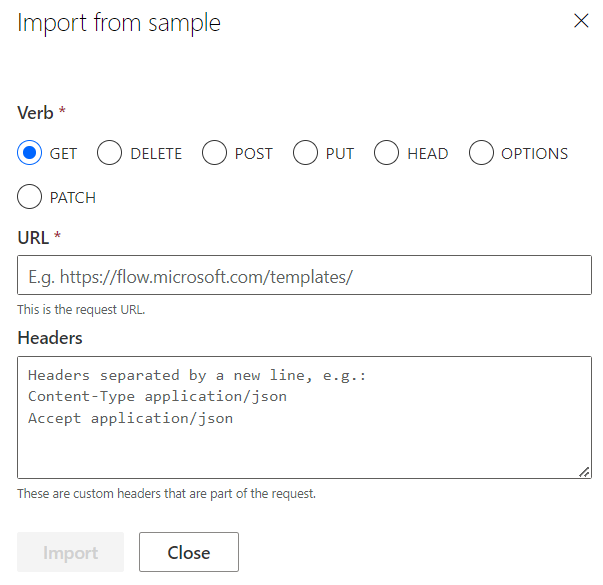
In the request URL I need to provide my request URL including any parameters I’ll need to query. This will then create the query parameters in my action for me to be able to populate in my flow which will be appended to my request URL when the flow step is run.
This will also create inputs for the headers the request will have. Next I’ll select save connector. You don’t need to do anything in step 4, then we’ll move onto step 5 to test the connector.
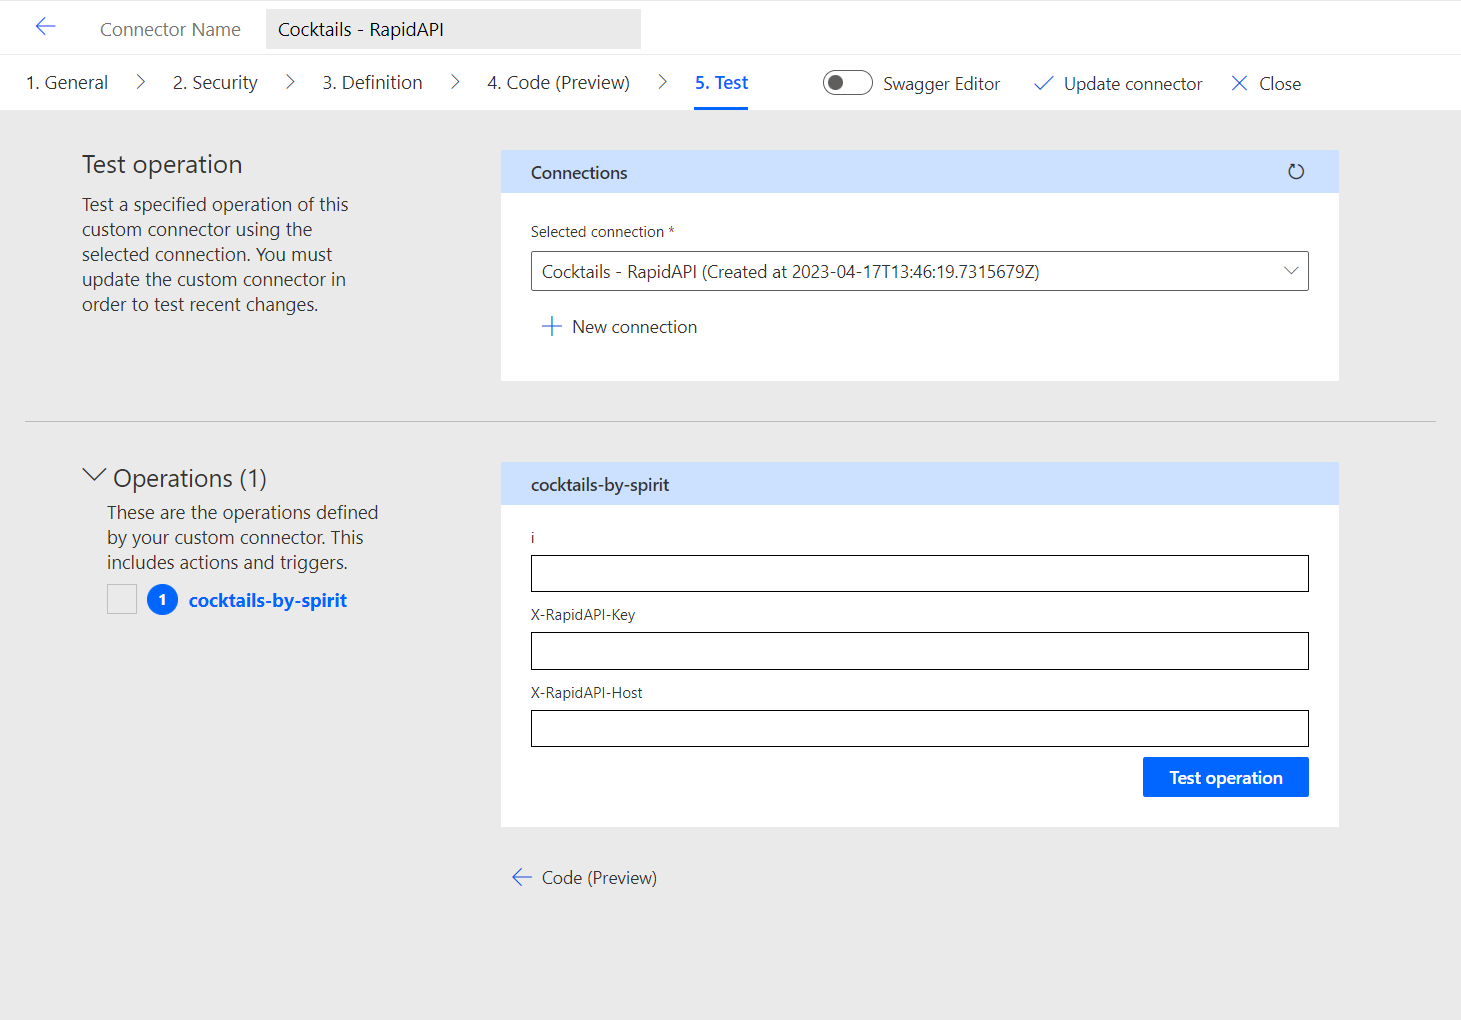
Testing
Next we’ll test out custom connector. To do this let’s create a connection to use with our connector. We’ll simply need to input our API key to use with our connection. Then we can use the operation below to test out our new flow step. Simply provide the inputs and you’ll be able to test it!
Testing in Power Automate
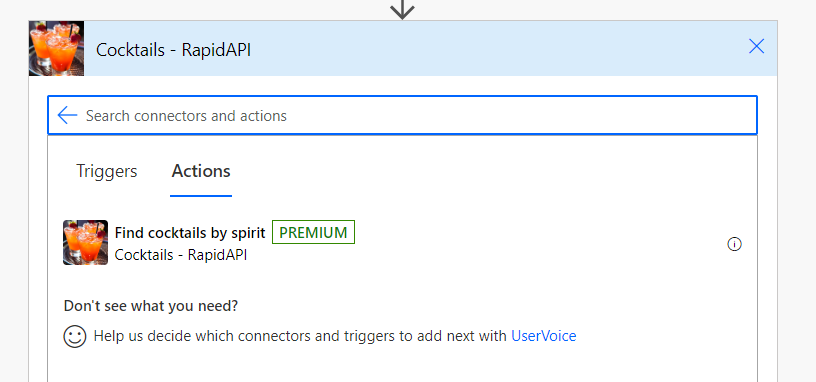
Okay, so now lets test out our custom connector in Power Automate. I’m going to create a new cloud flow and add a new step. Then we can click custom to show all of our custom connectors. I’ll select my new custom connector then I’ll select the new flow step I want to use.
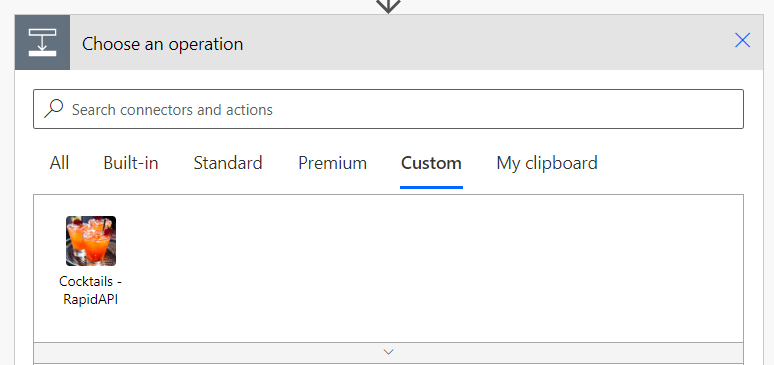
Then I’ll select my flow step…
I’ll need to provide a connection name and an API key to create a connection here to utilise. This will let me authenticate against my API. Then I’ll be able to configure my flow step.
And there you have it! That’s how you create a simple custom connector to use with the Power Platform! If there was something you didn’t understand about this post, let me know in the comments below 🙂