

In this post on governance and administration within Power Platform, we’re going to look at some very basic tips to getting started with application lifecycle management and conducting your development in a best-practice conforming sense!
Environment Strategy
The first thing we can do to implement correct ALM when it comes to Power Platform / Power Apps development is to pay some attention to our environment strategy. To make it really simple to start with, it is essential that when we are developing a solution, we don’t do this against the live version our users may be interacting with. So it is essential that we at least have 2 environments for our development pipeline including a ‘development environment’ and a ‘production environment’. We will do all of our development work in our ‘development environment’ and we will migrate this work in solutions to our ‘production environment’ where our end users will use our solutions and applications with their live data.
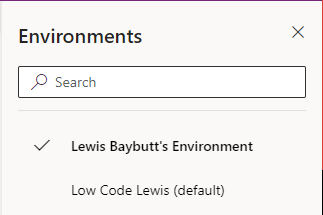
Environment Picker
Tip for building deployable solutions:
Implement at least your 2 environments, and don’t use your default environment intended for organisation app makers as opposed to developers.
Best Practice Environment Strategy
So, that’s one environment strategy, but it’s a little bit basic and we could do better. The alternative to this strategy is to implement a 3rd or even a 4th environment for testing purposes, where we will end up with the following strategy of environments.
Development – Here we will conduct our development work and make changes on our solution or application
Test – Here as a developer we will conduct testing, or in the absence of a UAT environment we will allow users to test here.
UAT – Here we will dedicate a space to end users testing our solution before they use it for production purposes.
Production – Here we will provide a space for end users to use our solution/application with their live data and workflows.
It should be noted that where a strategy has an absence of a UAT environment, it could prevent development continuing whilst users are testing, as there will not be a space for developers to deploy their solution to for their own testing without interrupting the testing of end users.
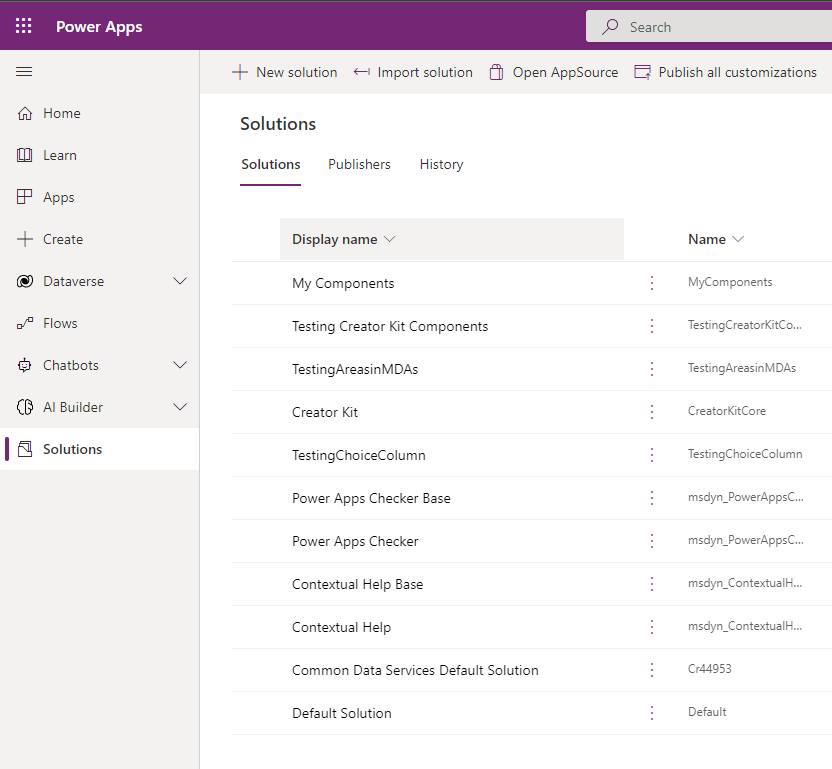
Part capture of the solutions page / UI in Power Apps
Working with Solutions
So, we’ve looked at an environment strategy, but you may be asking yourself how you’re going to transfer your application or configuration between your environments. The simple answer to this is to work with solutions. Solutions allow you to group your development into a package that you can deploy to other environments as ‘managed’. By deploying your solution in environments further than development as ‘managed’ this prevents users making changes to your solution.
You should note that it is still possible to edit things such as Power Automate flows which can create an active solution layer on a component. This is not good practice and you should avoid making changes in environments other than ‘development’. When you next import an upgrade of your solution to your environment, components with an active solution layer will not update until this solution layer is removed.
Creating a solution
To create a new solution, we need to go to make.powerapps.com or make.powerautomate.com and select solutions in our left navigation. Then we need to click ‘New Solution’ and complete the form to create a new solution. We need to add a display name, and name for the solution to make it identifiable, and we need to select a publisher or create a new one if you don’t have an appropriate option. It is essential to create a publisher to identify the developer who worked on the solution.
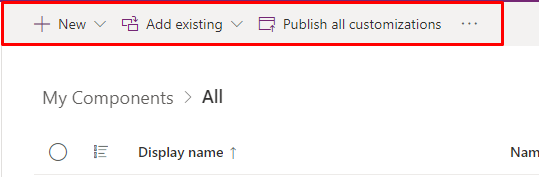
Solution Command Ribbon
Grouping objects in a solution
Now that we’ve created a solution to package our development objects into such as our tables, apps, flows, we need to either add our existing objects into our solution, or if we’re starting from scratch (this is a better option 😉 ), then we can create new objects within our solution. Our end result so far is a solution or package as such, that is grouping together all of the objects we have developed or used to develop our application or digital solution. This means that when we want to deploy it to another environment, there is less chance of there being a dependency issue as we have grouped everything together we have used.
Deploying your work to your test, UAT or production environments
So, now you’ve developed your first version of a solution or application? Now we need to get this tested or used by our end users! To do this we’re going to need to ‘deploy our solution’. To do this we will export our solution from our development environment as a ‘managed solution’. To do this select your solution, click export, publish your customisation changes and run an issue check if you haven’t yet done this, then click ‘next’.
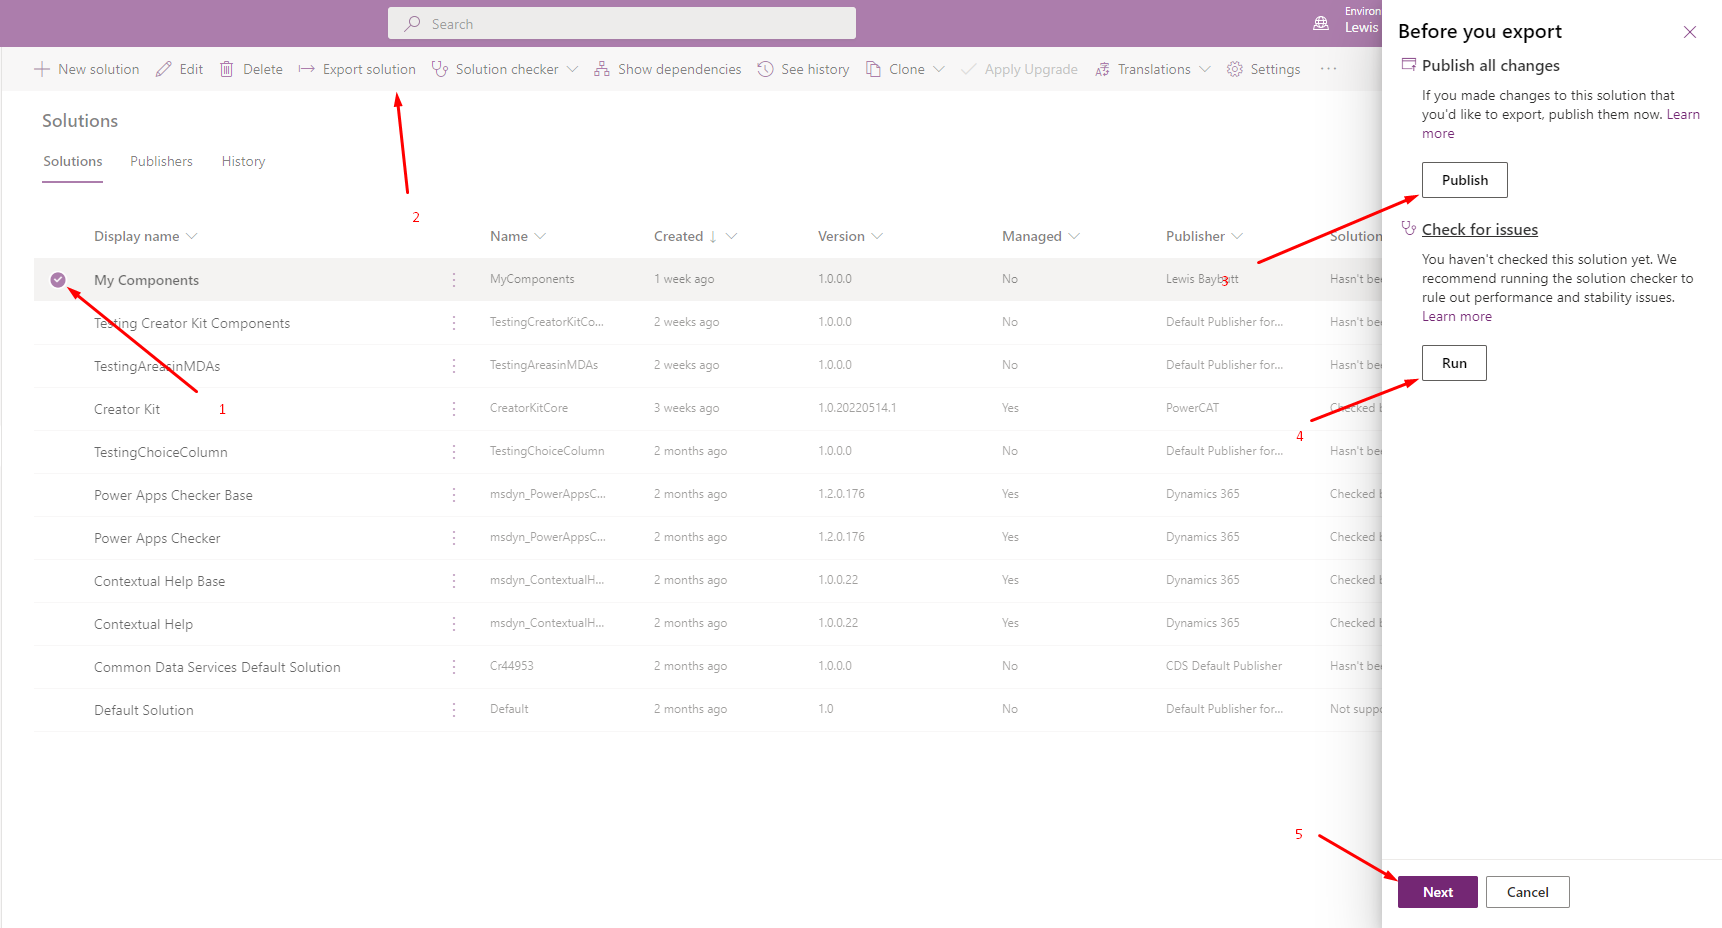
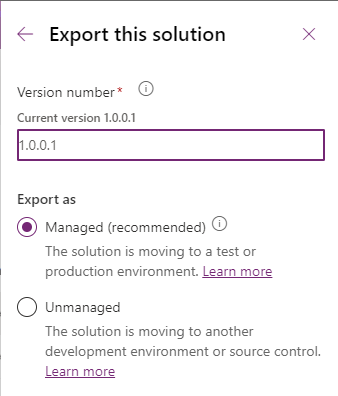
Exporting a solution
Finally we need to set our ‘Export as’ toggle to ‘managed’ as we’re moving our solution to a test or production environment, then we can click export.
Then we simply wait for the solution to export which will take a different time duration depending on the build you’re exporting.
Once our solution has successfully exported, we will need to download it, so that we can import it to our target environment.
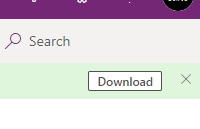
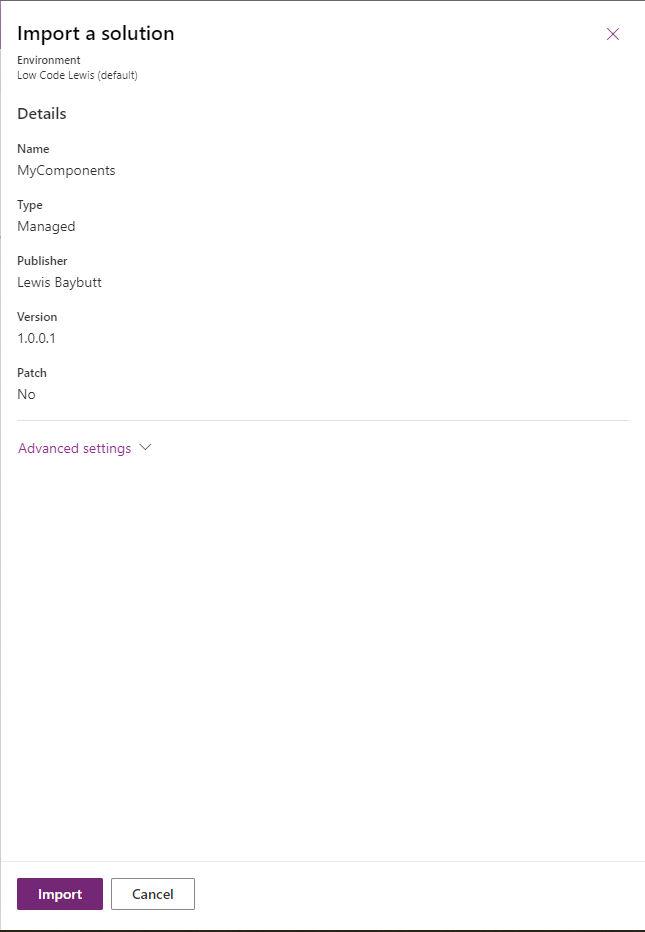
Importing our solution to our target environment
The final step! So whether we’re trying to release our developed solution to testing, or to production so our end users can utilise it, we need to import our solution to our environment. To do this, simply click ‘import solution’ from your solutions page, and browse for the solution zip file we just downloaded from our export. Then click import and we will see our developed solution / application in our target environment for use!
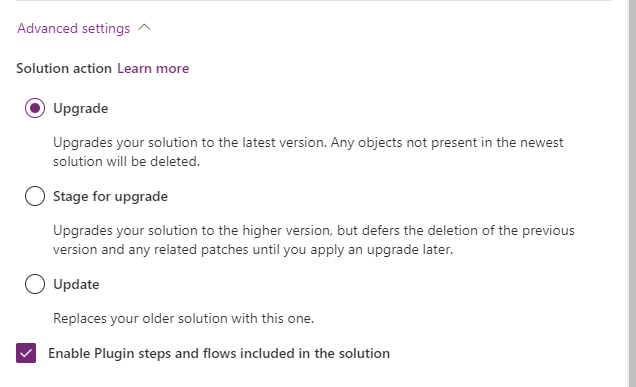
If you’re importing a new version of solution that already exists in an environment to release a patch or update for example, you will see a slightly different import pane when you go to import a solution.
You’ll have three options to ‘upgrade’, ‘stage for upgrade’ or ‘update’ your solution.
The most common option is to just upgrade your solution as you’re importing it which upgrades it to the latest version, removing any objects not present in the new version instantly.
The second option allows you to import your new solution but wait to apply the upgrade to the solution you have running in the target environment. When you’re ready, you simply need to select the upgrade solution you will notice appear in your environment, then select the apply upgrade button on the command ribbon.
Finally, update allows you to replace your older solution found in the target environment with the newer one you’re importing.
Too easy?
I hope the tips above got you started on your efforts with implementing application lifecycle management with your Power Platform development. But perhaps they were too easy? If they were, you can check out the following posts on achieving further ALM best practices with Azure DevOps
How to configure your Power Platform Environment with Azure DevOps Projects
How to create an Azure Pipeline to automate pushing a Power Platform solution to a repository